How Long Does a Real Estate Drone Shoot Take?
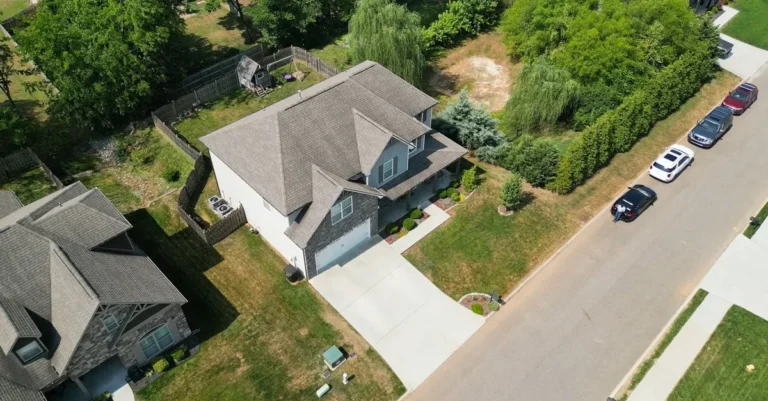
Wondering about the clock for your property's aerial showcase? Understanding how long a real estate drone shoot takes is crucial for planning and managing expectations. It's not just about the drone's flight time; a variety of factors contribute to the total duration on-site.
Our research indicates that a typical shoot can range from under an hour to a couple of hours, depending heavily on the property's specifics and the desired aerial media. Factors like property size, complexity, and the number of shots needed all play a role.
Quick Answer
A real estate drone shoot typically takes 45 minutes to 2 hours. This timeframe includes on-site preparation, the actual flight capture, and packing up. Standard residential homes usually fall around the 1-hour mark.
Larger estates or properties with unique features can extend the duration.
Real-World Timelines: What to Expect on Shoot Day
When you book a drone photographer, you're not just paying for the minutes the drone is airborne. The entire process, from arrival to departure, involves several key stages that add up. We've seen many shoots, and breaking down the actual time spent can help set realistic expectations for your listing.
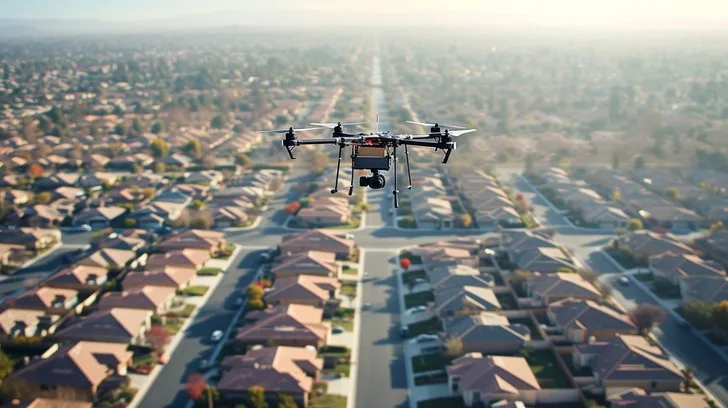
Image source: Bing (Web (fair-use with source credit))
Standard Home Shoot Time
For a typical single-family home, you're generally looking at the shorter end of the spectrum. This usually involves a property on a standard suburban lot. The goal here is to capture essential exterior views and establish the home's presence in its neighborhood.
- Arrival & Setup: Expect the drone pilot to arrive about 20-30 minutes before the scheduled flight time. This allows for initial site assessment, checking weather conditions on location, and preparing the drone and camera equipment.
- Flight & Capture: The actual time spent flying the drone and capturing photos and video footage usually ranges from 25 to 40 minutes. This involves multiple flights to get different angles, altitudes, and perspectives.
- Pack Up: A quick 10 minutes is usually sufficient to secure the equipment and ensure the site is left as found.
- Total Estimated Time: For a standard home, the entire on-site duration typically falls between 55 minutes and 1 hour 20 minutes.
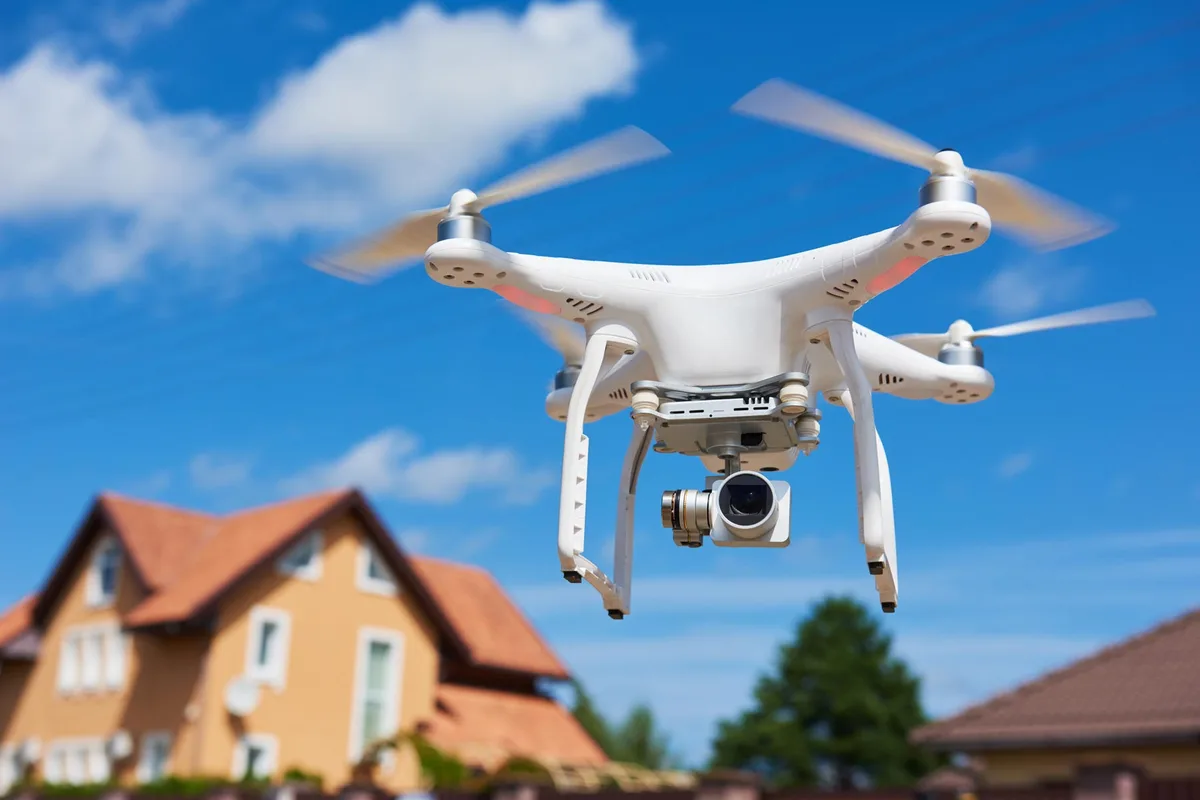
Image source: Bing (Web (fair-use with source credit))
Larger Property Shoot Time
Properties that are larger, more complex, or have extensive grounds will naturally require more time. This could include multi-acre estates, luxury homes with manicured gardens, or properties needing to showcase specific features like private roads, outbuildings, or significant landscaping.
- Arrival & Setup: For larger sites, the pilot might need an extra 10-15 minutes for a more thorough initial walkthrough to plan the most effective flight paths and identify any potential hazards. So, 30-45 minutes for arrival and prep is more common.
- Flight & Capture: The flight time itself can extend to 40-60 minutes. This is because there's more ground to cover, potentially requiring multiple battery changes for the drone, and more detailed shots to capture.
- Pack Up: This might take slightly longer, around 10-15 minutes, to ensure all equipment is properly stowed, especially if more gear was used.
- Total Estimated Time: For these more substantial properties, plan for an on-site duration of 1 hour 20 minutes to 2 hours.
Key Factors That Shape Your Shoot Duration
The numbers above are estimates, and several real-world factors can influence just how long you'll have the drone pilot on-site. It's not just about the size of the house; it's the whole picture.
Property Size and Complexity
This is the most straightforward influence. A sprawling ranch with multiple outbuildings and acres of land will demand significantly more time than a compact urban townhouse. The pilot needs to cover more ground, and capturing the full scope of a large property requires more flight paths and angles.
Think about capturing not just the house, but also its relationship to the land, any water features, mature trees, or separate structures.
Scope of Services (Photos vs. Video)
Are you just looking for a handful of high-resolution aerial stills to supplement ground photos, or do you need a cinematic video tour? Capturing quality video footage often takes longer. Video requires more planning for smooth camera movements, ensuring consistent lighting, and potentially shooting multiple takes of specific sequences.
A full video production, even a short one, inherently takes more time than snapping a few key aerial photos.
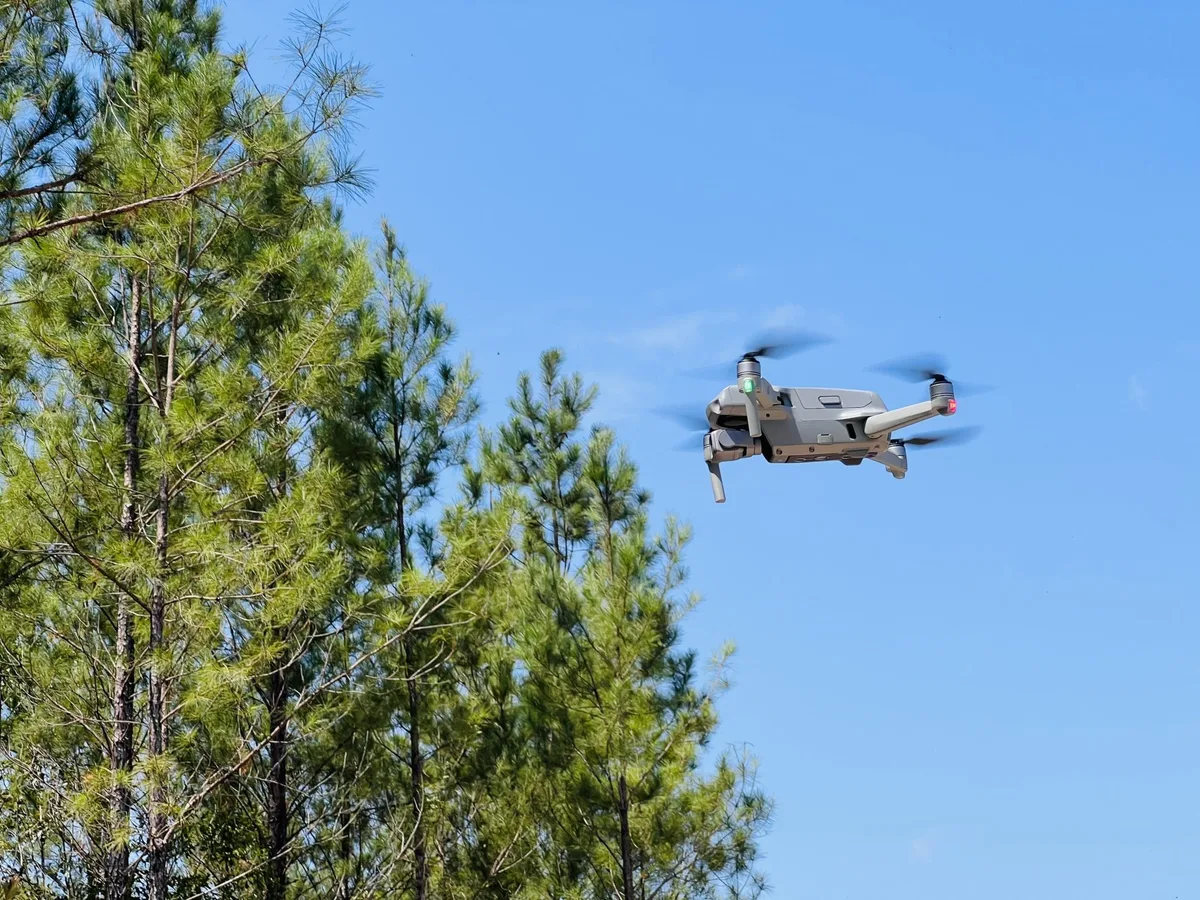
Image source: Bing (Web (fair-use with source credit))
Weather Conditions
This is perhaps the biggest uncontrollable variable. Drone operations are highly dependent on safe flying conditions. High winds (generally over 20-25 mph), heavy rain, fog, or even extreme cold can ground the drone entirely or significantly limit flight operations.
A shoot might be postponed or rescheduled due to weather, or if conditions are marginal, the pilot might need to fly more cautiously, potentially extending the time needed. It’s always wise to have a backup plan.
Site-Specific Obstacles
Beyond just the size, other elements on or around the property can affect shoot duration. Tall, dense trees, overhead power lines, nearby cell towers, or even busy public areas can pose challenges. The pilot must navigate these safely, which may involve taking more time to plan flight paths, employ specific flying techniques, or sometimes avoid certain angles altogether to ensure safety and avoid potential airspace violations or equipment damage.
For example, flying near a busy road requires extreme caution to avoid startling drivers or interfering with traffic.
What You're Paying For: Beyond Flight Time
When you see the invoice, you're not just paying for the drone's time in the air. A significant portion of the professional's effort happens before and after the flight, ensuring you get high-quality, usable media for your listing.
Pre-Flight Preparation & Site Assessment
Before the drone even leaves the ground, there's crucial work to be done. This includes:
- Weather Check: Real-time monitoring of current and forecasted conditions.
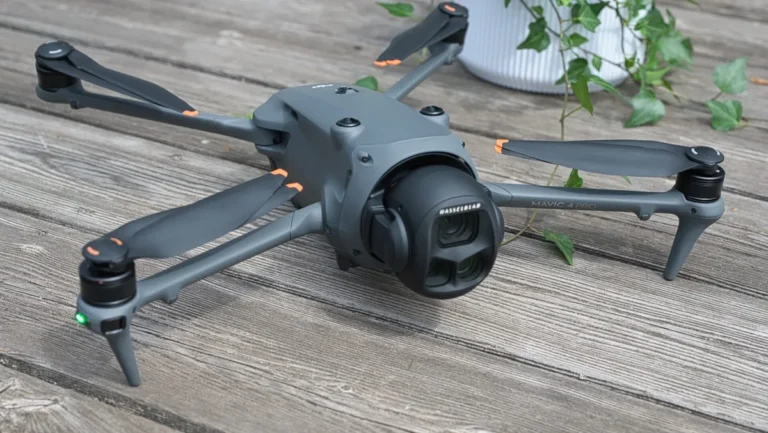
- Equipment Prep: Ensuring the drone is fully charged, calibrated, and all necessary accessories are packed. Manufacturer specifications, such as for the DJI Mavic 3, often list multiple batteries and charging hubs needed for extended shoots.
- Site Walkthrough: A crucial step where the pilot assesses the property, identifies potential flight hazards (like wires, trees, or other structures), and determines the best angles and times of day for optimal lighting. This brief survey helps in planning the most efficient flight path.
- Airspace Verification: Checking for any temporary flight restrictions (TFRs) or proximity to controlled airspace, which might require special permissions or alternative flight plans. As of 2026, regulations around drone operations remain a key consideration. Adhering to FAA guidelines is paramount for all drone operators.
Drone Operation & Capture
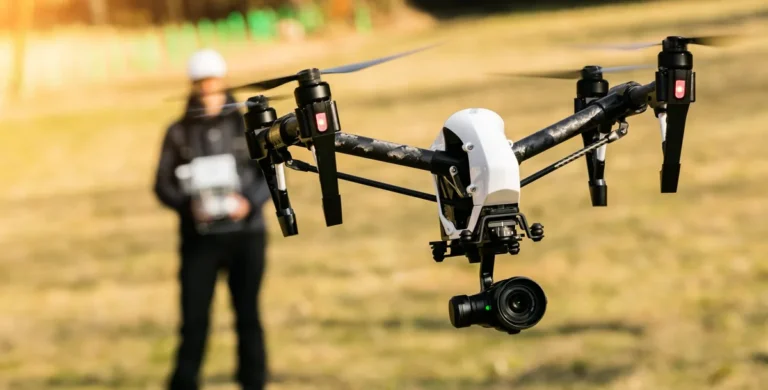
This is the part most people associate with the service. It involves the pilot skillfully maneuvering the drone to capture the required aerial photos and video footage. This phase includes:
- Systematic Flying: Executing pre-planned flight paths or adapting on the fly to capture the best views.
- Camera Control: Operating the camera settings and gimbal to ensure sharp, well-exposed images and smooth video.
- Data Recording: Ensuring all footage and photos are being captured correctly and stored on the drone's memory cards. For professional work, pilots often use high-capacity SD cards to ensure ample storage.
Post-Flight Data Handling
Once the drone is safely back on the ground, the process isn't quite finished. The pilot needs to:
- Secure Equipment: Carefully pack away the drone and all accessories.
- Data Offload (Optional on-site): Sometimes, especially for immediate client review or complex shoots, data might be transferred to a laptop on-site.
- Initial Review: A quick check of the captured media to ensure quality and completeness before leaving the property. This helps identify if any shots need to be re-taken due to unforeseen issues.
Common Pitfalls to Avoid for a Smooth Shoot
Even with the best planning, things can go awry. Understanding common mistakes helps ensure your drone shoot is efficient and productive.
- Underestimating Weather: Assuming good weather without a backup plan is risky. Always have a contingency for wind or rain.
- Ignoring Airspace Rules: Flying in restricted airspace can lead to fines and legal trouble. Pilots must be aware of FAA regulations, especially near airports. For example, drone pilots must adhere to guidelines outlined by the Federal Aviation Administration (FAA) concerning operating near controlled airspace, often requiring specific waivers or authorizations.
- Poor Communication: Not clearly communicating your desired shots to the pilot can lead to missed opportunities or footage that doesn't meet expectations.
- Not Preparing the Property: Clutter, unkempt yards, or visible trash can detract from aerial shots. A quick tidy-up before the pilot arrives makes a big difference.
- Expecting Instant Results: While some pilots deliver footage quickly, professional editing and processing take time. Don't expect final, polished media the moment the drone lands.
Expert Tips for Efficient Drone Shoots
To maximize efficiency and get the best results, consider these professional insights.
- Schedule Wisely: Aim for the "golden hours", shortly after sunrise or before sunset. The soft, warm light provides the most appealing aerial views and minimizes harsh shadows.
- Clear Communication is Key: Provide the pilot with a list of "must-have" shots or specific features you want highlighted. A brief site tour upon arrival is also beneficial.
- Be Prepared for Delays: Weather is unpredictable. Have a backup date in mind or be flexible with scheduling.
- Understand the Pilot's Limitations: Respect safety protocols and airspace restrictions. A good pilot knows what they can and cannot do legally and safely.
- Ask About Turnaround Time: Clarify when you can expect the final edited photos and videos. This sets expectations for post-production.
Real Scenarios: Case Examples of Shoot Durations
To really get a feel for how time plays out, let's look at a couple of concrete examples. These aren't just theoretical; they reflect actual bookings and the time spent on site.
Scenario A: The Urban Townhouse & Quick Turnaround
- Property: A narrow, three-story townhouse in a dense city neighborhood.
- Client Need: A few high-quality aerial stills to show the rooftop and street presence, plus a short video clip flying up the side of the building.
- On-Site Time:
- Arrival, parking, brief site check: 25 minutes.
- Drone flights (multiple short bursts for stills and video): 35 minutes.
- Pack-up and departure: 10 minutes.
- Total Time: 1 hour 10 minutes. This was efficient due to the small footprint, but the tight urban environment required careful maneuvering. The pilot focused on capturing the key elements quickly and safely.
Scenario B: The Country Estate with Land Features
- Property: A large country house on 5 acres, featuring a pond, mature trees, and a separate guest cottage.
- Client Need: A comprehensive set of aerial photos and a 2-minute video tour highlighting the house, grounds, and amenities.
- On-site Time:
- Arrival, extensive property walk-through, obstacle identification: 40 minutes.
- Drone flights capturing sweeping views, pond, cottage, and detailed landscaping shots: 55 minutes (including one battery swap).
- Final site review and pack-up: 15 minutes.
- Total Time: 1 hour 50 minutes. The larger area and multiple features naturally extended the time. Capturing the relationship between the house and its extensive grounds took priority.
FAQs About Real Estate Drone Shoot Timelines
How long does setup usually take?
Setup typically takes between 20 to 45 minutes, depending on the property's size and complexity. This includes checking the drone, calibrating equipment, and a brief site assessment to plan the flight.
Does a larger property always mean a longer shoot?
Yes, generally. Larger properties require more extensive flight paths to capture all key areas, which directly increases flight and overall on-site time.
What if the weather turns bad during the shoot?
If weather deteriorates significantly, the pilot will land the drone immediately for safety. The remaining shots may need to be rescheduled, and this is usually covered in the pilot's contract.
How much time is dedicated to actual flying?
The actual drone flight time usually ranges from 25 to 60 minutes. This is the period where the drone is actively capturing photos or video footage of the property.
Is video footage captured the same day as photos?
Yes, typically both aerial photos and video are captured during the same on-site visit. The pilot will plan the flight to accomplish both objectives efficiently.