How Do You Compress Drone Video Without Losing Quality?
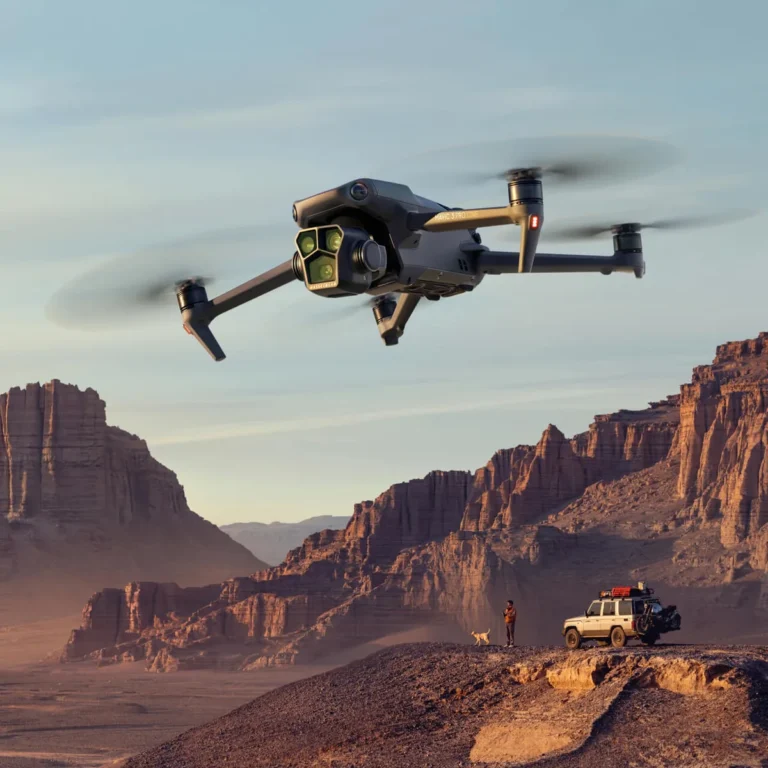
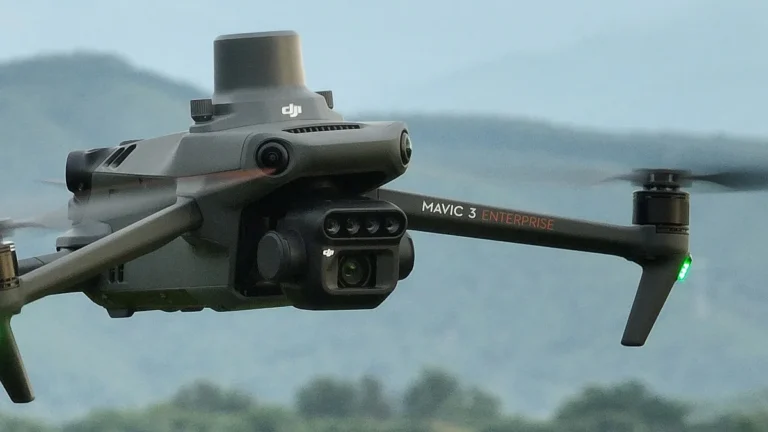
When you're flying your drone, you're capturing some incredible footage, but those raw video files can get huge, fast. Knowing how to compress drone video without losing quality is key to managing your storage, speeding up uploads, and making your editing process smoother. It’s about finding that sweet spot where your file size shrinks significantly without those ugly visual downgrades.
For example, manufacturers like DJI often record footage using advanced codecs such as H.265 (HEVC), which is designed for efficiency. This means you're already starting with a relatively compressed format, but further compression for specific uses still requires careful settings. Let's break down how you can tackle this without sacrificing the crispness of your aerial shots.
Quick Answer
To compress drone video without losing quality, choose an efficient codec like H.265 (HEVC) and a variable bitrate setting. Adjust the bitrate to be just high enough to maintain detail, often around 25-50 Mbps for 4K. Avoid overly aggressive compression that introduces artifacts.
Preview your compressed footage to ensure acceptable visual fidelity.
Understanding Drone Video Compression: Why It Matters
Drone video files can be enormous, especially when shooting in high resolutions like 4K at 60 frames per second. A few minutes of footage can easily eat up several gigabytes of storage. This is where video compression comes in.
Compression is the process of reducing the file size of a video. There are two main types: lossless and lossy.
- Lossless compression shrinks files by identifying and removing statistical redundancy without discarding any data. When you decompress the file, it's identical to the original. However, it offers limited file size reduction.
- Lossy compression, on the other hand, achieves much greater file size reduction by permanently discarding some of the video data that human eyes are less likely to notice. This is what most people use for everyday video sharing and editing.
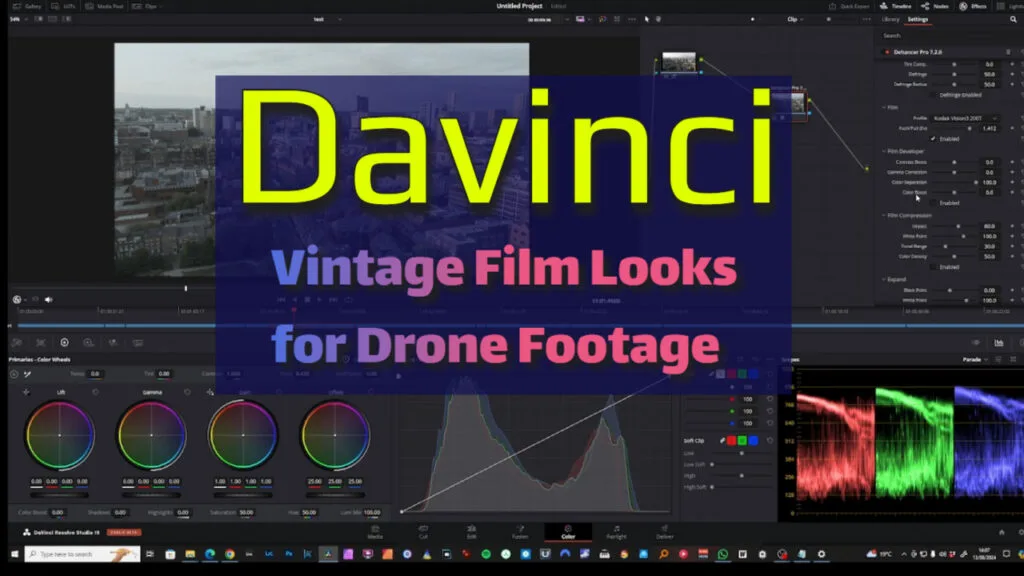
Image source: Bing (Web (fair-use with source credit))
The goal when compressing drone video is to use lossy methods as effectively as possible, striking a balance where the file size is significantly reduced but the perceived visual quality remains high. This is crucial for managing storage space on your drone's SD card, your computer, and in the cloud. It also makes transferring files and uploading to platforms like YouTube or Vimeo much more manageable.
Choosing Your Compression Path: H.264 vs. H.265
When you're ready to compress your drone footage, one of your first big decisions will be which video codec to use. Codecs are essentially the "language" used to encode and decode video data. Two of the most common and efficient codecs for drone video are H.264 (also known as AVC) and H.265 (also known as HEVC).
Our research indicates that H.265 offers superior compression efficiency over H.264, meaning it can achieve smaller file sizes at the same visual quality, or better quality at the same file size.
H.264 (AVC): The Reliable Standard
H.264 has been the go-to video codec for years, and for good reason. It's widely compatible with almost all devices, editing software, and online platforms. If you need maximum compatibility and aren't overly concerned with squeezing every last megabyte out of your file, H.264 is a solid choice.
It offers a good balance between compression efficiency and quality, making it suitable for most standard video needs.
This codec has been around since 2003 and has been optimized extensively. Most modern drones still offer H.264 as an option, and it's the default for many older or lower-end models. When exporting in H.264, you'll typically be looking at settings that balance file size and quality for a broad audience.
Image source: Bing (Web (fair-use with source credit))
H.265 (HEVC): The Modern Efficiency
H.265, or High Efficiency Video Coding (HEVC), is the successor to H.264. It was developed to provide better compression than H.264. Per industry standards, H.265 can reduce file sizes by up to 50% compared to H.264 at the same level of visual quality, or it can provide a significant improvement in quality at the same bitrate.
This makes it ideal for high-resolution video like 4K and 8K, where file sizes can become unmanageable.
Many newer drones, especially those designed for professional or cinematic use, will record in H.265. While it's more efficient, compatibility can sometimes be an issue. Some older devices or software might not support H.265 playback or editing without special plugins or updates.
However, as of 2026, support for H.265 is much more widespread than it was even a few years ago.
Key Settings That Impact Quality
When you're diving into compression settings, it can feel a bit overwhelming. However, a few key parameters have the biggest impact on both your file size and the final visual quality. Understanding these settings will give you the control you need to compress your drone video effectively.
The primary settings to focus on are bitrate, resolution, frame rate, and color depth.
Bitrate: The Heart of Compression
Bitrate is perhaps the single most important setting when it comes to compressing video. It represents the amount of data used per second of video, usually measured in megabits per second (Mbps). A higher bitrate means more data is being used, which generally translates to better quality but also a larger file size.
Conversely, a lower bitrate means less data, a smaller file size, and potentially a noticeable drop in quality if set too low.
There are two main ways to set bitrate:
- Constant Bitrate (CBR): This setting uses the same amount of data for every second of video, regardless of whether the scene is complex (lots of motion, detail) or simple (static shot). CBR is predictable for file size but can be inefficient, as it wastes data on simple scenes and might not allocate enough for complex ones.
- Variable Bitrate (VBR): This is generally the preferred method for quality compression. VBR allows the encoder to allocate more data to complex scenes and less data to simple ones. This results in a more efficient use of data, leading to smaller file sizes without sacrificing as much quality. You'll often see VBR with two settings: a target bitrate and a maximum (or peak) bitrate. The encoder aims for the target but can go up to the maximum for demanding parts of the video.
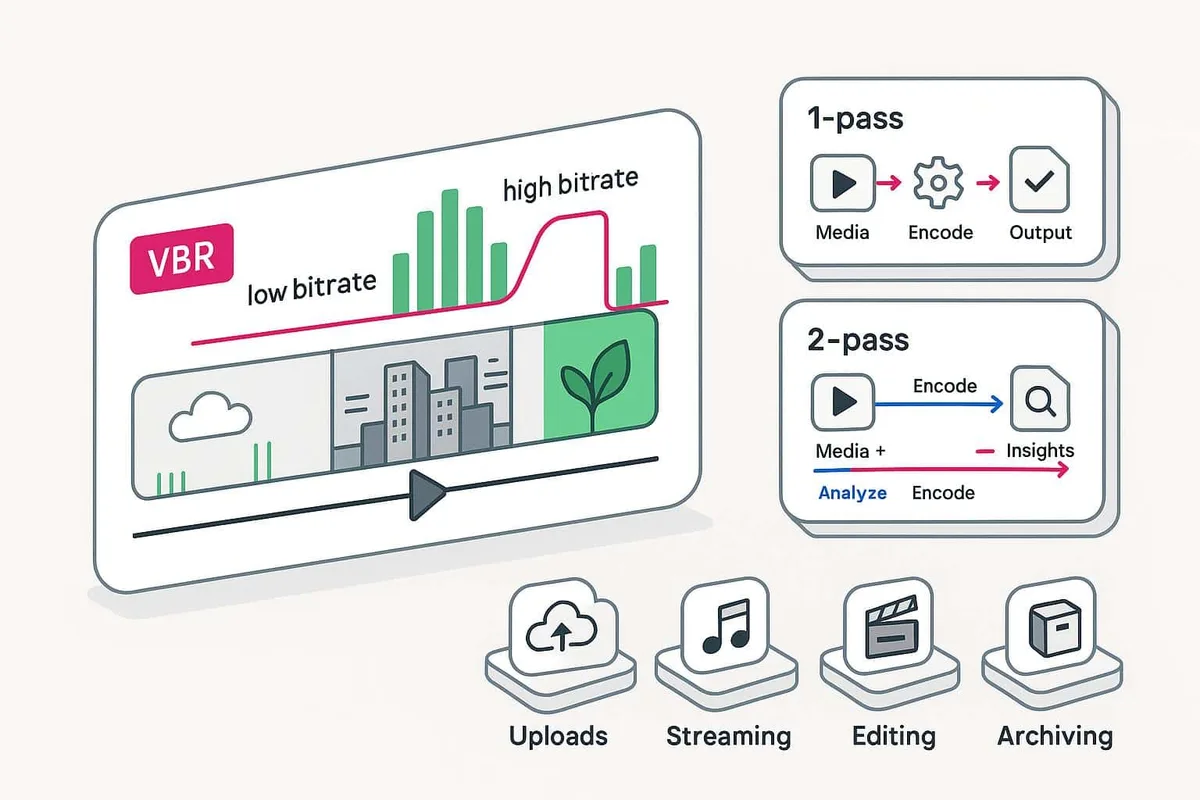
Image source: Bing (Web (fair-use with source credit))
For drone footage, especially high-resolution 4K video, aggregate user reviews and manufacturer recommendations suggest a target bitrate for H.265 typically falls between 25 Mbps and 50 Mbps for good quality when sharing online. For H.264, you might need higher, perhaps 40-80 Mbps, for similar quality. If you're editing and need to preserve as much detail as possible before final export, you might use a higher bitrate for your intermediate files.
Resolution, Frame Rate, and Color Depth: More Than Just Numbers
While bitrate is king, other settings play a crucial role in both the original footage and how compression affects it.
- Resolution: This refers to the number of pixels in each frame (e.g., 3840×2160 for 4K UHD, 1920×1080 for 1080p HD). Compressing video at a lower resolution will naturally result in a smaller file size because there are fewer pixels to process. If your final destination is a platform that downscales anyway (like many social media sites), you might consider compressing to a lower resolution.
- Frame Rate (fps): This is the number of frames displayed per second. Higher frame rates (like 60fps or 120fps) create smoother motion, ideal for slow-motion effects, but also increase file size and require more data to maintain quality during compression. If you don't need extreme slow-motion capabilities, shooting and compressing at a standard 24fps or 30fps is more efficient.
- Color Depth: This refers to the amount of information stored for each color channel (e.g., 8-bit or 10-bit). 10-bit video captures a wider range of colors and smoother gradations, which is common in higher-end drone footage (often recorded as Log profiles). While great for grading in post-production, 10-bit files are larger and require more careful compression to avoid banding (visible color steps) when downscaled or compressed heavily. If your final output doesn't require that extensive color range, compressing 10-bit footage to an 8-bit format can save significant space, but do so carefully.
Your Workflow: Step-by-Step Compression
Compressing drone video isn't just about hitting a button; it's a process that requires a bit of thought to get the best results. Following a structured workflow ensures you're making informed decisions at each step, leading to efficient compression without noticeable quality loss. This approach is about understanding your source material and your intended outcome.
Step 1: Assess Your Footage and Goals
Before you even open your compression software, take a moment to evaluate your raw drone footage. What resolution was it shot in (e.g., 4K, 1080p)? What frame rate (30fps, 60fps)?
What codec did your drone use (H.264 or H.265)? Understanding these specs will help you set realistic compression targets.
Next, consider your primary goal for this compressed video. Are you uploading it to YouTube for public viewing? Sharing it with a client?
Archiving it for long-term storage? Each use case has different quality requirements. For instance, a YouTube upload might prioritize file size for faster uploads and playback on various devices, while client delivery might demand a higher quality to showcase the drone's capabilities.
This step is essentially defining the "conditions" for your decision tree.
Step 2: Select the Right Software and Codec
You'll need video editing or encoding software to perform the compression. Popular choices include Adobe Premiere Pro, DaVinci Resolve, Final Cut Pro, and free options like HandBrake. Within your chosen software, you'll select the codec for your export.
As we discussed, H.265 (HEVC) is generally more efficient if your playback and editing environment supports it. If compatibility is paramount, H.264 (AVC) remains a strong, widely-supported option.
The software you use will present you with various presets and manual settings. For beginners, using a well-regarded preset (like those designed for YouTube or Vimeo) is a good starting point. However, for maximum control and quality, you'll want to dive into the manual settings to fine-tune parameters like bitrate and encoding speed.
Step 3: Adjusting Compression Settings (The Decision Tree)
This is where the "decision tree" really comes into play, as your choices depend heavily on your answers from Step 1.
- If your goal is maximum compatibility and good quality for web: Choose H.264. Set the bitrate to VBR, target around 40-60 Mbps for 4K, and maximum 80 Mbps. Use 2-pass encoding if speed isn't critical, as it offers better quality.
- If your goal is smaller file size with high quality for web/archiving: Choose H.265. Set the bitrate to VBR, target around 25-40 Mbps for 4K, and maximum 50 Mbps. This offers excellent compression.
- If you are editing footage and need maximum flexibility: Consider exporting to an intermediate codec like ProRes or DNxHD, which are less compressed but result in huge files. Compress these again only for final delivery.
If your original footage is 10-bit and you're exporting to H.264 or H.265 for general use, you'll likely need to select an 8-bit color depth during export to ensure compatibility and manage file size. However, if you're delivering to a professional colorist who specifically requested 10-bit, ensure your software and chosen codec support it.
Step 4: Encoding and Previewing
Once your settings are dialed in, you'll start the encoding process. This is where the software processes your video according to your chosen parameters. Encoding can take time, especially for long or high-resolution videos and when using slower, higher-quality presets like 2-pass VBR or slower encoding speeds.
Hardware acceleration (using your GPU) can significantly speed this up if your software supports it.
After encoding is complete, the absolute most critical step is to preview your compressed video. Watch it critically, paying attention to areas with fast motion, fine details, and smooth color gradients. Look for:
- Pixelation or blockiness: Especially in areas of uniform color or fast movement.
- Banding: Visible steps in gradients, like skies or sunsets.
- Loss of detail: Fuzzy textures, unreadable text, or softened edges.
If you spot any significant quality degradation, you'll need to go back to Step 3 and adjust your settings, likely by increasing the bitrate or choosing a slower encoding speed.
Common Compression Pitfalls to Sidestep
Even with the best intentions, it's easy to fall into common traps when compressing drone video. These mistakes can leave you with files that are either too large, too small, or simply look bad. Knowing these pitfalls beforehand can save you a lot of frustration and wasted time.
Over-Compressing: The Visible Damage
This is probably the most common and noticeable mistake. Over-compressing happens when you set your bitrate too low for the resolution and complexity of the video. The result is a file that might be impressively small, but the visual quality suffers dramatically.
You'll see:
- Artifacts: These are visual distortions that appear in the video. Blocky or pixelated areas, often called macroblocking, are a prime example.
- Banding: Smooth color transitions, like in a sunset or a clear sky, become choppy with visible bands of color. This is particularly bad with 8-bit footage.
- Loss of Detail: Fine textures, like grass, hair, or distant buildings, become smudged and unclear. Edges can appear soft or "aliased" (jagged).
To avoid this, always preview your footage and err on the side of a slightly higher bitrate if you're unsure, especially if the video is for professional use or archival. Remember, once data is lost through aggressive compression, it's gone forever.
Under-Compressing: Still Too Big
On the flip side, under-compressing means you haven't shrunk the file size enough for your intended purpose. This often happens when people are overly cautious about quality and set their bitrates much higher than necessary. While the quality will be excellent, you'll end up with unnecessarily large files.
This is a problem if you're trying to:
- Upload to a platform with size limits or slow upload speeds.
- Save space on your drone's SD card.
- Fit a long video onto a smaller hard drive.
- Stream video smoothly online.
The key here is to understand the requirements of your final destination. If you're uploading to YouTube, research their recommended upload settings. For archival, you might choose a higher quality, but for everyday sharing, there’s usually a point of diminishing returns where increasing the bitrate doesn't yield a visible quality improvement.
Ignoring Your Source Footage
Another pitfall is not understanding what you're starting with. If your drone recorded in a low-quality setting (e.g., a low bitrate H.264 at 1080p), trying to compress it further without losing quality is going to be very difficult. You can't magically add detail that wasn't recorded in the first place.
Conversely, if your drone shot in a high-quality format like 10-bit H.265 at a high bitrate, you have a lot more flexibility for compression. Make sure you know your source file's specifications so you can set appropriate compression targets. It’s also important to use an encoder that supports your source footage's characteristics, such as 10-bit color or specific Log profiles, if you aim to preserve that initial quality during compression.
When to Use What: Practical Scenarios
The "best" way to compress your drone video really depends on what you plan to do with it afterward. There's no single perfect setting for every situation. Thinking about the end goal helps you make the right choices regarding codecs, bitrates, and resolutions.
For Online Sharing (YouTube, Social Media)
When you're uploading your drone footage to platforms like YouTube, Vimeo, or social media, the primary goals are usually fast uploads, efficient playback across different devices, and reasonable file size.
- Codec: H.264 is often the safest bet due to its universal compatibility, though H.265 is increasingly supported and offers better efficiency.
- Bitrate: For 4K video, a target bitrate of 40-50 Mbps using H.264 is generally good. For H.265, you can often get away with 25-35 Mbps. For 1080p, aim for 8-15 Mbps (H.264) or 5-10 Mbps (H.265).
- Resolution & Frame Rate: Stick to the original resolution if it's 4K or 1080p. If your footage is 60fps and you don't need slow-motion, you can compress it at 30fps to save file size, but watch for motion judder.
- Color Depth: Generally, export as 8-bit unless you have a specific reason (and destination) for 10-bit.
For Archiving and Long-Term Storage
If your main objective is to store your drone footage for years to come, with the option of re-editing or enhancing it later, quality preservation is paramount. File size is secondary, though still a consideration.
- Codec: H.265 (HEVC) is highly recommended here due to its superior compression efficiency, meaning you get a smaller file with minimal quality loss.
- Bitrate: Use a high bitrate. For 4K footage, aim for the higher end of VBR, perhaps a target of 50-80 Mbps for H.265, or even higher if you have the storage. Consider using 2-pass encoding if your software offers it for maximum quality.
- Resolution & Frame Rate: Keep these at their original recorded settings.
- Color Depth: If your drone shot in 10-bit or Log, it's best to archive in that format as well, assuming you have the storage capacity. This preserves the maximum dynamic range and color information for future use.
For Editing and Post-Production
When you're compressing footage that you intend to edit heavily, you need to balance file size with editability. Some very highly compressed files (low bitrate H.264/H.265) can be difficult for editing software to handle smoothly, leading to dropped frames and slow playback.
- Codec: For demanding edits, consider using intermediate codecs like Apple ProRes or Avid DNxHD/HR. These are less compressed, much larger, but designed for smooth editing performance.
- Bitrate: If you stick with H.264 or H.265, use a higher bitrate than you would for final delivery. For 4K, a target of 60-100 Mbps (H.264) or 40-70 Mbps (H.265) can provide a smoother editing experience.
- Resolution & Frame Rate: Maintain original settings.
- Color Depth: If your original footage was 10-bit, compressing to 10-bit for editing is advisable to retain grading flexibility.
This approach creates larger intermediate files, but the workflow is often much smoother, and you retain more quality for your final export, which you would then compress again for its specific purpose.
Common Compression Pitfalls to Sidestep
Even with the best intentions, it's easy to fall into common traps when compressing drone video. These mistakes can leave you with files that are either too large, too small, or simply look bad. Knowing these pitfalls beforehand can save you a lot of frustration and wasted time.
Over-Compressing: The Visible Damage
This is probably the most common and noticeable mistake. Over-compressing happens when you set your bitrate too low for the resolution and complexity of the video. The result is a file that might be impressively small, but the visual quality suffers dramatically.
You'll see artifacts like blocky or pixelated areas, especially in areas of uniform color or fast movement. Smooth color transitions, like in a sunset or a clear sky, can become choppy with visible bands of color. Fine textures, like grass, hair, or distant buildings, may appear smudged and unclear.
To avoid this, always preview your footage. Err on the side of a slightly higher bitrate if you're unsure, especially if the video is for professional use or archival. Remember, once data is lost through aggressive compression, it's gone forever.
Per industry standards, excessive compression can render footage unusable for many professional applications.
Under-Compressing: Still Too Big
On the flip side, under-compressing means you haven't shrunk the file size enough for your intended purpose. This often happens when people are overly cautious about quality and set their bitrates much higher than necessary. While the quality will be excellent, you'll end up with unnecessarily large files.
This is a problem if you're trying to upload to a platform with size limits or slow upload speeds, save space on your drone's SD card, or fit a long video onto a smaller hard drive.
The key here is to understand the requirements of your final destination. If you're uploading to YouTube, research their recommended upload settings to find the sweet spot. For archival, you might choose a higher quality, but for everyday sharing, there’s usually a point of diminishing returns where increasing the bitrate doesn’t yield a visible quality improvement.
Ignoring Your Source Footage
Another pitfall is not understanding what you're starting with. If your drone recorded in a low-quality setting (e.g., a low bitrate H.264 at 1080p), trying to compress it further without losing quality will be very difficult. You can't magically add detail that wasn't recorded in the first place.
Conversely, if your drone shot in a high-quality format like 10-bit H.265 at a high bitrate, you have more flexibility for compression. Make sure you know your source file's specifications so you can set appropriate compression targets.
When to Use What: Practical Scenarios
The "best" way to compress your drone video really depends on what you plan to do with it afterward. There's no single perfect setting for every situation. Thinking about the end goal helps you make the right choices regarding codecs, bitrates, and resolutions.
For Online Sharing (YouTube, Social Media)
When you're uploading your drone footage to platforms like YouTube or Vimeo, the primary goals are fast uploads, efficient playback across different devices, and reasonable file size. H.264 is often the safest bet due to its universal compatibility, though H.265 is increasingly supported and offers better efficiency. For 4K video, a target bitrate of 40-50 Mbps using H.264 is generally good, while H.265 can often manage with 25-35 Mbps.
Stick to original resolution and frame rate unless there's a specific need to reduce them.
For Archiving and Long-Term Storage
If your main objective is to store your drone footage for years to come, with the option of re-editing or enhancing it later, quality preservation is paramount. File size is secondary, though still a consideration. H.265 (HEVC) is highly recommended here due to its superior compression efficiency, meaning you get a smaller file with minimal quality loss.
Use a high bitrate; for 4K footage, aim for a target of 50-80 Mbps for H.265. Keep resolution, frame rate, and color depth at their original recorded settings to preserve maximum information.
For Editing and Post-Production
When you're compressing footage that you intend to edit heavily, you need to balance file size with editability. Some highly compressed files can be difficult for editing software to handle smoothly, leading to dropped frames and slow playback. For demanding edits, consider using intermediate codecs like Apple ProRes or Avid DNxHD/HR.
These are less compressed, much larger, but designed for smooth editing performance. If you stick with H.264 or H.265, use a higher bitrate than you would for final delivery, such as 60-100 Mbps for 4K H.264. Maintain original settings and color depth to retain maximum flexibility for grading.
Frequently Asked Questions About Drone Video Compression
How long does compression take?
Compression time varies greatly depending on the video length, resolution, chosen codec, and your computer's processing power (CPU and GPU). A short 1080p video might take minutes, while a long 4K 10-bit file could take hours, especially if you're using slower, higher-quality encoding settings like 2-pass VBR.
Can I compress my drone video twice?
Yes, you can compress a video multiple times, but each pass of lossy compression will degrade quality. It's generally best to compress your original footage once to your desired final format. If you need to re-compress, do so from the original source if possible, or use the least compressed version you have.
Will compressing affect the drone's original recording?
No, compression is a process performed on a copy of your original footage. Your drone's original recording files on the SD card will remain untouched unless you explicitly delete them or overwrite them. Always work with copies to protect your original media.
Your Best Compression Approach: A Final Guide
So, we've walked through why compression matters, the codec choices, key settings, a step-by-step workflow, common mistakes, and practical scenarios. Now, let's tie it all together. The ultimate goal is to make your drone footage manageable without sacrificing the stunning quality you captured.
The process is less about finding a magic button and more about making informed decisions based on your needs.
Think of it as a set of filters you apply. You start with your raw, large file, and you decide what level of "filtering" (compression) is needed for where it's going next. If it's for a quick social media post, you'll apply a more aggressive filter for a smaller size.
If it's for archival, you'll use a very light filter, or none at all, preserving as much detail as possible.
Ultimately, the best compression approach for your drone video is the one that meets your quality requirements at the smallest possible file size for its intended use. Always remember to preview your compressed files before distributing them. That quick check can save you from posting or sharing footage that doesn't look its best.