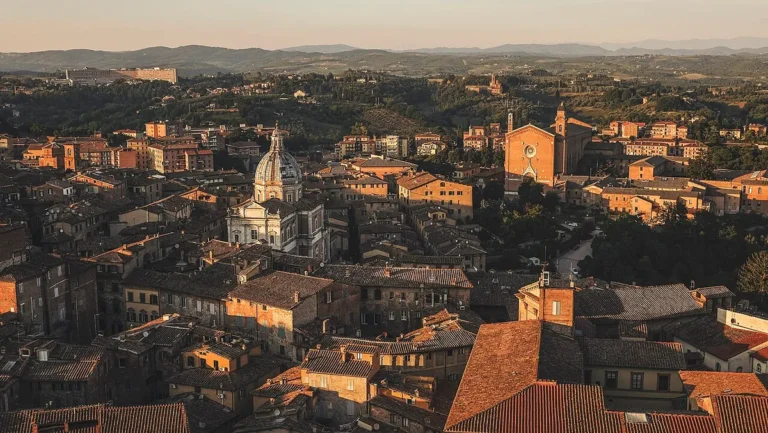
How Do You Edit Real Estate Drone Footage?
Ever watch a real estate video and feel like you're right there, seeing the property from every angle? That's the magic of well-edited drone footage. But if you've flown a drone yourself, you know those raw clips can be a bit… much.
The good news is, learning how to edit real estate drone footage effectively is totally achievable.
It’s all about transforming that aerial perspective into a compelling story for potential buyers. You’ll want to aim for smooth, professional-looking videos that highlight the best of a property. For instance, manufacturer specifications confirm that most modern drones capture footage at resolutions like 4K (3840 x 2160 pixels), which offers incredible detail but requires efficient editing to manage file sizes and processing power.
Quick Answer
Editing real estate drone footage involves selecting the best aerial clips, arranging them logically in video editing software, and applying visual and audio enhancements. Key steps include organizing footage, creating a smooth timeline with appropriate transitions, color correcting for clarity, adding suitable music, and overlaying essential text like property addresses. The goal is to present the property attractively and professionally, keeping videos concise and engaging for online viewers.
Showing Off the Property: Why Visuals Rule Drone Editing
The entire point of using drone footage in real estate is its visual impact. It’s not just about showing a house; it's about showing its scale, its setting, and how it feels to be there. Raw drone footage can be overwhelming, full of long, sweeping shots or quick, shaky movements.
Your editing job is to cut through that, find the best bits, and make them shine.
The Power of Aerial Perspective
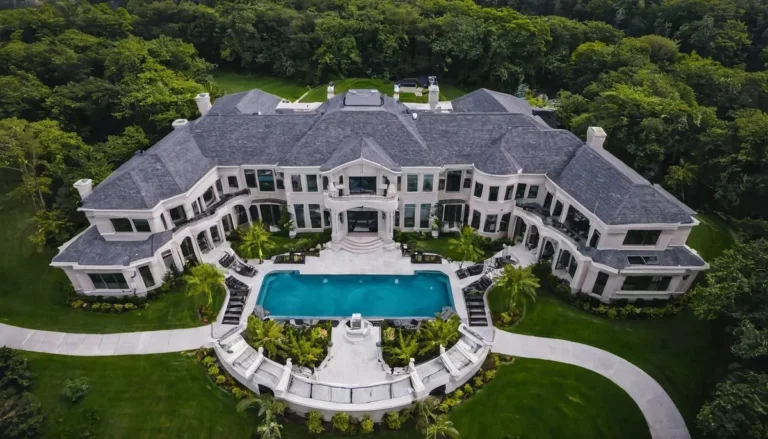
An aerial view provides context that ground-level shots can't match. You can show how a house sits on its lot, its relationship to nearby parks or water, and the overall neighborhood feel. This bird's-eye view helps potential buyers understand the property's layout and its place in the world much faster.
It’s like getting a detailed map and a beautiful landscape painting all in one.
Key Visual Elements to Highlight
When you're sifting through your clips, look for shots that emphasize the property's best features. This could be a slow, steady reveal of the entire house, a smooth orbit around the structure to show all sides, or a high-angle shot that clearly displays the size of the backyard. Manufacturer specifications confirm that many drones offer features like automatic stabilization to minimize inherent shakiness, which is crucial for these kinds of shots.
You want to capture the essence of the property, its architecture, its landscape, and its appeal.
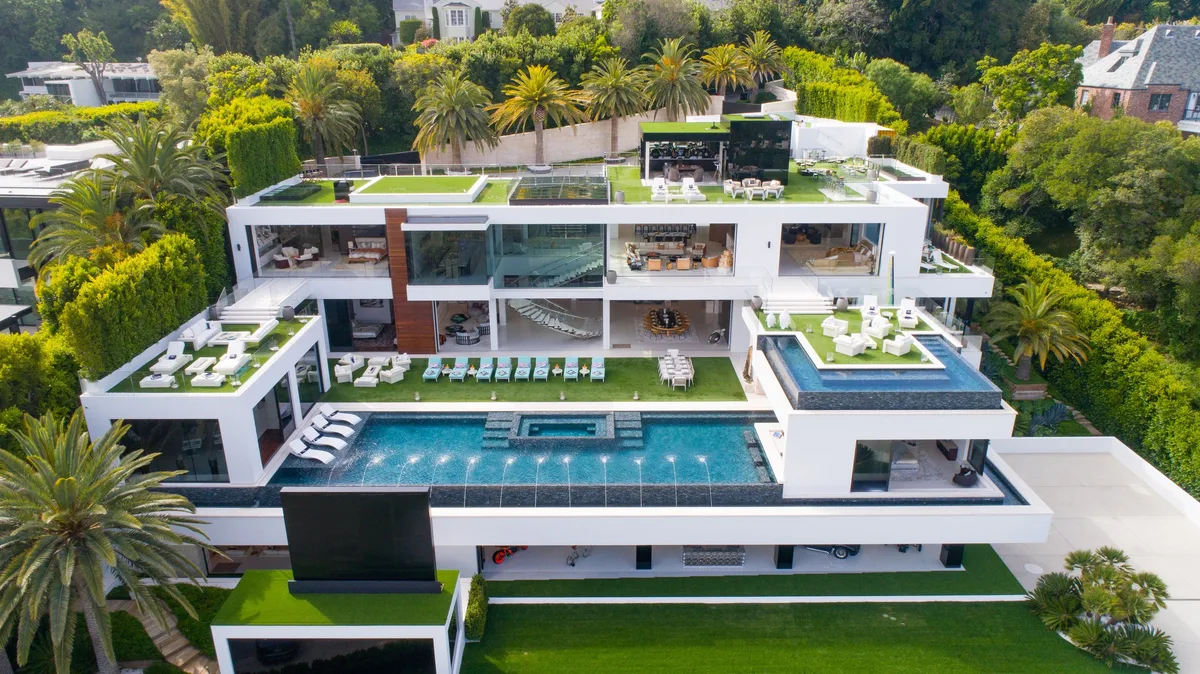
Image source: Bing (Web (fair-use with source credit))
Gear Up: Essential Tools for Drone Video Editing
You don't need a Hollywood-level setup to edit drone footage effectively. Most people can get great results with readily available software and a decent computer. The key is choosing tools that fit your skill level and your budget.
Choosing Your Editing Software
The software you use is your main tool. For beginners, simpler programs offer a gentle learning curve. As your skills grow, you might want to explore more advanced options.
- User-Friendly & Free/Low-Cost:
- iMovie (Mac): Comes pre-installed on Apple devices, it's intuitive and great for basic edits.
- Windows Video Editor (Windows): Built into Windows 10 and 11, it’s basic but functional for trimming and combining clips.
- CapCut (Mobile & Desktop): A very popular free option known for its robust features and ease of use across devices.
- More Advanced & Powerful:
- DaVinci Resolve: Offers professional-grade editing, color correction, and audio tools, with a very capable free version.
- Adobe Premiere Pro: Industry-standard software, powerful but requires a subscription.
- Final Cut Pro (Mac): A professional, one-time purchase option for Mac users, known for its speed and efficiency.
Aggregate user reviews often point to CapCut and DaVinci Resolve's free version as excellent starting points that don't limit you too much as you learn.
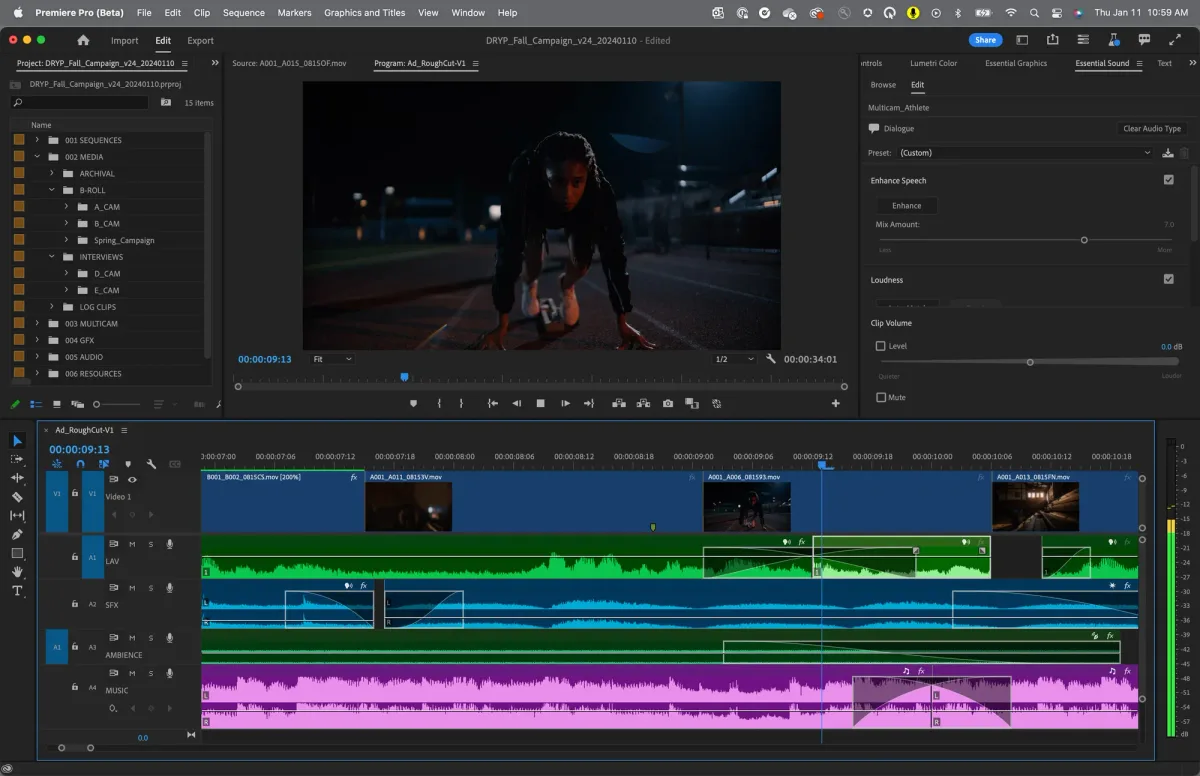
Image source: Bing (Web (fair-use with source credit))
Hardware Considerations
While software is key, your computer's capabilities matter. Editing high-resolution video, especially 4K footage, can be demanding.
- Processor (CPU): A faster processor means quicker rendering and smoother playback.
- RAM: More RAM (16GB is a good minimum, 32GB is better for 4K) allows your software to handle multiple video files and effects without slowing down.
- Storage: Video files are large. An SSD (Solid State Drive) will significantly speed up loading times compared to a traditional HDD. You’ll also need plenty of space, external drives are a good idea.
- Graphics Card (GPU): Many editing programs use the GPU to accelerate tasks like rendering and applying effects.
The Editing Workflow: Step-by-Step
Turning raw drone footage into a polished real estate video follows a clear path. It’s about taking individual pieces and assembling them into a cohesive, attractive package that tells a story about the property.
Step 1: Organize and Select Your Best Shots
Before editing, go through all recorded clips. Delete anything shaky, poorly framed, or that doesn't add value. You're looking for gems: smooth fly-bys, scenic reveals, and detailed shots.
Think quality over quantity.
Step 2: Build Your Timeline: Sequencing for Impact
This is where you assemble your video. Drag selected clips onto the editing timeline in the order you want them. A common approach starts with a wide, establishing shot that shows the property and its surroundings.
Then, gradually move to closer shots of the house and its key features.
Step 3: Smooth Moves: Mastering Transitions
Transitions connect one clip to the next. For real estate, simple is usually best.
- J-cuts and L-cuts: Audio from one clip starts before or continues after the video, creating a smoother flow.
- Simple Cuts: Cutting directly from one shot to the next is often the cleanest.
- Fades: A gentle fade to black or white can be used for scene changes or to indicate time passage.
Avoid flashy transitions like spins or wipes; they look unprofessional and detract from the property.
Step 4: Perfecting the Look: Color Correction and Grading
Drone footage, especially from different times of day or weather, can look inconsistent. Color correction fixes these issues.
- Exposure and Contrast: Ensure the image is neither too dark nor too bright, and that details are visible in shadows and highlights.
- White Balance: Adjusts colors so whites appear true white, preventing unnatural color casts.
- Saturation: Tweak color intensity for a natural, appealing look, but don’t overdo it.
Manufacturer specifications often detail the color profiles a drone camera can capture, useful as a reference.
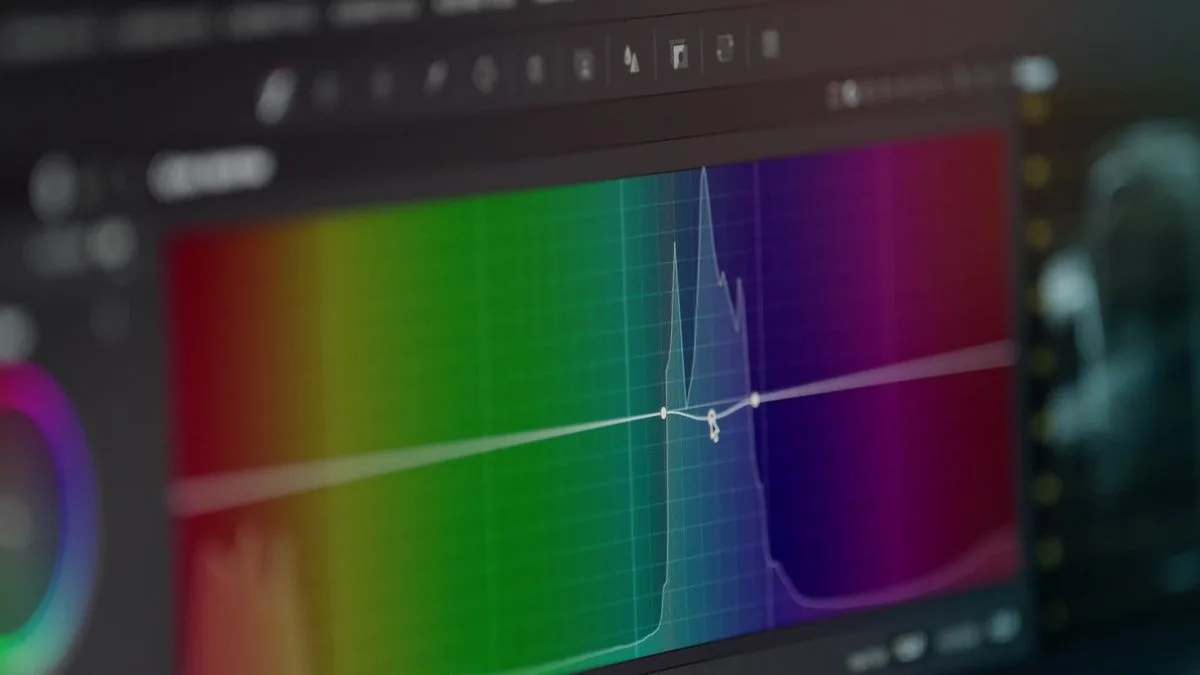
Image source: Bing (Web (fair-use with source credit))
Step 5: Setting the Mood: Music and Audio Balance
Background music sets the tone. Choose something upbeat and pleasant, but ensure it doesn't overpower visuals or voiceovers. Instrumental tracks are usually safe.
- Royalty-Free Music: Use music you have rights to. Many services offer royalty-free tracks.
- Volume Control: Music should be present but subtle, fading for dialogue and rising during dynamic sequences.
- Sound Effects (Sparingly): A subtle whoosh for a quick fly-by can add polish, but use them minimally.
Common Pitfalls: Mistakes to Avoid in Drone Footage Editing
It's easy to make editing choices that undermine your drone footage. Awareness of common mistakes ensures your final video looks professional and effective.
Too Much Shaky Footage
Minor vibrations can occur. Relying solely on handheld camera movements or failing to use stabilization in post-production leads to jarring clips. Software stabilization tools are effective, smoothing out minor jitters without making footage look unnatural.
Overusing Fancy Transitions
Real estate videos should feel polished. Overuse of flashy transitions, spins, page peels, complex wipes, looks amateur. They distract from the property and can make the video look dated.
Simple cuts, dissolves, or crossfades are more professional choices.
Ignoring Color and Lighting Issues
Drone footage can be tricky. Sunlight glare, deep shadows, or off-color casts can make a property look less appealing. If clips don't match in color and brightness, it looks sloppy.
As of 2026, color correction tools are straightforward. Ensure consistent, natural-looking colors and exposure across all shots to present the property accurately.
Pacing Problems: Too Fast, Too Slow
A video that rushes details or lingers too long on uninteresting shots loses viewer engagement. A rhythm that guides viewers smoothly through the property is key. Short, impactful clips interspersed with longer, revealing shots work best.
Aim for conciseness; 60-90 seconds is often ample.
Distracting Background Noise or Music
Unwanted wind noise, engine hum, or overly loud music can ruin a video. Ensure your audio is clean. If adding music, it should complement visuals, not compete.
Keep music levels moderate and choose tracks that enhance mood without intrusion.
Pro Tips for Standout Real Estate Drone Videos
Elevating drone footage involves strategic approaches during shooting and editing. These tips can make properties more attractive to buyers.
Shooting Smarter for Easier Editing
The best editing starts with the best footage. When flying, think about the final video. Capture a variety of shots: wide establishing shots, medium shots from different angles, and tighter shots highlighting details.
Smooth, controlled movements are crucial. Manufacturer specifications confirm that drones with advanced 3-axis gimbal stabilization are essential for smooth aerial footage straight from the camera.
The "Golden Hour" Advantage
Professionals shoot during the "golden hour", shortly after sunrise or before sunset. The light is softer, warmer, and casts longer, more flattering shadows. This light makes properties look extraordinary and reduces harsh contrast difficult to fix in editing.
Varying Your Shots for Dynamic Footage
Don't just fly in a straight line repeatedly. Mix movements. Try orbiting the house, slow reveals of the front door, or dramatic downward shots to show the property's footprint.
A variety of angles and movements keeps viewers engaged and showcases the property best. Consider what a buyer would want to see if they were walking around for the first time.
Keeping it Concise: The Power of Brevity
In today's digital world, attention spans are short. A lengthy, rambling drone video won't be watched through. Aim for impact.
Get straight to the point, showcase highlights efficiently, and keep video length focused, 60-120 seconds is ideal for online listings. Every second should earn its place.
Final Thoughts: Making Your Listings Shine
You've now got a solid understanding of how to take raw drone footage and transform it into something that truly sells. It's a process that blends technical skill with a good eye for what makes a property appealing. By organizing your shots, mastering your editing software, and paying attention to details like color and pacing, you can create videos that significantly boost your real estate listings.
Remember, the goal is to guide potential buyers through the property virtually, giving them a clear, attractive, and informative preview. This polished presentation can make a huge difference in attracting interest and getting showings scheduled.
Final Recommendation: Elevate Your Listings with Polished Drone Video
Investing in learning drone video editing pays off by making properties look more attractive and professionally presented. It's not just about pretty shots; it's about conveying value and scale effectively to buyers scanning listings online. By following the steps outlined, from organizing footage to color correction and music selection, you can create compelling visuals that stand out.
Start with simpler software and practice consistently. As your skills grow, you can explore more advanced techniques and tools.
Making Your Listings Shine: Putting It All Together
Editing drone footage is ultimately about visual storytelling. You're not just showing a house; you're conveying a lifestyle and an opportunity. By carefully selecting your best clips, arranging them in a logical sequence, and refining the visuals and audio, you create a powerful marketing tool.
Think of each edit as a brushstroke on a canvas, bringing the property to life for potential buyers. The professional polish that comes from good editing can significantly impact how quickly a property captures attention and generates interest.
What Buyers See: The Impact of Edited Drone Footage
The difference between raw drone footage and edited real estate video is substantial. Raw footage often lacks structure, can be visually overwhelming, and may not highlight the property's best attributes effectively. Edited video, however, uses pacing, music, and careful shot selection to create a compelling narrative.
This visual coherence helps buyers quickly understand the property's layout, its surroundings, and its unique selling points, all crucial factors in their decision-making process. As of 2026, visual engagement metrics consistently show that properties with high-quality video tours receive significantly more clicks and inquiries.