How Do You Film Buildings With a Drone?
So, you're wondering, "How do you film buildings with a drone?" It's a question many creators ask when they want to capture stunning architectural footage. You're not just flying a camera; you're composing a visual narrative that highlights the design, scale, and character of a structure.
Our research shows that mastering drone building videography involves a blend of technical skill, creative vision, and adherence to regulations. For instance, manufacturer specifications for many prosumer drones indicate 4K video recording capabilities at up to 60 frames per second, providing significant flexibility for editing. We'll guide you through the essential elements to achieve professional-quality aerial shots of any building.
Quick Answer: Capturing Stunning Building Footage with Your Drone
Film buildings by focusing on dynamic angles and smooth drone movements. Use cinematic flight modes and practice gentle joystick control. Select appropriate camera settings like 4K resolution and a flat color profile for editing flexibility.
Always prioritize pre-flight planning and adhere to airspace regulations.
Angle & Composition: Making Buildings Look Their Best
When you're looking at a building from the sky, it’s easy to fall into a routine of just flying straight up. But to really make a structure pop, we need to think creatively about how we frame it. Your goal is to show off the building's unique features and its presence in its environment, not just a bird's-eye view.
- The Reveal: Start your shot from a distance, perhaps with a different element in the foreground, then smoothly fly towards or around the building to reveal it. This builds anticipation and draws the viewer in.
- Eye-Level and Up: Often, the most compelling shots are at or just above the building's eye level. This perspective allows you to showcase architectural details on facades, entryways, and upper floors that would be missed from a purely top-down view.
- Orbiting Shots (Point of Interest): This is a classic technique for a reason. Program your drone to fly in a perfect circle around the building while keeping the camera locked onto the center. Most modern drone apps offer a "Point of Interest" (POI) mode that automates this, creating a seamless 360-degree view of the structure.
- Detailing the Details: Don't be afraid to get closer. Fly in to capture intricate stonework, unique window designs, roofline textures, or decorative elements. These close-ups add visual texture and depth to your overall footage.
- Leveraging Leading Lines: Buildings often provide natural lines like edges, walls, or pathways that can be used to guide the viewer's eye towards the main subject. Position your drone so these lines lead into the frame and towards the building's focal point.
Drone Movement: Smoothness for Professional Shots
The way your drone moves is just as critical as where it's pointed. Stiff, jerky movements can instantly make even the most impressive building look amateurish. Think of your drone as an extension of a steady camera rig, not a toy flying erratically.
Smooth, deliberate motion is key to creating a professional cinematic feel.
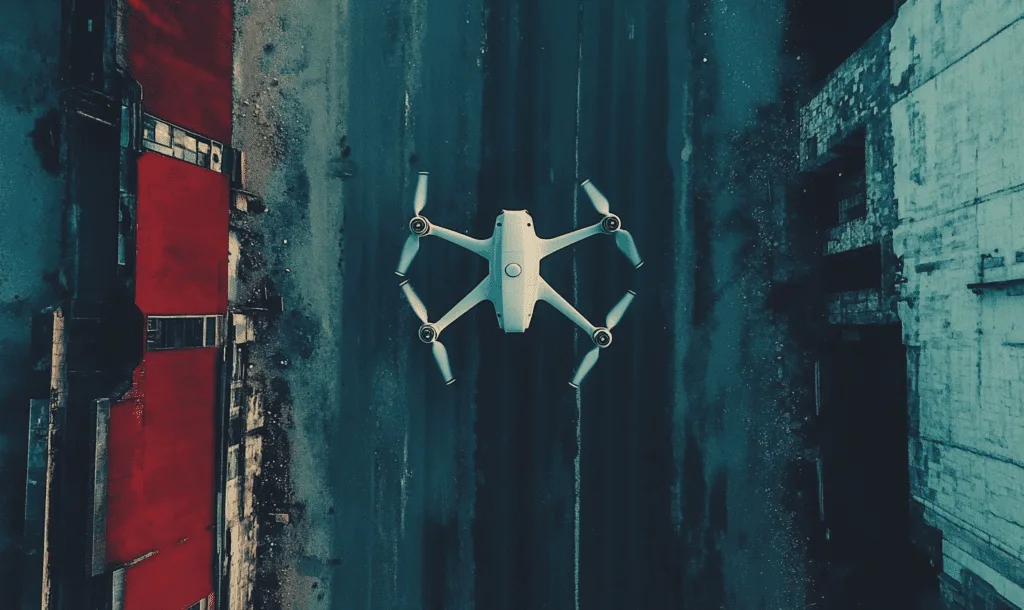
- Gentle Inputs: Always use smooth, slow joystick inputs when flying. Avoid sharp, sudden movements. If your drone has a "cinematic mode" or similar setting, engage it. These modes typically reduce stick sensitivity, making it much easier to achieve slow, controlled flight.
- Controlled Ascents and Descents: When flying up or down, maintain a consistent, slow speed. This allows the building to gradually fill or leave the frame, providing a more pleasing visual experience for the viewer. A sudden ascent can be jarring.
- Easing into Stops: When you need to halt your drone's movement, ease off the joystick gradually rather than snapping it back to neutral. This prevents abrupt stops and maintains the flow of your shot.
- Practicing Flight Paths: Before you fly over a valuable building, practice your intended movements in an open area. Get a feel for how the drone responds to your inputs so you can execute shots confidently when it counts.
Camera Settings: Getting the Right Look for Architecture
What your drone's camera is doing in terms of settings directly impacts the quality and usability of your footage, especially if you plan on editing and color grading. Getting these right from the start saves a lot of headaches later.
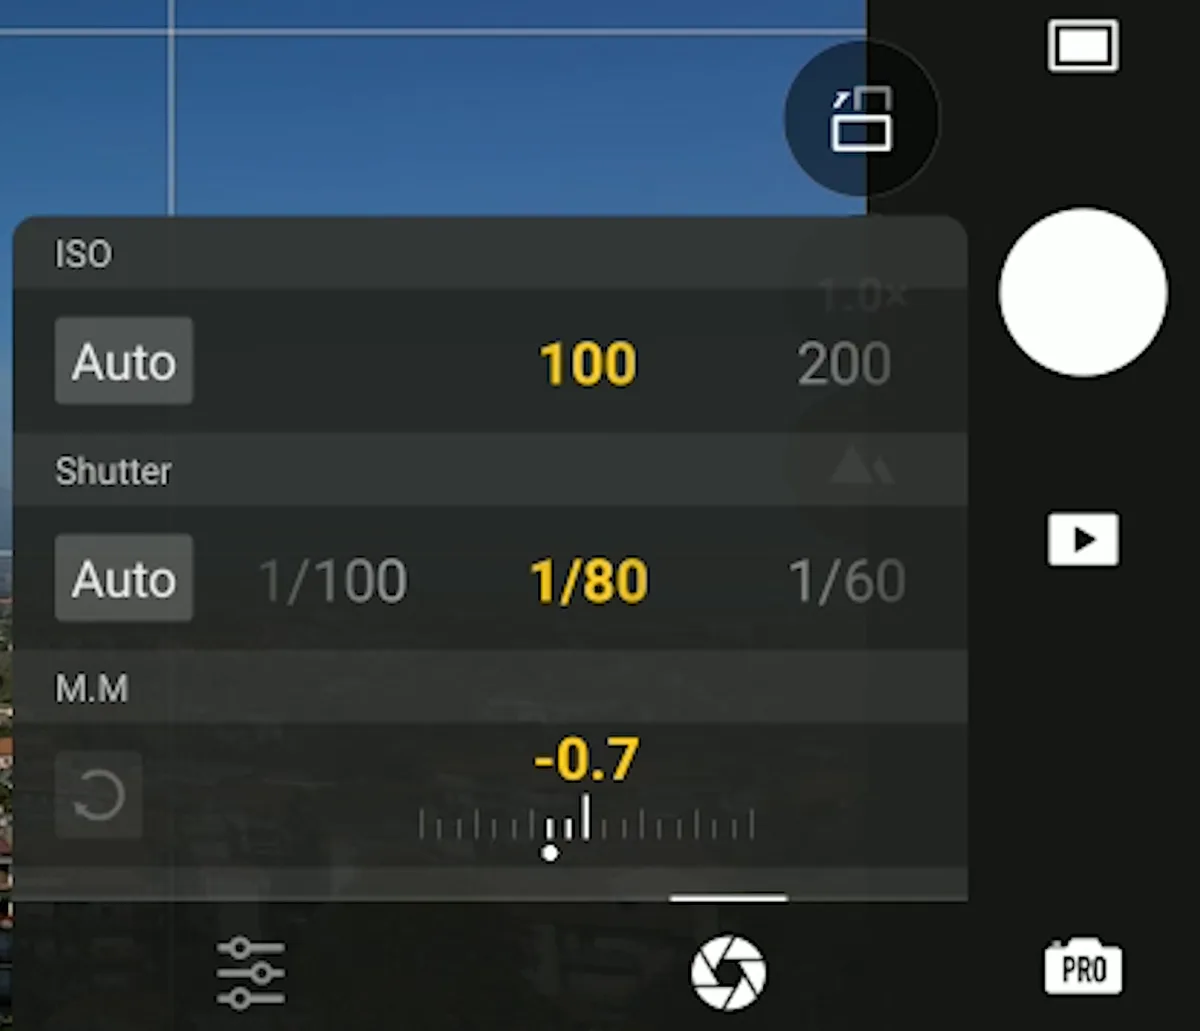
- Resolution and Frame Rate: For most architectural projects, recording in 4K resolution is recommended. This provides ample detail and allows for cropping or zooming in post-production without significant quality loss. A standard frame rate of 24 or 30 frames per second (fps) offers a natural, cinematic look. If you intend to incorporate slow-motion effects, aim for higher frame rates like 60 fps or even 120 fps if your drone supports it.
- Color Profile Selection: Many drones offer various color profiles. For maximum flexibility in editing, especially color grading, choosing a "flat" or "log" profile (if available) is ideal. These profiles capture a wider dynamic range and desaturate colors, providing more room to adjust exposure, contrast, and color balance later. If you're new to color grading or need footage ready to use with minimal tweaking, a standard or vivid profile might suffice, depending on your desired aesthetic.
- Shutter Speed Rule: To achieve a natural motion blur that looks pleasing to the eye, it's common practice to set your shutter speed to roughly double your frame rate. For example, if you're shooting at 30 fps, set your shutter speed to around 1/60th of a second. This rule helps ensure that fast-moving elements or the drone's own motion appear smooth, not choppy.
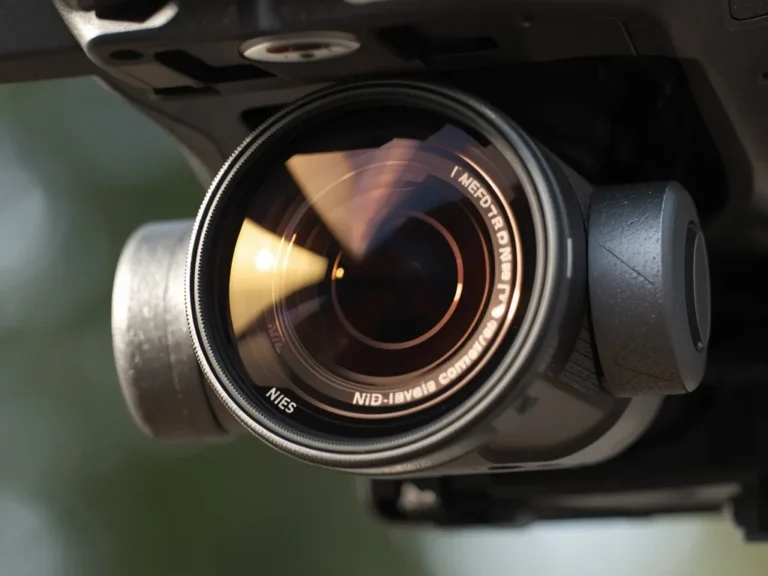
- Using ND Filters: Neutral Density (ND) filters are essential for controlling exposure, especially in bright sunlight. They act like sunglasses for your drone's camera, reducing the amount of light entering the lens. This allows you to maintain the desired shutter speed (following the 1/double frame rate rule) without overexposing your footage. Think of them as crucial tools for maintaining creative control over your image in varying light conditions.
Planning Your Aerial Shoot: Safety & Success
Before you even power up your drone, a solid plan is your most important tool. Flying a drone, especially near buildings, requires careful thought about safety, legality, and how you'll achieve the best shots. A well-prepared flight is a successful flight.
- Scout the Location: If possible, visit the building site in person before your drone flight. Walk around the perimeter and look for potential hazards like tall trees, overhead power lines, antennas, or unexpected obstacles. Also, note the direction of the sun throughout the day to determine the best time for lighting.
- Check Weather Conditions: Wind is a major factor. High winds can make flying difficult, compromise smooth flight, and even pose a safety risk. Manufacturer specifications for many drones indicate maximum wind speeds for stable operation, often in the range of 20-29 mph. Rain, fog, and extreme temperatures can also impact drone performance and image quality. Aim for clear, calm days.
- Understand Airspace and Regulations: This is non-negotiable. Familiarize yourself with all local, state, and federal drone regulations. In the United States, the Federal Aviation Administration (FAA) governs drone flight, requiring registration for drones over a certain weight and adherence to specific operational rules. Many areas have restrictions, such as proximity to airports, national parks, or critical infrastructure. Always check airspace maps and any required authorizations before flying. As of 2026, regulations continue to evolve, so staying updated is key.
Common Mistakes to Avoid When Filming Buildings
Even with the best intentions, there are a few common pitfalls that can detract from your drone footage of buildings. Recognizing these early can save you a lot of editing work and help you produce more professional-looking results.
- Ignoring Lighting: Flying at midday under harsh, direct sunlight often results in blown-out highlights and deep, uninteresting shadows. The best light for architectural videography is typically during the "golden hours", shortly after sunrise or before sunset. This soft, warm light sculpts the building's features beautifully.
- Too Much Zoom or Digital Zoom: While some drones have optical zoom capabilities, relying heavily on digital zoom can severely degrade image quality, leading to pixelated and blurry footage. It’s generally better to fly the drone closer to capture detail rather than relying on excessive digital magnification.
- Flying Too Close, Too Fast: While capturing details is important, flying too close to walls or moving erratically can create a disorienting effect and even pose a risk of collision. Always maintain a safe distance and prioritize smooth, controlled movements.
- Not Shooting Enough B-roll: Think beyond just the main exterior shots. Capture establishing shots showing the building in its environment, close-ups of unique architectural elements, and even ground-level perspectives to add variety. This extra footage, known as B-roll, is invaluable in editing to create a dynamic and engaging video.
- Forgetting About the Surroundings: A building doesn't exist in a vacuum. Consider how it relates to its environment. Showing nearby landmarks, landscaping, or the context of the neighborhood can provide valuable context and enhance the overall narrative of your footage.