Why Is My Drone Footage Overexposed?
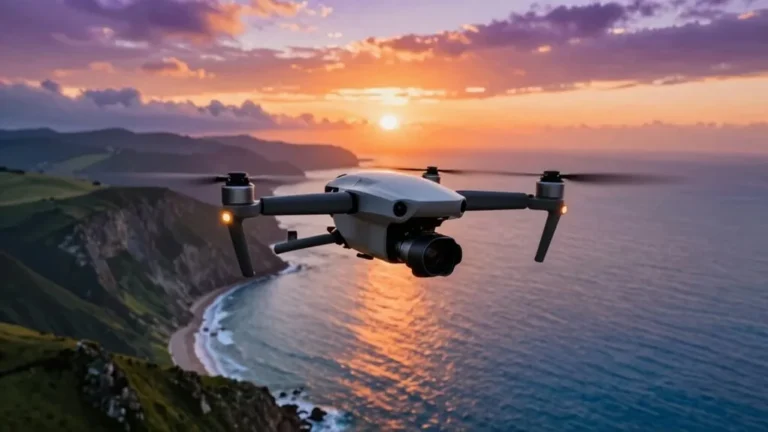
You've landed your drone, reviewed the footage, and discovered everything looks overly bright, losing all detail. This common issue means your footage is overexposed. It happens when the camera sensor receives too much light, effectively "bleaching" the image.
Don't worry, this problem is usually fixable and preventable. By understanding your drone's camera settings and a few key principles, you can ensure your shots are perfectly balanced and capture the detail you intend.
Quick Answer
Drone footage is overexposed because the camera's sensor is receiving more light than it can process, leading to washed-out highlights and lost detail. This typically occurs due to incorrect settings like high ISO, slow shutter speed, or a wide aperture in bright conditions, or a lack of protective filters. Adjusting these camera controls and potentially using Neutral Density (ND) filters are the primary ways to correct and prevent overexposure, ensuring a properly balanced image.
Understanding Drone Footage Overexposure
Overexposure happens when the combination of light reaching your drone's camera sensor is too intense for it to capture a balanced image. Think of it like staring into the sun; your eyes can't process that much light, and everything goes white. Your drone's camera sensor works similarly.
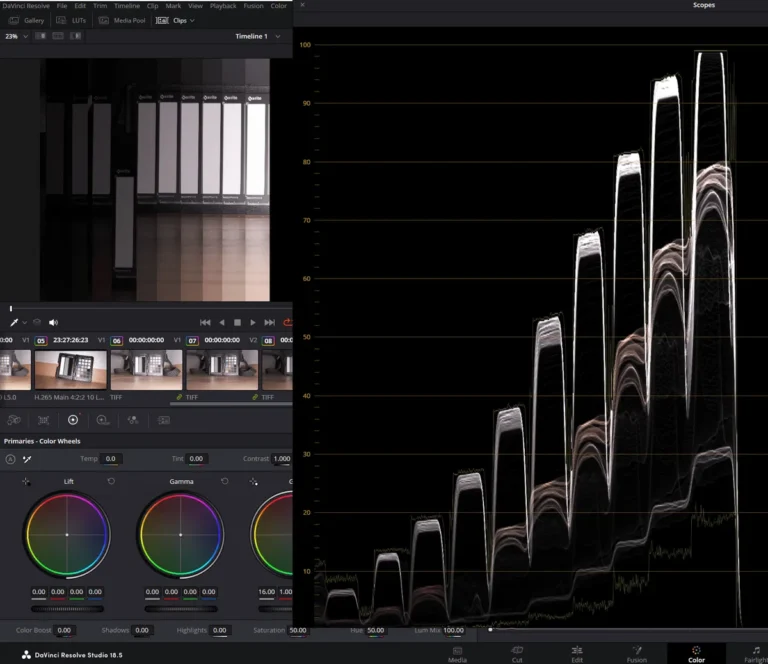
When too much light hits it, the brightest parts of your image get "clipped," meaning the information there is lost forever, resulting in that washed-out, blown-out look.
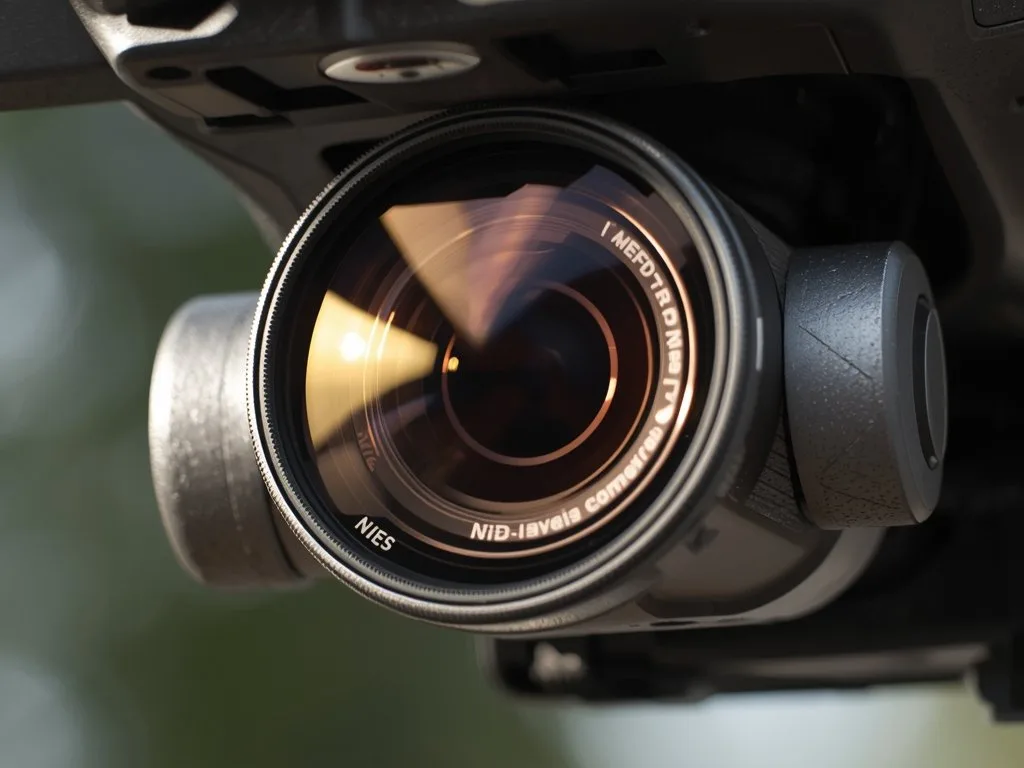
Image source: Bing (Web (fair-use with source credit))
This isn't a defect with your drone, but rather how photography and videography work. The goal is always to strike a balance, capturing detail in both the brightest (highlights) and darkest (shadows) parts of the scene. As of 2026, modern drone cameras offer advanced controls to help achieve this, but user understanding is key.
What Does Overexposed Footage Actually Look Like?
Overexposed footage is characterized by areas that are excessively bright, to the point where colors are muted or completely lost, and fine details vanish. You'll often see a lack of contrast, and the overall image will appear harsh or flat. In the sky, clouds might be pure white blobs without any discernible texture.
On the ground, bright surfaces like sand, snow, or light-colored buildings can lose all definition, appearing as blown-out white patches. This is essentially a loss of visual information in the highlight areas.
Why Your Drone Camera Sees Too Much Light
Your drone's camera tries to capture a scene by allowing light to hit its digital sensor. The amount of light is controlled by three main factors, often called the "exposure triangle": ISO, shutter speed, and aperture. If any of these are set incorrectly for the current lighting conditions, or if the light is simply too intense, overexposure occurs.
For instance, if the camera is set to be highly sensitive to light (high ISO) and the shutter stays open for a long time (slow shutter speed) during bright daylight, it will undoubtedly capture too much light.
Your Drone Camera's Exposure Controls: The Key Settings
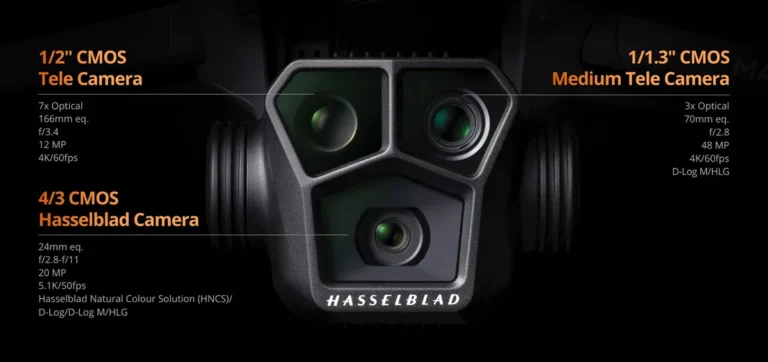
Most modern drones offer manual control over camera settings, giving you the power to override the automatic systems. This is where you can directly combat overexposure. The three main settings to adjust are ISO, shutter speed, and aperture.
Understanding how each works is crucial for getting the shot right.
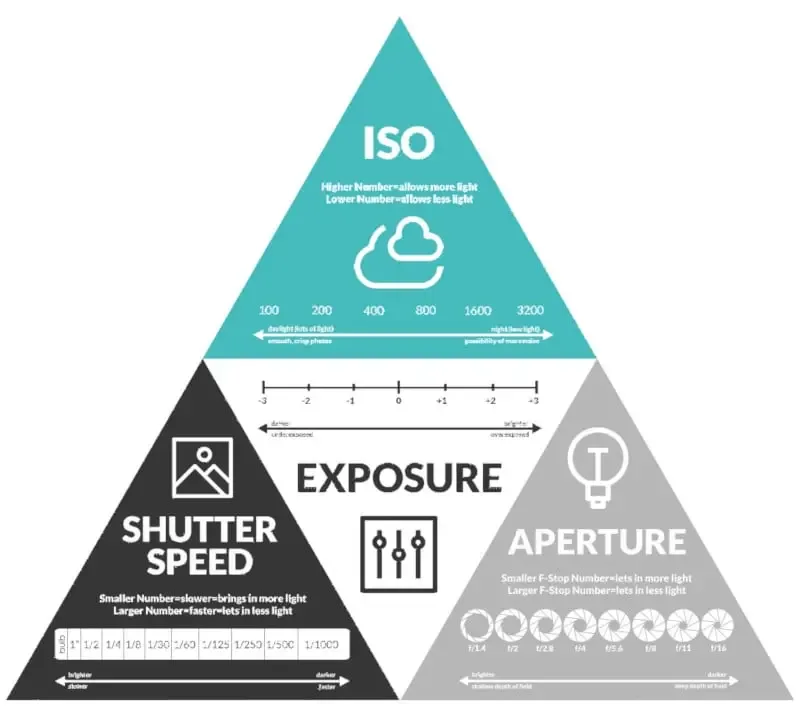
Image source: Bing (Web (fair-use with source credit))
Adjusting ISO: Sensitivity to Light
ISO refers to how sensitive your camera's sensor is to light. A lower ISO (like 100) means the sensor is less sensitive, which is ideal for bright conditions because it generates less digital noise and results in a cleaner image. A higher ISO (like 800, 1600, or more) makes the sensor more sensitive, which is useful for low-light situations but can quickly lead to overexposure in bright daylight by amplifying existing light signals too much.
- For bright daylight, always aim for the lowest native ISO your drone offers, typically ISO 100 or ISO 200.
- For low light, you might need to increase ISO, but be mindful of the trade-off in image quality and potential for overexposure if mixed with other too-lenient settings.
Shutter Speed: How Long Light Hits the Sensor
Shutter speed dictates how long the camera's shutter remains open, allowing light to reach the sensor. A fast shutter speed (e.g., 1/1000th of a second) lets in less light, freezing motion. A slow shutter speed (e.g., 1/30th of a second) lets in more light, allowing for smoother motion blur but increasing the risk of overexposure in bright conditions.
- In bright sunlight, you'll generally need a faster shutter speed to limit the amount of light. Experimenting with speeds like 1/250s, 1/500s, or even 1/1000s is a good starting point.
- To avoid jerky footage, you need to balance shutter speed with frame rate (how many frames per second your video is recorded at). A common guideline for cinematic video is to set your shutter speed to double your frame rate (e.g., 1/60s for 30fps). This can be challenging in bright light without ND filters.
Aperture: The Lens Opening's Role
Aperture is the adjustable opening within the camera lens that controls how much light passes through to the sensor. It's measured in f-numbers (f/stops). A wider aperture (smaller f-number, like f/1.8) lets in more light and creates a shallow depth of field (blurry background).
A narrower aperture (larger f-number, like f/8) lets in less light and increases the depth of field (more of the scene in focus).
- For bright conditions, if your drone has an adjustable aperture, you'll want to "close it down" to a smaller opening. This means selecting a higher f-number (e.g., f/5.6, f/8).
- Many entry-level and even some mid-range drones have a fixed aperture, meaning you can't adjust it. In these cases, you'll rely more heavily on ISO and shutter speed.
When Settings Aren't Enough: The Power of ND Filters
Sometimes, even with your ISO as low as possible and your shutter speed set fast, you're still letting in too much light. This is especially true if you're trying to achieve a specific look, like smooth motion blur for video, which requires a slower shutter speed. This is where Neutral Density (ND) filters come in.
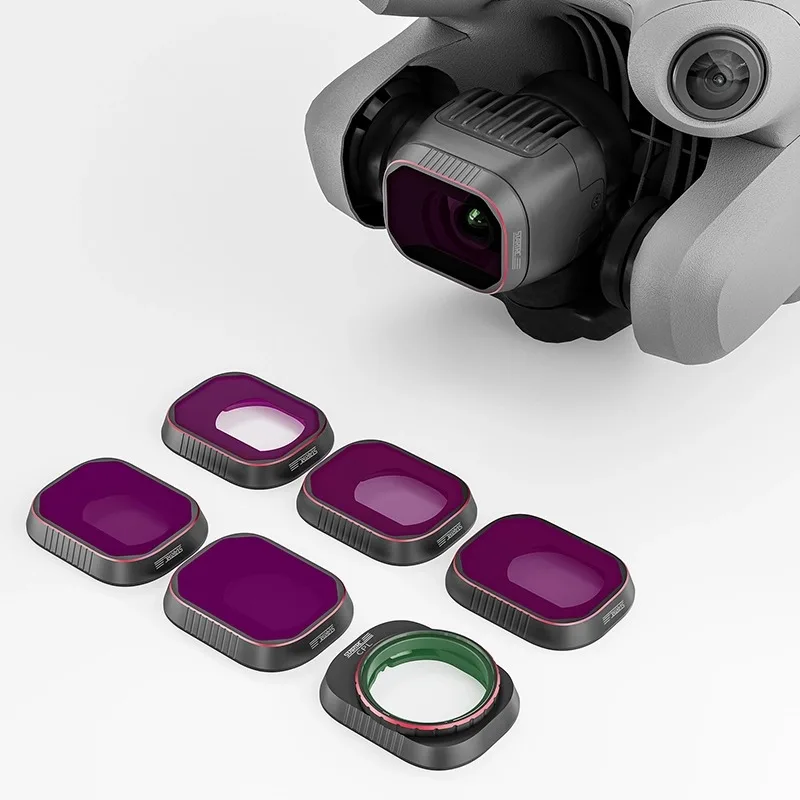
Image source: Bing (Web (fair-use with source credit))
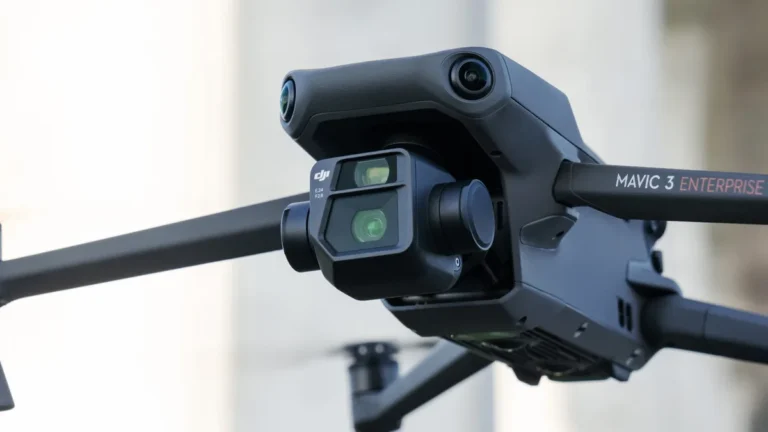
ND filters are essentially sunglasses for your drone's camera lens. They reduce the overall amount of light entering the camera without altering the colors or contrast. They allow you to use slower shutter speeds or wider apertures in bright conditions, giving you more creative control and preventing overexposure.
What Are ND Filters and Why Use Them?
ND filters are designed to uniformly reduce light intensity across the visible spectrum. This means they dim the image without affecting color balance, which is crucial for maintaining accurate colors in your footage. You might use an ND filter if:
- You're shooting video in bright daylight and want to maintain the 180-degree shutter rule for natural motion blur. Without an ND filter, you'd need an extremely fast shutter speed that makes motion look choppy.
- You want to use a wider aperture for a shallower depth of field in bright conditions, but the camera is still overexposing.
- You're flying in intensely bright environments where even the fastest shutter speed isn't enough to prevent blown highlights.
Choosing the Right ND Filter Strength
ND filters come in various strengths, indicated by numbers like ND8, ND16, ND32, and ND64. These numbers refer to how many stops of light the filter blocks:
- ND8: Blocks 3 stops of light. Reduces light by a factor of 8. Good for moderately bright conditions or when you need a slightly slower shutter speed.
- ND16: Blocks 4 stops of light. Reduces light by a factor of 16. A very common choice for general daylight shooting.
- ND32: Blocks 5 stops of light. Reduces light by a factor of 32. Useful for very bright, sunny days.
- ND64: Blocks 6 stops of light. Reduces light by a factor of 64. Ideal for extremely bright conditions or when you need a very slow shutter speed.
Some advanced drones also feature variable ND filters, which allow you to adjust the strength continuously, offering more flexibility. The ideal filter strength depends entirely on the ambient light and your desired camera settings.
Common Environmental Factors Causing Overexposure
Beyond camera settings and filters, the environment you're flying in plays a huge role in whether your footage ends up overexposed. Bright, reflective, or harsh lighting can trick your camera or simply overwhelm its capabilities, even with optimal settings.
The Impact of Bright Sunlight and Sun Angle
The intensity of sunlight varies greatly throughout the day. Midday sun, especially during summer months, is the harshest. It shines directly down, creating strong shadows and intensely bright highlights.
Flying directly into this harsh midday sun is a surefire way to overexpose your footage, no matter how you adjust your camera. The sun's angle also matters; low-angle sun during sunrise and sunset can be intensely bright and cast long shadows, requiring careful exposure management.
The Problem with Reflective Surfaces
Bright, light-reflecting surfaces can significantly increase the amount of light hitting your drone's camera sensor from unexpected angles. Areas like large bodies of water, snow-covered landscapes, or even light-colored sandy beaches can bounce intense sunlight back up towards your drone. Your camera's exposure meter might interpret this reflected light as the overall scene brightness and adjust settings to compensate, inadvertently leading to overexposure in other, less reflective parts of the frame.
Troubleshooting Your Overexposed Drone Footage: A Step-by-Step Workflow
If your drone footage is consistently coming out overexposed, it's time to systematically troubleshoot. This workflow helps you identify the root cause and apply the correct fix.
Step 1: Assess Your Current Settings
Before you fly again, check your drone's camera settings. Are you in Auto mode or Manual (Pro) mode? If in Auto, the drone is making all the decisions, which can be problematic in tricky lighting.
If you're in Manual, note down your current ISO, shutter speed, and aperture (if adjustable). This baseline is critical.
Step 2: Adjust ISO and Shutter Speed
If you're in Manual mode, start by lowering your ISO to the lowest native setting (usually 100 or 200). Then, increase your shutter speed. For daylight, try 1/250s as a starting point.
Take a test shot or short video clip. If it's still overexposed, increase the shutter speed further (e.g., to 1/500s, 1/1000s). If it's too dark, you'll need to decrease the shutter speed or consider your aperture.
Step 3: Evaluate Aperture (If Adjustable)
If your drone allows aperture adjustment, and you're still struggling with overexposure after adjusting ISO and shutter speed, try "closing down" the aperture. Select a higher f-number, such as f/5.6 or f/8. This physically restricts the amount of light entering the lens, acting like a built-in ND filter.
Remember, closing the aperture also increases your depth of field.
Step 4: Introduce an ND Filter (If Needed)
If you've maxed out your shutter speed (or are using a shutter speed that gives you desired motion blur) and your ISO is at its minimum, but the image is still too bright, it's time for an ND filter. Attach the appropriate strength ND filter to your drone's lens and re-evaluate your exposure. This is often the most effective solution for bright, sunny conditions where you need more control.
Step 5: Adjust Flight Path and Timing
Consider your environment. If you're flying towards a bright sun, reposition yourself. If you're over water or snow, be extra vigilant with your exposure.
Flying during the "golden hour" (early morning or late afternoon) provides softer light that's easier to expose correctly and generally looks more pleasing.
Common Mistakes That Lead to Overexposed Drone Shots
Even with the right tools and knowledge, it's easy to fall into common traps that lead to overexposed footage. One frequent error is relying too heavily on Auto mode, especially in environments with rapidly changing light, like flying near clouds or shooting into the sun. Auto mode can be slow to react, often getting stuck on an exposure setting that’s too bright.
Another pitfall is forgetting about the power of reflective surfaces. Shooting over water on a sunny day might trick your camera into thinking the whole scene is brighter than it is, pushing the exposure too high. This is especially problematic when your drone’s meter is trying to balance a very bright water reflection with darker land.
Forgetting to check your ND filter situation before a flight is also a big one. If you planned to shoot video with a specific shutter speed in mind but didn't bring the correct ND filter for the bright sun, you'll likely end up with blown highlights. It’s always better to have a range of ND filters with you than to wish you had them later.
Frequently Asked Questions About Overexposed Drone Footage
Can I Fix Overexposed Footage After Shooting?
Sometimes, you can recover some detail from slightly overexposed footage in post-production using editing software. However, if the highlights are severely blown out (pure white with no color or detail), that information is permanently lost and cannot be recovered. It's always best to get the exposure right while filming.
What's the Difference Between Overexposure and Underexposure?
Overexposure means too much light has entered the camera, making the image too bright, with blown-out highlights and lost detail in bright areas. Underexposure is the opposite; too little light reaches the sensor, resulting in an image that is too dark, with crushed shadows and lost detail in dark areas. Both are undesirable for a balanced image.
How Do I Know Which ND Filter to Use?
The ND filter you need depends on the lighting conditions and your desired shutter speed for video. If you're shooting video at 30fps, a shutter speed of 1/60s is often desired for natural motion blur. In bright sunlight, this might still be too much light.
An ND8 filter might be sufficient, but if it's extremely bright, you might need an ND16, ND32, or even ND64 to achieve the correct exposure at that shutter speed. Always experiment.