Why Does My Drone Video Look Choppy?
So, your drone video looks a bit… jerky? Like a flipbook where some pages are missing? Yeah, that's a super common frustration, and honestly, it can be a real buzzkill when you've just captured some awesome footage.
But don't sweat it! This happens more often than you'd think, and it's usually something we can figure out together.
It’s not usually one big, scary problem, but more like a few little things that can add up. Think of it like this: your drone, your camera, your editing software, and your computer are all parts of a team, and sometimes, one of them isn't pulling its weight, causing that choppy effect. As of 2026, manufacturer specifications still indicate that SD card write speeds below U3 or V30 are common bottlenecks for high-resolution drone recording.
Image source: Bing (Web (fair-use with source credit))
Quick Answer
Drone video looks choppy because of data transfer limitations, either during recording or playback. This often stems from an SD card that can't write fast enough or a computer that struggles to process large video files. Mismatched flight settings, like shutter speed and frame rate, can also cause judder.
Is It Playback or Recording? Pinpointing the Choppiness
The very first step in solving choppy drone video is figuring out when the choppiness occurs. This distinction is key because it points us toward different sets of potential culprits. If the video looks smooth on your drone's controller or mobile app right after landing but becomes choppy when you transfer it to your computer and try to play it there, the issue likely lies with your playback system.
Conversely, if the choppiness is apparent even on the drone’s own display, the problem happened during the flight itself, during the actual recording process.
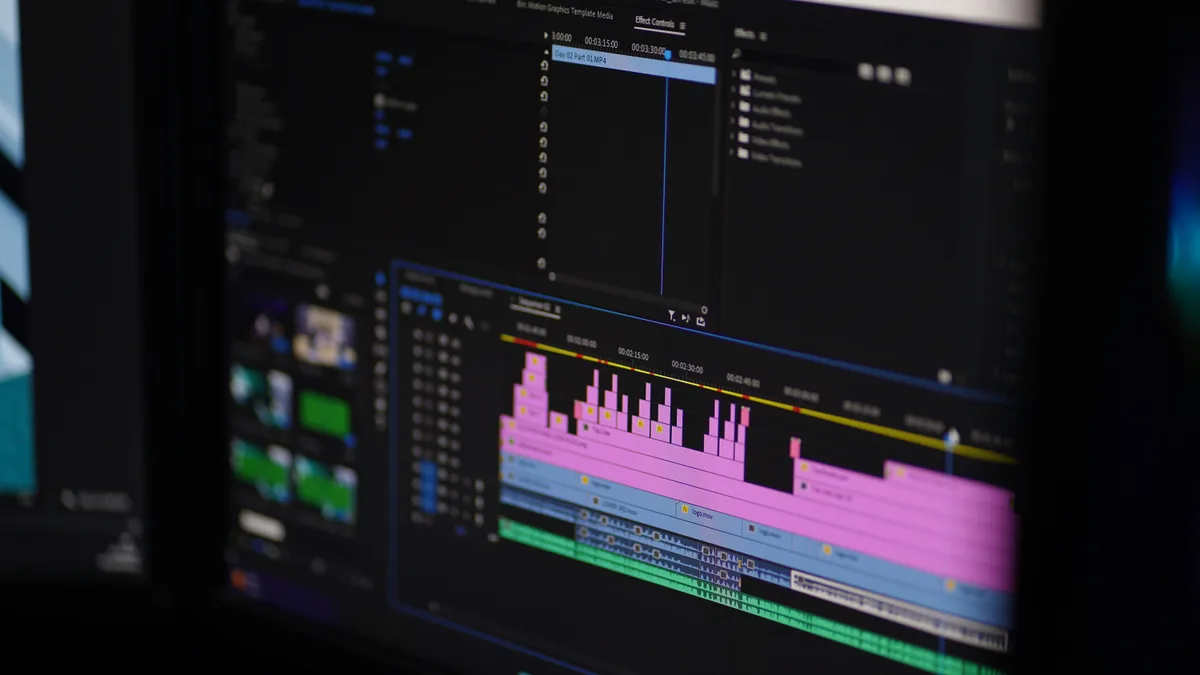
Image source: Bing (Web (fair-use with source credit))
- Choppy Playback on Computer: This points to your computer’s processing power, storage speed, or video editing software.
- Choppy Video Captured by Drone: This suggests an issue with the drone's hardware, settings, or the SD card used during the flight.
When Your Computer Can't Keep Up: Decoding Playback Lag
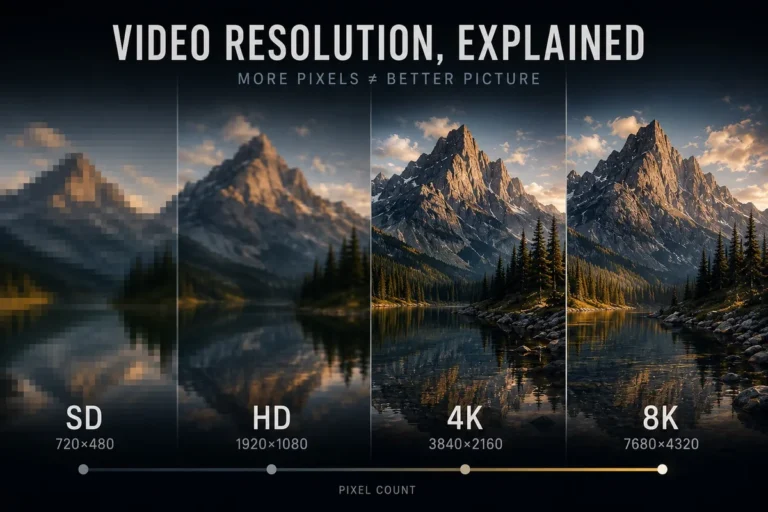
If your drone footage appears silky smooth when you watch it on the device connected to the drone, but then turns into a stuttering mess when you move it to your desktop or laptop, your computer is probably the main suspect. Modern drone footage, especially in 4K resolution and above, generates massive data streams. Not all computers are equipped to handle this demand smoothly.
Checking Your Computer's Power for Video
Editing and even just playing back high-resolution video files requires substantial computing resources. Your computer’s hardware needs to be up to the task.
- Processor (CPU): A faster CPU handles video decoding and processing much better.
- RAM (Random Access Memory): Insufficient RAM forces your computer to use slower storage for temporary data, causing significant slowdowns. We generally recommend at least 16GB of RAM for basic HD editing, and 32GB or more for 4K drone footage.
- Graphics Card (GPU): A dedicated GPU can significantly accelerate video rendering and playback, especially when using editing software that supports hardware acceleration.
Software & Transfer Speed Gotchas
Beyond raw hardware power, other factors influence playback. Video editing software needs to be modern and optimized. Older versions might not efficiently handle newer video codecs, leading to choppy playback.
Additionally, the speed at which you transfer video files from your drone’s SD card to your computer matters. Using a slow USB 2.0 port or a basic card reader can create a bottleneck, making the transfer process agonizingly slow and potentially contributing to playback issues if the data isn’t ready. Editing directly off a fast Solid State Drive (SSD) is far superior to using a traditional Hard Disk Drive (HDD) or an external USB flash drive.
Is Your Drone Missing Frames? Decoding Recording Issues
When choppiness appears even before you transfer footage to a computer, perhaps seen on the drone's controller screen or app, the problem occurred during the actual flight recording. This means the drone itself, or the components it relies on, failed to capture the video data smoothly. These issues can be trickier to diagnose because they involve the device that was airborne, but they are common.
The Crucial Role of Your SD Card
The SD card is arguably the most critical piece of hardware for glitch-free drone recording. Drones capture an enormous amount of data very quickly. If your SD card’s write speed isn’t fast enough, it cannot keep up with the incoming data stream from the drone's camera.
This causes the drone to drop frames, resulting in that characteristic choppy video.
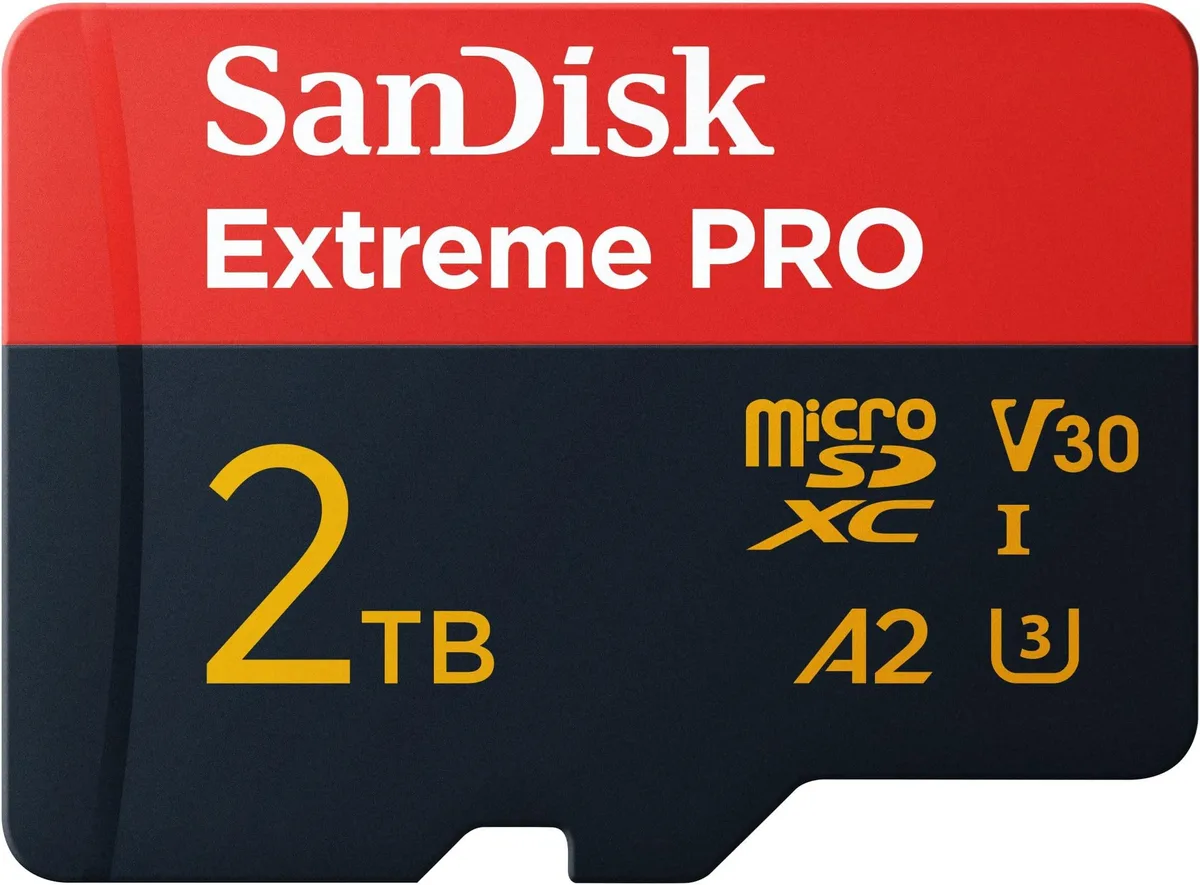
Image source: Bing (Web (fair-use with source credit))
- Write Speed: Look for SD cards with high write speed ratings. Standards like U3 or V30 are generally considered minimums for 4K drone recording, with V60 or V90 cards offering even more headroom for higher bitrates and frame rates.
- Card Health: Older or heavily used SD cards can degrade over time, leading to slower speeds or outright errors. If a card is several years old or has been formatted hundreds of times, consider replacing it. Performing a full format (not just a quick format) on the card, preferably within the drone itself, can sometimes resolve minor corruption issues.
Gimbal, Interference, and Drone Health
The drone's gimbal system is responsible for keeping the camera steady and smooth. If the gimbal motors are struggling, out of calibration, or physically obstructed, it can introduce jerky movements into the footage. Regular calibration, as guided by the drone manufacturer’s software, is essential.
Additionally, strong radio frequency (RF) interference in an area can sometimes disrupt the drone’s internal systems, potentially impacting recording. Finally, in extreme temperatures, drones can overheat, leading to performance throttling that might manifest as dropped frames.
Flight Settings That Smooth Out Your Footage
Beyond hardware, the settings you choose on your drone before you fly play a significant role in how smooth or choppy your final video appears. Mismatched camera settings can create visual artifacts that look like judder, even if the data was captured correctly. Understanding these settings is key to professional-looking aerial footage.
Frame Rate, Shutter Speed, and the Magic Ratio
The two most impactful settings here are frame rate (FPS) and shutter speed. Frame rate dictates how many still images (frames) are captured per second, determining the fluidity of motion. Common rates include 24fps (cinematic look), 30fps (standard broadcast), and 60fps (smoother motion, good for slow-motion).
Shutter speed controls how long the camera’s sensor is exposed to light for each frame.
The general rule of thumb for natural-looking motion blur, which makes footage appear smooth, is to set your shutter speed to roughly double your frame rate.
- For 30fps, aim for a shutter speed of 1/60th of a second.
- For 24fps, aim for 1/48th or 1/50th of a second.
- For 60fps, aim for 1/120th of a second.
Using a shutter speed that is too fast (e.g., 1/1000th of a second) creates very little motion blur. While this can make individual frames appear sharper, it can lead to a stroboscopic, jerky effect when played back, especially during fast camera movements or when the drone is moving quickly. Ensure your settings align with this principle to avoid unnatural judder in your drone video.
Troubleshooting Checklist: Your Action Plan
When faced with choppy drone video, it's best to approach the problem systematically. This checklist covers the most common causes and provides actionable steps to identify and resolve the issue. Following these steps can help you rule out potential problems and zero in on the root cause.
Quick Fixes and Diagnostic Steps
- Test Playback on Different Devices: Transfer the footage to another computer or even try viewing it on a powerful tablet. If it plays smoothly elsewhere, your original playback device is the bottleneck.
- Inspect Your SD Card: Check its specifications. Is it rated U3 or V30 or higher? If it’s an older card, consider a new, reputable brand. Try a full format in the drone.
- Update Everything: Ensure your drone's firmware, controller's firmware, and any video editing software you use are running the latest versions. Updates often include performance improvements and bug fixes.
- Calibrate the Gimbal: Access your drone's app or controller settings and run the gimbal calibration procedure. This can fix mechanical jitters.
- Simplify for Testing: Try recording a short test clip at a lower resolution (e.g., 1080p instead of 4K) or with a lower frame rate. If this footage is smooth, it strongly suggests your hardware or settings were struggling with the higher demands.
- Check Flight Conditions: Was it extremely windy? Was the drone performing complex maneuvers? While usually handled by the gimbal, extreme conditions can push the system.
Frequently Asked Questions About Choppy Drone Video
### What's the minimum SD card speed needed for 4K drone video?
For recording 4K drone video, manufacturer specifications generally recommend using SD cards with a minimum write speed of U3 or V30. Cards rated V60 or V90 offer more headroom for higher bitrates and demanding camera settings.
### Can a drone's firmware cause choppy video?
Yes, outdated or buggy drone firmware can sometimes lead to performance issues, including dropped frames or recording errors that result in choppy video. Always ensure your drone's firmware is up to date.
### Is it better to shoot drone video at 30fps or 60fps?
The choice depends on your intended use. 30fps provides a standard cinematic look and is widely compatible. 60fps offers smoother motion, which is ideal for fast action or when you plan to slow down footage in post-production, but it requires more data and processing power.
### How often should I calibrate my drone's gimbal?
It's good practice to calibrate your drone's gimbal regularly, especially after transporting the drone or if you notice any unusual movements or instability in your footage. Many drone apps offer a simple one-tap calibration process.
Your Guide to Smoother Drone Footage
Mastering drone videography often comes down to understanding the interplay between your equipment, your settings, and your workflow. By systematically addressing potential bottlenecks, you can transform choppy, frustrating footage into polished, professional-quality aerial content. Focus on using high-speed SD cards, ensuring your computer meets the demands of modern video files, and fine-tuning your in-flight camera settings for optimal motion blur.
A consistent workflow also helps. This means regularly updating firmware, calibrating your gimbal, and understanding how your chosen frame rate and shutter speed interact. When you're editing, remember that your computer's specifications are paramount, especially for high-resolution files.
Transferring footage to a fast SSD and utilizing editing software that supports hardware acceleration can make a world of difference.
By paying attention to these details, you're not just fixing choppy video; you're investing in the quality and impact of your aerial storytelling.