Why Is My Drone Footage Distorted?
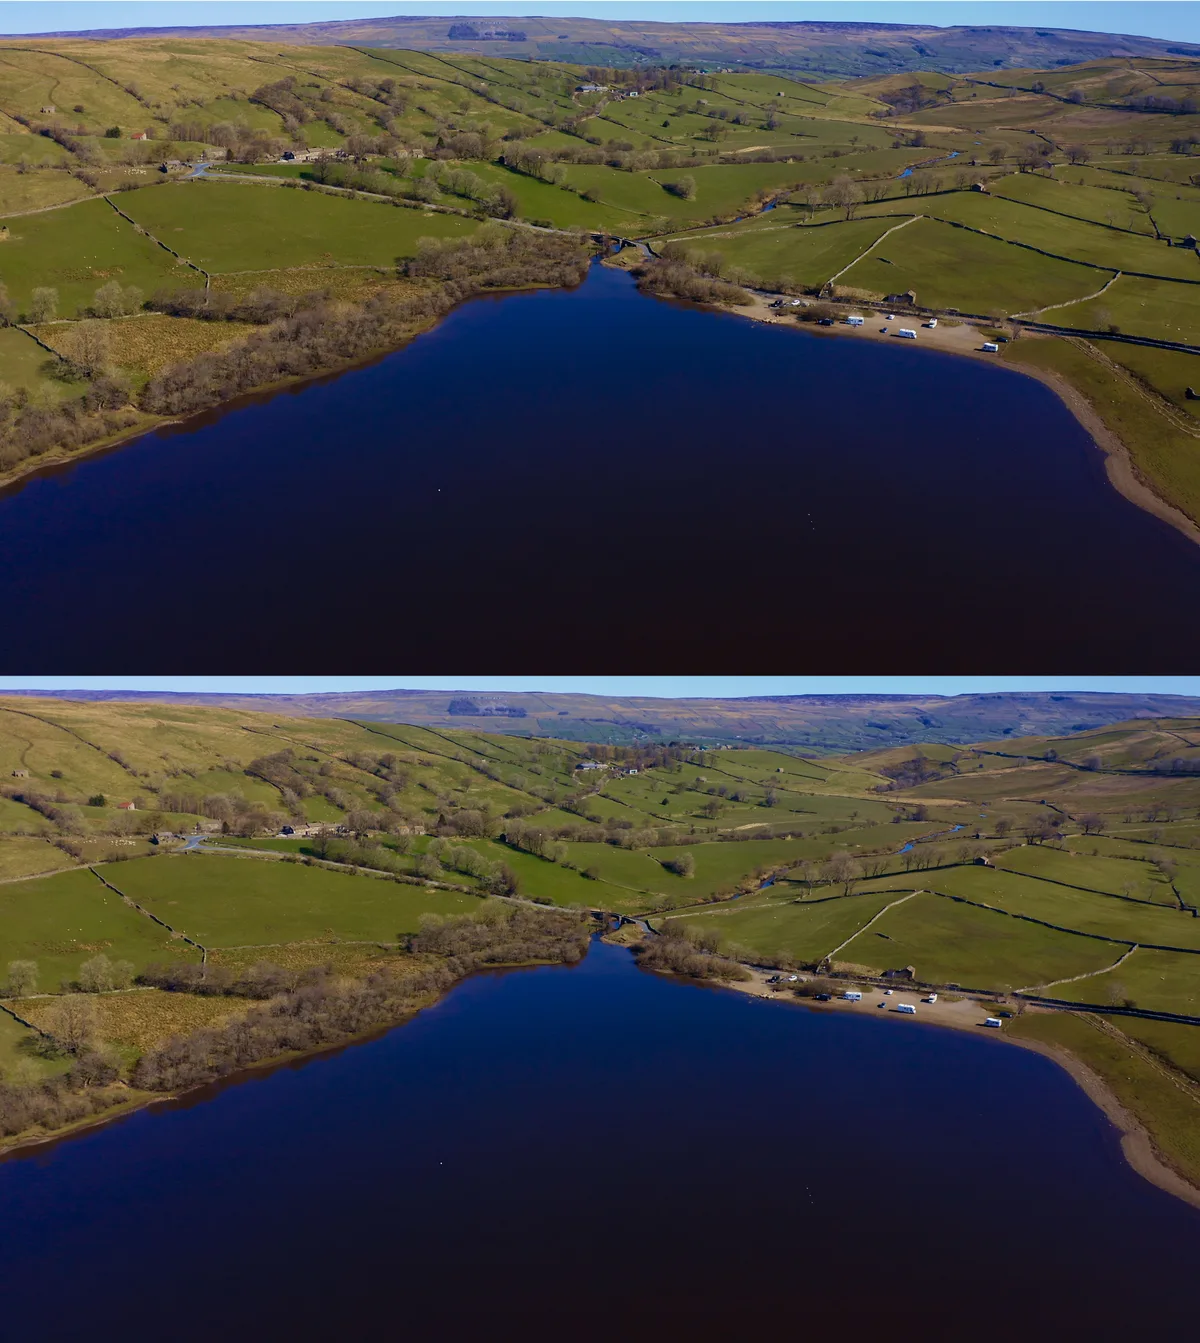
Image source: Bing (Web (fair-use with source credit))
Why Your Drone Footage Looks Distorted: A Diagnostic Guide
You've just landed your drone, eager to review your amazing aerial shots, only to find the footage is warped, shaky, or just plain weird. Experiencing distorted drone footage is a common frustration that can turn a great capture into a unusable mess. Thankfully, most distortions aren't a sign of a broken drone but rather a symptom of a few key issues we can easily diagnose and fix.
Our research indicates that many common distortions stem from vibration, camera settings, or environmental factors. For instance, manufacturer specifications for high-end drones often recommend SD cards with a V30 speed class to ensure smooth 4K video recording without dropped frames, which can appear as pixelation or stuttering if not met. Let's break down the most frequent culprits so you can get back to capturing clear, stable aerial video.
Quick Answer
Drone footage is distorted primarily due to vibrations from propellers or the drone body, leading to wavy or shaky video. Other common causes include camera focus issues, slow or incompatible SD cards, gimbal malfunctions, environmental factors like wind, and outdated firmware. Addressing these can restore clarity and stability to your aerial shots.
Spotting the Distortion: What Are You Seeing?
Jello, Blur, or Wobbly Lines? Understanding the Symptoms
The first step in fixing distorted drone footage is to correctly identify the type of distortion you're experiencing. Different visual artifacts point to different underlying causes, helping us narrow down the troubleshooting process. Is your footage wavy, like a bowl of jelly?
That's often called the "jello effect." It's a tell-tale sign of high-frequency vibrations, usually from unbalanced propellers, that are transmitted directly to the camera sensor.
If your footage appears soft, lacking sharp detail, or if straight lines seem to bend or curve, especially during fast camera movements or when the drone is moving quickly, you might be dealing with rolling shutter distortion or simple focus problems. Pixelation or blockiness, particularly in darker areas or during rapid motion, often points towards your SD card not being fast enough to keep up with the video data being recorded. Recognizing these visual cues is crucial for effective diagnosis.
The Usual Suspects: Checking Your Drone's Gear
Vibration Issues: Propellers, Body, and Gimbal Dampeners
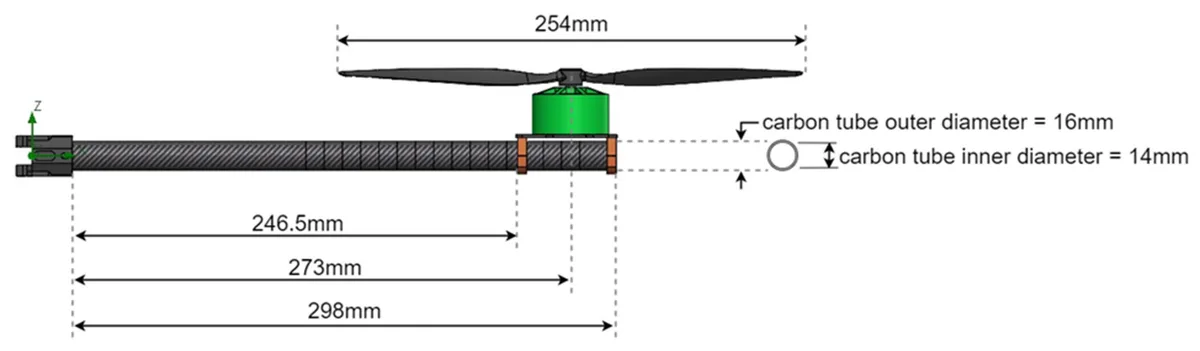
Vibrations are arguably the most common enemy of clear drone footage. These tiny tremors can come from various sources on the drone itself.
- Propeller Imbalance: Even a slight bend, chip, or imperfection in a propeller can cause it to spin unevenly. This imbalance creates vibrations that travel through the drone's frame and into the gimbal and camera, resulting in that dreaded "jello effect" or general shakiness. Aggregate reviews of drone issues consistently highlight unbalanced props as a primary culprit for this type of distortion.
- Loose Components: Over time, screws, motor mounts, or even the arms of the drone can become loose. These loose parts can rattle or vibrate during flight, introducing unwanted movement into your footage. A quick physical inspection of the entire drone body, paying attention to anything that seems askew or easily wiggles, is essential.
- Gimbal Dampeners: These are typically small, flexible rubber or silicone pieces designed to absorb vibrations between the drone body and the gimbal. If they are missing, damaged, hardened with age, or not seated correctly, they can't do their job. Manufacturer specifications often detail the recommended replacement schedule for these parts, as they can degrade over time and with exposure to elements.
Action Step: Visually inspect all propellers for damage or warping. Gently try to wiggle each component of the drone's body and gimbal to check for looseness.
Camera and Lens Checks: Focus, Clarity, and Cleaning
Your drone's camera is responsible for capturing the image, so any issues here directly impact your footage quality.
- Lens Smudges and Dust: This is the simplest fix and often overlooked. A dirty lens can cause widespread blurriness, reduced contrast, and a general lack of sharpness. Even a small fingerprint can significantly degrade image quality. Always use a clean, lint-free microfiber cloth designed for camera lenses. Avoid abrasive materials or harsh chemicals.
- Focus Settings: While many drone cameras are set to autofocus, this system can sometimes struggle, especially in low light or with fast-moving subjects. If your footage consistently looks slightly soft or out of focus, check your flight app for manual focus controls. For static shots, setting the focus manually to infinity or a specific distance can ensure sharpness.
- Physical Lens Damage: A cracked or scratched lens will permanently affect image quality, introducing distortions or flares. While less common, it’s worth a quick visual check for any visible damage to the lens glass.
Tip: For a quick lens cleaning, gently blow away any loose dust particles first, then use a soft-bristled brush or a lens blower. Follow up with a gentle wipe using a microfiber cloth in a circular motion.
SD Card Performance: The Unsung Hero of Smooth Footage
The Secure Digital (SD) card in your drone is critical, acting as the high-speed storage for all your captured video. If this card can't write data fast enough, your drone's internal recording system will stutter, drop frames, or fail to record properly, leading to noticeable distortions like pixelation, blockiness, or even complete recording errors.
Manufacturer specifications, such as those found on DJI's official support pages, often highlight the need for specific SD card speed classes for different video resolutions. For example, recording 4K video at 60 frames per second (fps) demands much higher write speeds than recording 1080p at 30fps.
- Recommended Speed Classes: For smooth 4K recording (30-60fps), a card with at least a U3 (UHS Speed Class 3) or V30 (Video Speed Class 30) rating is generally recommended. For higher resolutions, higher frame rates, or complex codecs, you might need V60 or even V90 cards.
- Card Reliability: Older or lower-quality cards may not perform reliably, even if they meet the minimum speed requirements. Using a reputable brand known for reliable storage is advisable.
- Formatting: Always format your SD card using the drone itself, if possible, before each flight session. This ensures the card is optimally structured for the drone's specific recording format and can sometimes resolve minor read/write errors.
Data Point: A V30 card guarantees a minimum sustained write speed of 30 megabytes per second (MB/s). However, footage from higher-resolution video modes can demand write speeds exceeding 60 MB/s, underscoring the need for faster cards.
Gimbal Health: Keeping Your Camera Steady
The gimbal is the sophisticated mechanical system that isolates your camera from the drone's vibrations and movements, allowing for smooth, stabilized footage. If the gimbal isn't functioning correctly, it can introduce a host of distortions.
Gimbal Calibration and Obstruction Checks
- Calibration: Drones require regular gimbal calibration, especially after a hard landing, a significant bump, or if the drone has been transported roughly. This process tells the gimbal's internal sensors its neutral, level position. Without proper calibration, the gimbal might drift, tilt, or make jerky movements, all of which translate directly into distorted video. Most drone flight apps provide a straightforward, step-by-step calibration process that typically takes only a few minutes to complete.
- Obstructions: Ensure nothing is physically interfering with the gimbal's movement. This could be a loose wire, a piece of debris, or even a protective cap that was accidentally left on. During flight, especially during aggressive maneuvers, any obstruction can cause the gimbal to try and move against resistance, leading to jerky footage or error messages.
- Gimbal Errors: Pay attention to any error messages displayed in your flight app related to the gimbal. These messages can often point directly to the problem, whether it's a calibration failure or a detected obstruction.
Action Step: Always perform a gimbal calibration before your first flight of the day, or any time you suspect an issue. Ensure the gimbal can move freely through its entire range of motion without resistance.
Flight Conditions: How the Environment Affects Footage
While we often focus on the drone itself, external environmental factors play a significant role in the quality of your footage and can cause or exacerbate distortions.
Wind, Turbulence, and Temperature Impacts
- Wind: Strong winds are a primary cause of shaky drone footage. When the drone is buffeted by wind, the pilot must constantly make corrections, which can lead to jerky camera movements. Even if the gimbal is stabilizing well, excessive wind can push the drone beyond its smooth operating limits, resulting in noticeable shake or instability that appears as distortion. Drones have different wind resistance ratings; flying beyond these limits will almost certainly impact footage.
- Air Turbulence: Beyond steady wind, pockets of air turbulence, often found near large structures, mountains, or during significant temperature changes, can cause sudden jolts. These rapid changes in air pressure can destabilize the drone and its gimbal, creating momentary but noticeable distortions.
- Temperature Extremes: Very high or very low temperatures can affect the performance of electronic components, including the camera sensor and the gimbal motors.
- Heat: Overheating can cause components to malfunction or perform erratically, leading to image noise, stuttering, or even temporary shutdowns. Prolonged exposure to direct sunlight without adequate airflow can contribute to this.
- Cold: Extreme cold can reduce battery performance, but it can also cause lubricants in mechanical parts like the gimbal to thicken, leading to slower, less responsive movements and potential distortion. Manufacturer specifications typically list an optimal operating temperature range, usually around 0°C to 40°C (32°F to 104°F).
Real-World Context: Flying in a city canyon with changing wind currents or near a large body of water where temperature differentials are high often presents more challenges for smooth footage than flying in an open, calm field on a temperate day.
Software and Firmware: The Brains of Your Drone
Sometimes, the culprit behind distorted footage isn't physical but digital. Software glitches or outdated firmware can cause all sorts of unpredictable behavior in your drone's systems, including the camera and gimbal.
- Firmware Updates: Drone manufacturers frequently release firmware updates to fix bugs, improve performance, and enhance stability. Running outdated firmware is a common, yet easily preventable, cause of erratic behavior. Always check your drone's flight app or the manufacturer's official website for the latest firmware for your drone, controller, and any intelligent flight batteries.
- App Compatibility: Ensure your flight control app is also up to date and compatible with your drone's current firmware version. Sometimes, a mismatch between the app and the drone's software can lead to communication errors that manifest as visual glitches.
- Restarting: For simple software hiccups, a full power cycle can often resolve the issue. This means turning off the drone, the controller, and your mobile device, waiting about 30 seconds, and then powering them back on in the correct sequence (usually controller, then drone, then app). This clears temporary memory and can reset any minor software conflicts.
Action Step: Before every flight, check for and install any available firmware or app updates from the drone manufacturer.
Advanced Checks: When the Obvious Isn't the Answer
If you've gone through the common checks for vibrations, camera issues, SD card performance, and firmware without finding the cause, it might be time to look at less frequent, but still possible, contributing factors.
GPS Signal and Potential Hardware Faults
- GPS Interference: While GPS is primarily for navigation and position holding, significant signal loss or heavy interference can sometimes cause the drone to fly erratically. If the drone isn't holding its position steady due to poor GPS lock (e.g., in urban canyons or near strong radio sources), this instability can translate into shaky footage, even with a functioning gimbal. Your flight app usually displays GPS signal strength, so check this before and during flight.
- Internal Gyro/IMU Issues: The drone's Inertial Measurement Unit (IMU) contains gyroscopes and accelerometers that help it understand its orientation and movement. If the IMU is uncalibrated or malfunctioning, it can lead to poor flight stability and affect gimbal performance, causing unnatural movements and distortions. Re-calibrating the IMU is often part of the drone's startup sequence or can be done manually through the app.
- Camera Sensor Failure: In rare cases, the camera sensor itself might be developing a fault. This could manifest as specific types of distortions, color inaccuracies, or dead pixels that don't resolve with other troubleshooting steps. This is a hardware defect, and if suspected, professional diagnosis from the manufacturer is the next best step.
Expert Insight: If you're consistently seeing issues in areas with known GPS jamming or strong electromagnetic fields, try flying in a more open, interference-free environment to see if the distortion subsides.
Your Drone Footage Distortion Troubleshooting Checklist
This checklist summarizes the steps we've discussed, designed to help you methodically diagnose and resolve distorted drone footage. Work through these points in order.
Step 1: Identify the Distortion:
- Is it "jello" (wavy lines)?
- Is it blurry or soft focus?
- Are straight lines curved (rolling shutter)?
- Is it pixelated or blocky?
- Is the overall image shaky or stuttering?
Step 2: Physical Inspection:
- Check propellers for damage, balance, and secure attachment.
- Inspect the drone body and arms for cracks or loose parts.
- Verify gimbal dampeners are present and in good condition.
- Clean the camera lens thoroughly with a microfiber cloth.
Step 3: Check SD Card:
- Confirm it meets the speed class requirements for your video settings (e.g., V30 for 4K).
- Try a different, known-fast SD card.
- Format the card using the drone's flight app.
Step 4: Gimbal and Software:
- Perform a gimbal calibration through the flight app.
- Ensure the gimbal has a full range of motion without obstructions.
- Update drone, controller, and app firmware to the latest versions.
- Restart all drone components and your mobile device.
Step 5: Environmental and Advanced:
- Fly in calmer weather conditions to rule out wind.
- Operate within recommended temperature ranges.
- Check GPS signal strength in your flight app.
- Perform an IMU calibration if available.
Decision Flow: If the problem started after a crash or rough landing, focus heavily on physical inspection and gimbal calibration first. If the issue is primarily with specific video recording modes (like high-resolution or high-frame-rate), suspect the SD card. If distortions appear in smooth flights with no obvious physical cause, firmware or internal sensor issues are more likely.
Frequently Asked Questions About Distorted Drone Video
### What is the "jello effect" in drone footage?
The "jello effect" is a type of distortion characterized by wavy or gelatinous lines that appear in drone footage. It's typically caused by high-frequency vibrations from the drone's motors or propellers transmitting directly to the camera sensor.
### Can a slow SD card really cause video distortion?
Yes, a slow or incompatible SD card can definitely cause distortion. If the card can't write data fast enough, the drone will drop frames or fail to record properly, leading to pixelation, stuttering, or recording errors. Always use a card that meets the manufacturer's recommended speed class for your video settings.
### How often should I calibrate my drone's gimbal?
It's best practice to calibrate your drone's gimbal before your first flight of the day or any time you suspect an issue, such as after a bumpy landing or if you've transported the drone in a way that might have knocked it. Some drones offer automatic calibration on startup, but manual calibration can be more thorough.
### What should I do if my drone footage is consistently shaky, even in calm weather?
If your footage is consistently shaky despite calm conditions, start by inspecting propellers for damage or imbalance. Then, check for loose components on the drone body and ensure your gimbal is properly calibrated and unobstructed. Ensure your firmware is up to date, as outdated software can also cause flight instability.