How Do You Do a Drone Push-in Shot?
Mastering the Drone Push-In Shot: A Visual Guide
Figuring out how to do a drone push-in shot effectively can transform your video footage from ordinary to captivating. This dynamic camera movement, where the drone flies forward while keeping the subject in frame, adds depth and draws viewers directly into the scene. It's a technique that requires precision, practice, and a solid understanding of your equipment.
In our research, we've found that achieving a smooth, professional-looking drone push-in often comes down to proper setup and controlled flight. Understanding the nuances, such as balancing forward speed with gimbal adjustments, is key. Per FAA guidelines, drone operators must maintain visual line of sight, and this technique demands constant attention to both the drone's position and the camera's framing.
Quick Answer
To do a drone push-in shot, plan your flight path carefully. Keep the drone moving forward steadily. Adjust the gimbal to keep the subject centered.
Practice smooth acceleration and deceleration. Maintain visual line of sight at all times.
Why a Drone Push-In Shot Needs Your Eyes (and Ears)
The drone push-in shot is all about drawing your audience into the action, making them feel like they're discovering something. It's not just about moving the drone forward; it's about creating a feeling of anticipation or revelation. To do this effectively, you need more than just technical skill; you need a visual understanding of how the shot impacts the viewer.
Think of it like guiding someone's gaze through a scene, leading them from a wider perspective to a specific point of interest.
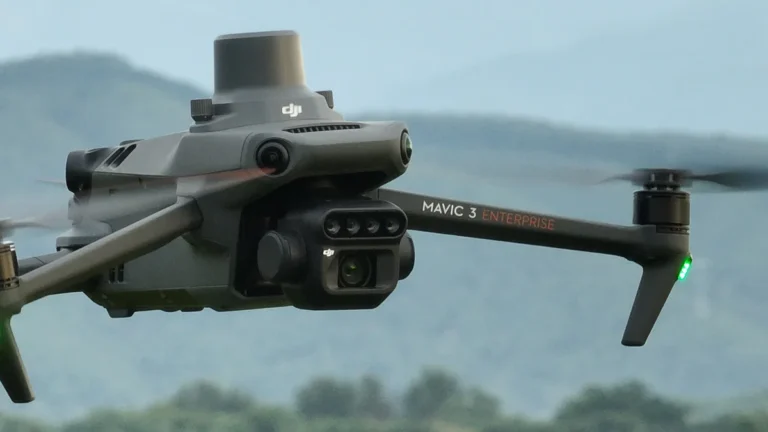
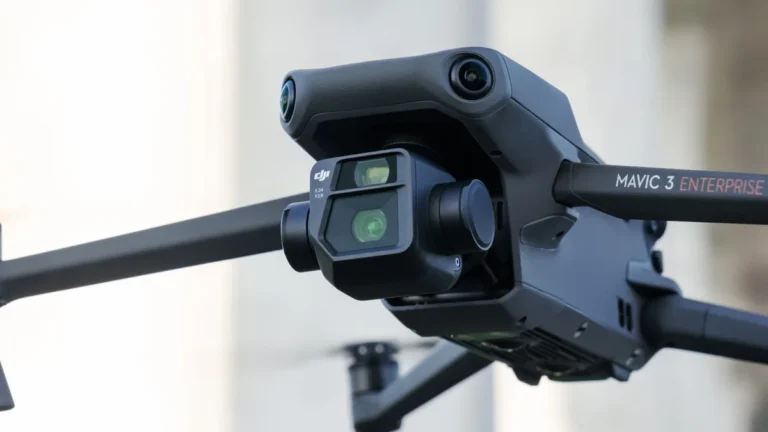
This technique relies heavily on the drone's camera stabilization, typically achieved through a gimbal. This is the three-axis mechanism that keeps your camera level and steady, even when the drone itself is moving. Without a well-functioning gimbal and precise control, your push-in will appear shaky and unprofessional.
This is why understanding how your specific drone's gimbal responds to movement is so important.
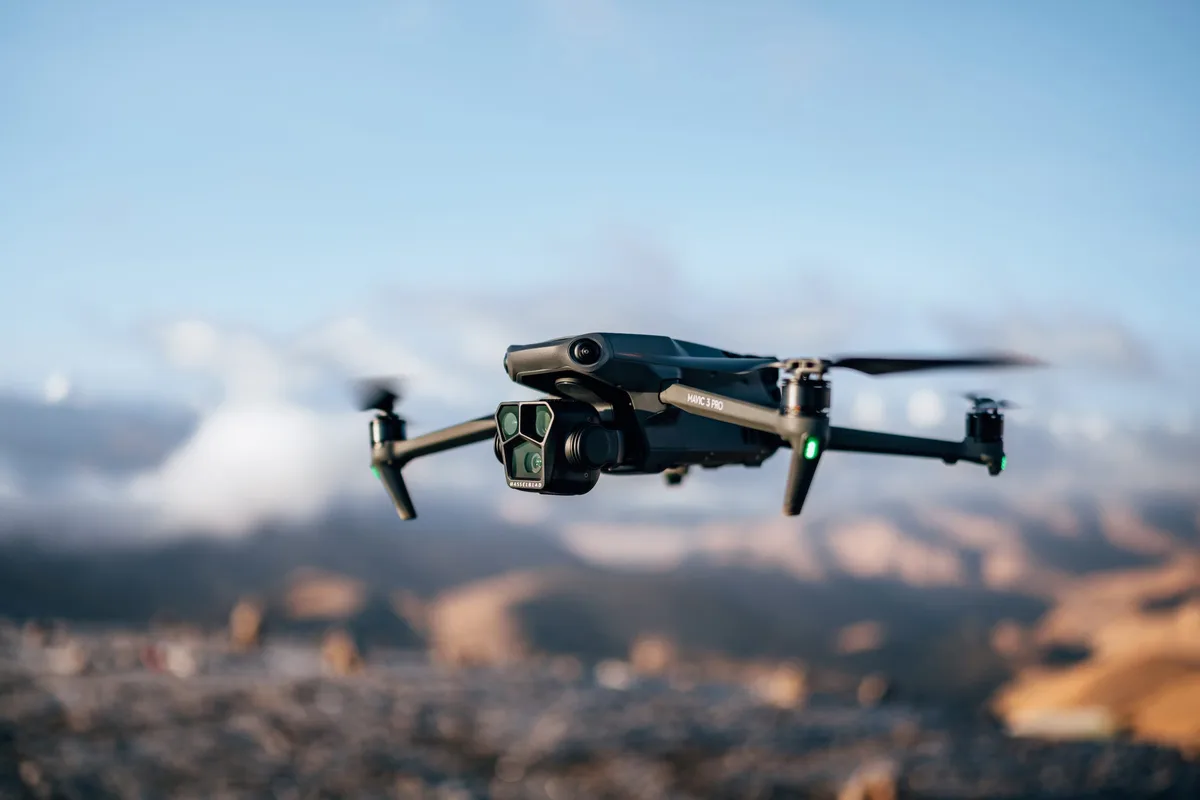
Image source: Bing (Web (fair-use with source credit))
Setting Up for Smooth Drone Push-In Success
Getting a great drone push-in shot starts long before you even lift off. It’s about preparation, checking your gear, and understanding the environment. This groundwork is what separates a usable shot from a shaky mess.
Your Drone and Camera Gear Checklist
Before every flight, a thorough check of your drone and camera equipment is non-negotiable. This ensures everything is functioning correctly and is ready for the demanding movements of a push-in.
- Drone Battery: Ensure batteries are fully charged and performing optimally. Cold weather can significantly reduce battery life, so check manufacturer specifications for performance in your expected conditions. For example, some drone batteries may see a 20% reduction in flight time at temperatures below 40°F (4°C).
- Propellers: Inspect propellers for any nicks, cracks, or signs of wear. Damaged propellers can cause vibrations and affect flight stability.
- Gimbal and Camera: Test the gimbal's full range of motion and ensure it's free of obstruction. Check that the camera lens is clean and any protective covers are removed.
- SD Card: Verify that your SD card has sufficient free space and is formatted correctly for your drone's camera.
- Controller and App: Charge your controller and ensure your drone’s control app is updated and functioning correctly. Calibrate the drone’s compass if prompted.
Pre-Flight Planning for Precision
This is where you scout your location and plan your flight path. A successful push-in often means knowing exactly where you're going and what you're flying towards.
- Site Survey: Assess the flight area for potential hazards like trees, power lines, buildings, and other obstacles. Note wind conditions, as strong winds can make smooth forward movement challenging.
- Subject Identification: Clearly identify your main subject and decide on the starting and ending framing for your push-in. Consider what you want the audience to see as the drone moves closer.
- Flight Path Mapping: Mentally map out the drone’s trajectory. This helps you anticipate turns, necessary altitude changes, and potential conflicts with obstacles.
- Lighting Conditions: Pay attention to the light. A push-in shot can highlight dramatic changes in lighting as you move into a new area or reveal details previously in shadow.
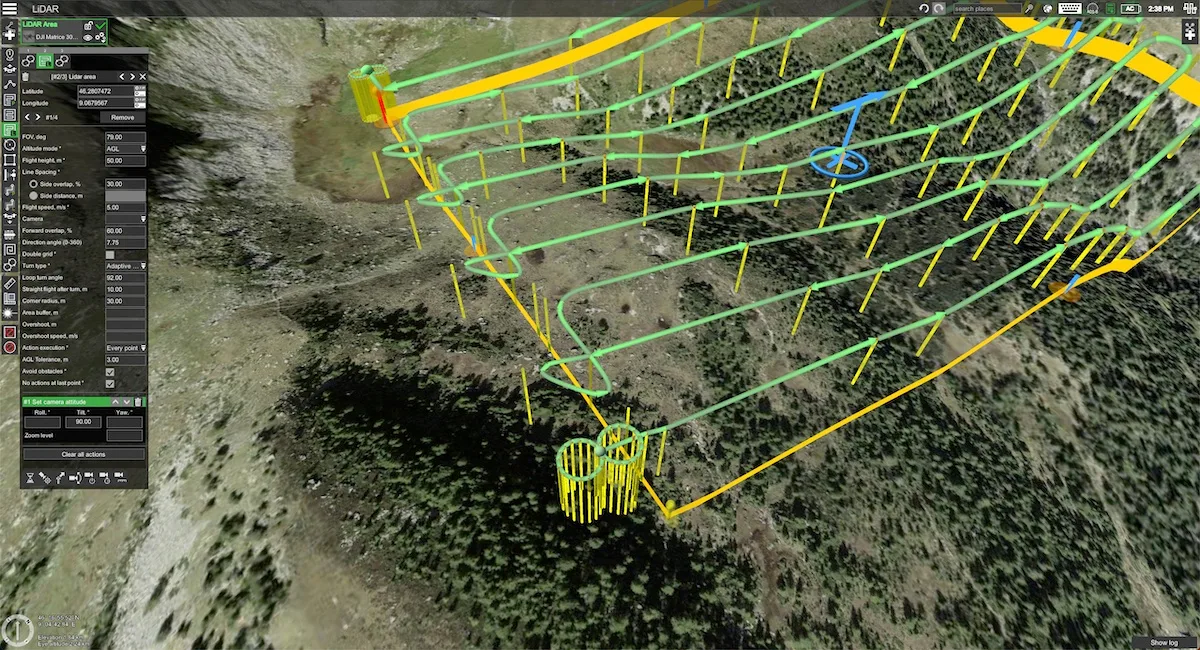
Image source: Bing (Web (fair-use with source credit))
The Art of the Drone Push-In: Step-by-Step Execution
Executing a drone push-in shot is a blend of technical skill and artistic intent. It's about smooth, deliberate movements that guide the viewer's eye.
Smooth Takeoff and Initial Framing
Begin by performing a stable takeoff. Hover the drone at your planned starting altitude and position. Frame your shot precisely, ensuring your subject is composed well within the frame, ready for the forward movement to begin.
This initial framing sets the stage for the entire shot.
The Push-In Movement: Control and Cadence
This is the core of the shot. You’ll use your drone controller’s joystick to initiate forward flight. The key is consistency.
Avoid jerky inputs.
- Gentle Acceleration: Apply forward thrust gradually. Instead of slamming the stick forward, ease into it. This smooth acceleration prevents sudden shakes.
- Steady Speed: Maintain a consistent forward speed. This can be adjusted based on your creative intent. A slower speed offers a more deliberate, drawn-out reveal, while a slightly faster speed can convey urgency or momentum.
- Gimbal Compensation: As the drone moves forward, you'll likely need to make subtle adjustments to the gimbal to keep the subject perfectly centered. Many pilots use a dedicated gimbal control dial for this, allowing independent adjustment from the drone’s forward motion. This keeps your subject locked in place visually, even as the drone’s perspective shifts.
Image source: Bing (Web (fair-use with source credit))
Maintaining Focus and Composition
As you push in, constantly monitor your framing and focus. If your drone has autofocus, ensure it's tracking your subject accurately. If you’re manually focusing, make small adjustments as needed.
The goal is for the subject to remain sharp and well-placed throughout the movement.
Gentle Landing
Once you reach your desired endpoint, smoothly decelerate the drone to a stop. Then, initiate a controlled descent for a clean landing. The end of the shot should be as polished as the beginning.
Common Pitfalls in Drone Push-In Shots (and How to Dodge Them)
Even with careful planning, certain mistakes can easily ruin a drone push-in. Recognizing these common issues is the first step to avoiding them.
Visual Errors to Watch For
These are the mistakes that viewers will notice immediately, making the footage look amateurish.
- Jerky Movement: The most common error is inconsistent speed or sudden changes in direction. This often happens when the pilot applies too much force to the control sticks. A smooth push-in should feel like a gentle glide.
- Unstable Horizon: If the drone’s sensors aren’t calibrated, or if there’s strong wind, the horizon line can tilt. This makes the shot look off-balance and unprofessional. Always ensure your drone's IMU (Inertial Measurement Unit) and compass are calibrated before flight.
- Subject Drift: If the gimbal isn't compensating properly, or if the pilot isn't making manual adjustments, the subject can drift out of the center of the frame. This is particularly noticeable with static subjects.
- Obstacle Collisions: Flying too close to objects, especially during a forward push, can lead to a crash. This highlights the importance of a thorough pre-flight site survey and maintaining visual line of sight.
Flight Control Mistakes to Avoid
These errors relate to how the drone itself is piloted, impacting the overall shot quality.
- Over-Correction: Trying to fix a slight drift by making large, sudden control inputs can actually worsen the instability. Small, precise adjustments are always better.
- Ignoring Wind: Flying directly into a strong headwind can make it very difficult to maintain a consistent forward speed. If the wind is too strong, it’s best to postpone the shot or choose a different angle. Many consumer drones are rated for wind resistance up to 20-25 mph, but performance can degrade significantly at the upper end of that range.
- Battery Management: Pushing the limits of your drone's flight time can lead to having to land abruptly or, worse, losing power mid-shot. Always fly with a buffer.
When to Use a Drone Push-In Shot: Real-World Scenarios
The drone push-in shot is a versatile tool. It's not just about looking cool; it's about serving a narrative or enhancing a scene's impact. Knowing where it works best will make your videography much more effective.
Enhancing Storytelling in Film
In filmmaking, a drone push-in can be used to build suspense or reveal a character's environment. Imagine a scene where a detective arrives at a mysterious house. The drone starts high, showing the isolated location, then smoothly pushes in towards the front door, creating a sense of entering a dangerous or unknown space.
This movement guides the audience’s attention and builds anticipation for what lies within.
Boosting Real Estate Marketing
For real estate videos, a drone push-in shot can showcase a property's best features. The drone might start wide, revealing the house from above and its surroundings, then push in to highlight the welcoming entrance, a beautiful garden, or a striking architectural detail. This gives potential buyers a sense of scale and a more immersive view than ground-level shots alone.
Capturing Travel Adventures
When documenting travel, this shot can powerfully convey a sense of exploration. A drone could push in towards a distant landmark, a bustling market, or a serene natural vista. This movement draws the viewer into the scene, making them feel like they are arriving at the destination alongside the traveler, experiencing the discovery firsthand.
It’s a great way to transition from a wide establishing shot to a more intimate view of the subject.
FAQs About Drone Push-In Shots
How long does setup take for a drone push-in shot?
Setup can take anywhere from 5 to 15 minutes. This includes checking drone batteries, calibrating sensors, and surveying the immediate flight area for hazards and framing opportunities.
What drone features are most important for this shot?
Key features include a stable gimbal for smooth camera movement, responsive flight controls for precise piloting, and sufficient battery life to complete the shot without interruption. Many higher-end drones also offer intelligent flight modes that can assist with steadying the camera.
Can I do a drone push-in shot indoors?
Yes, but it’s significantly more challenging and risky. Indoor spaces often have tight corners and obstacles, increasing the chance of a collision. Careful scouting and low-speed flight are crucial, and many pilots prefer to avoid complex indoor push-ins unless they have extensive experience and specialized indoor-capable drones.
How fast should the drone move for a push-in?
The ideal speed varies based on the context. For a dramatic reveal, a slow, deliberate pace is best. For conveying motion or entering a scene quickly, a moderate speed might be appropriate.
As of 2026, most cinematic applications favor speeds between 5 to 15 mph for smooth, controlled push-ins.
Pro Tips for Elevating Your Drone Push-Ins
Beyond the basic execution, several advanced techniques can make your drone push-in shots truly stand out. These tips focus on refining your control and enhancing the visual storytelling aspect of the movement.
- Combine with Gimbal Pan/Tilt: While the drone pushes forward, you can subtly pan or tilt the camera to keep a moving subject centered or to reveal elements to the side. This adds another layer of complexity and visual interest. For instance, if the subject is walking forward and slightly to the left, you'd push the drone forward and simultaneously pan the camera left.
- Vary Your Speed: Don’t be afraid to slightly alter your speed during the push-in. A slow start that gradually picks up pace, or a shot that begins moderately and slows to a halt, can create a more engaging rhythm. This dynamic control makes the movement feel more organic.
- Consider the "Reveal": Think about what the push-in is revealing. Is it a character, a hidden object, or a beautiful landscape? Frame your shot so that the movement actively builds anticipation for that reveal. The final few seconds are often the most impactful.
- Practice with "Trace" Routes: In your drone's app, you might be able to draw a flight path. While not always recommended for critical shots due to reliance on GPS, practicing this can help you visualize and understand how the drone will move along a specific trajectory. This is a good way to learn the feel of programmed versus manual flight.
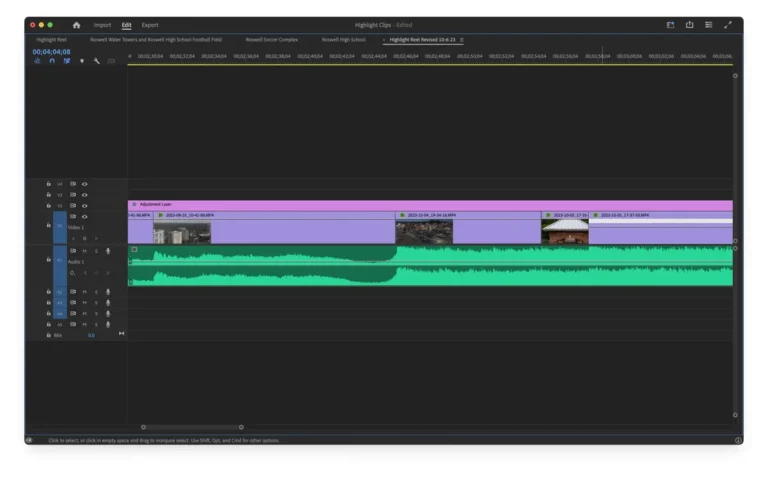
- Edit for Impact: Even the best-shot footage can benefit from careful editing. Ensure your push-in shot is trimmed to its most effective length. You can also use subtle camera movements in post-production, but it's always best to get it right in-camera. Adding a slight, controlled camera shake in editing can sometimes mimic a more visceral, ground-level feel if that’s desired.