How Do You Do a Drone Parallax Shot?
Ever watch a drone video and see that incredible effect where the background seems to blur past while the main subject stays sharp and steady? You're probably wondering, "How do you do a drone parallax shot?" It’s a technique that adds instant cinematic flair, making your aerial footage look polished and professional. The good news is, it’s achievable with a bit of practice and understanding of the core principles.
This effect relies on a clever manipulation of perspective and movement, creating a compelling sense of depth and motion. Manufacturer specifications for many modern drones highlight their advanced gimbal systems, crucial for achieving the smooth, independent camera movements needed. As of 2026, drone technology continues to evolve, making these sophisticated shots more accessible than ever.
Let's break down exactly how you can start adding this impressive technique to your own drone videos.
Quick Answer
To do a drone parallax shot, fly the drone forward while simultaneously moving the camera backward (panning or tilting) to keep the foreground subject framed. This relative motion makes the background appear to speed up significantly. Practice smooth, consistent movements for the best illusion.
Why Visuals Are Key to Nailing a Parallax Shot
When we talk about a drone parallax shot, we're really talking about a visual effect. It's that distinct feeling you get when the world seems to fly by your drone's camera, but your subject stays put. Describing this with words only goes so far.
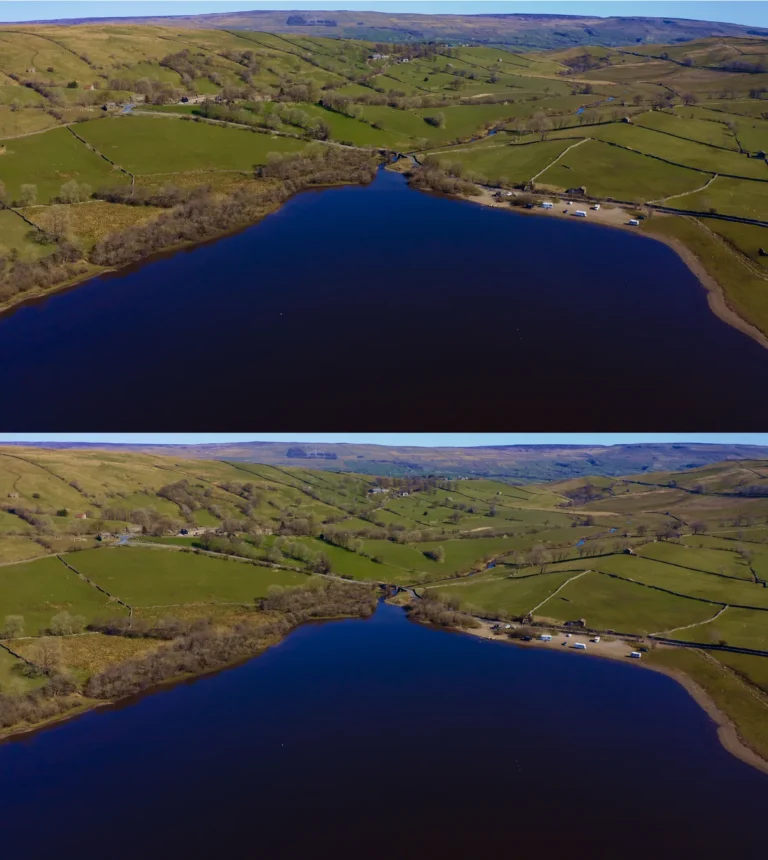
You need to see how the foreground subject maintains its position while the distant trees or buildings gain speed.
Think about it this way: if someone tried to explain how to paint a landscape without ever showing you a painting, it would be tough. Similarly, understanding the nuances of framing and camera movement for a parallax shot is much easier when you can see examples. This is why visual aids, like diagrams or actual footage, are so important.
They help you recognize the subtle adjustments needed to make the effect convincing.
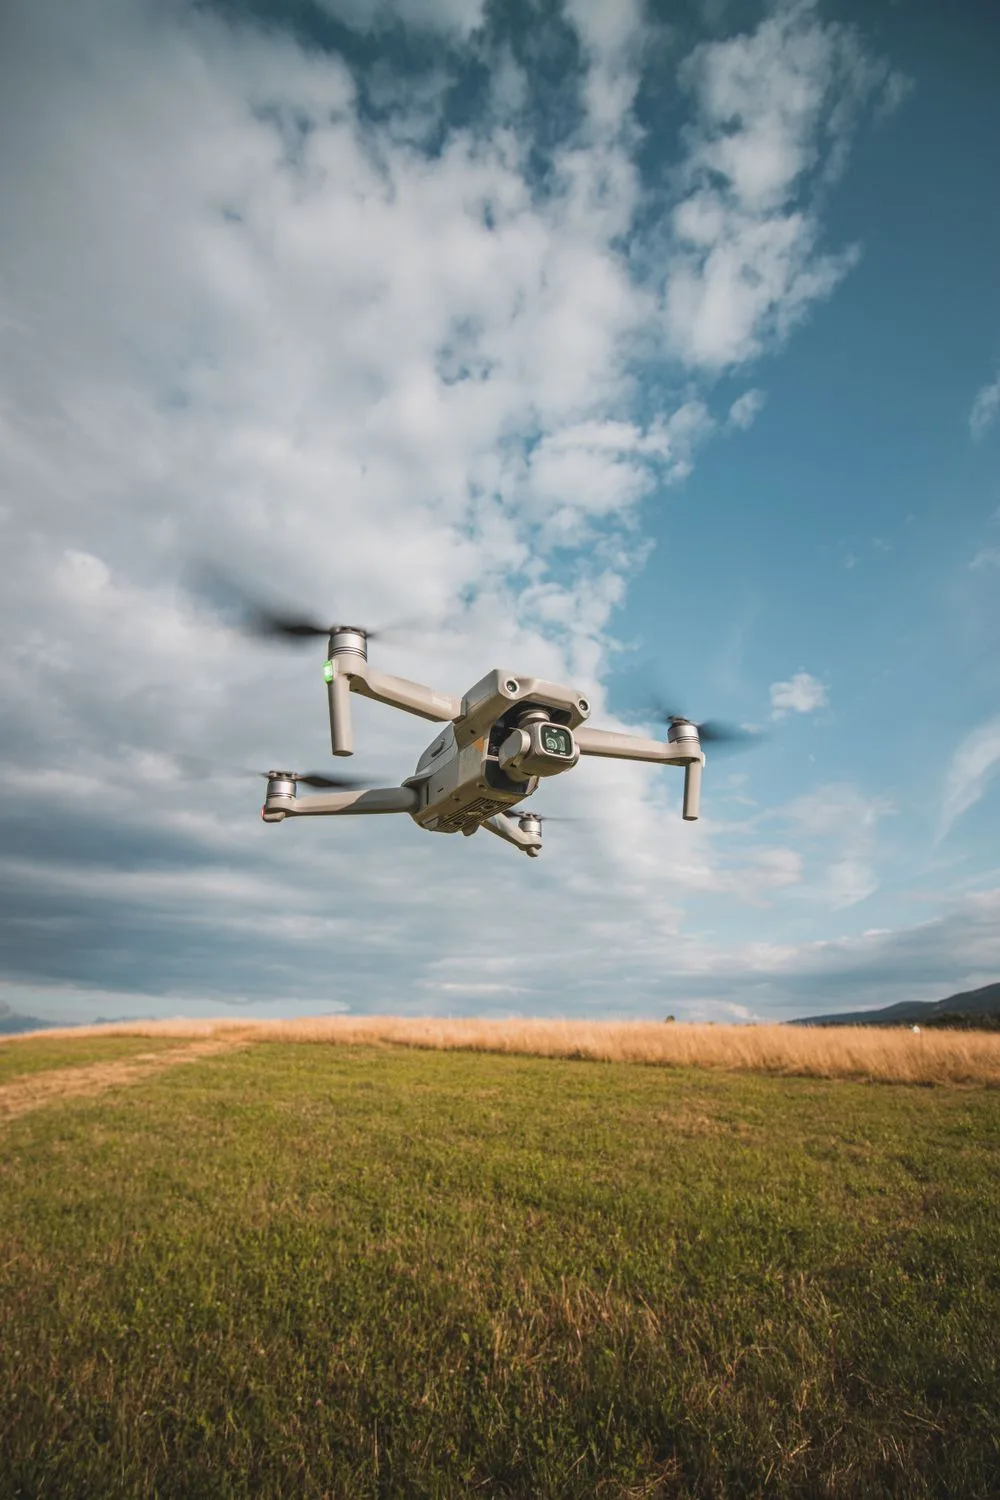
Image source: Bing (Web (fair-use with source credit))
The Core Principle: How Parallax Works in the Air
At its heart, the drone parallax shot is all about exploiting how our eyes perceive depth through relative motion. When you move, objects at different distances appear to travel at different speeds relative to you. Stuff close by zips past quickly, while faraway objects seem to inch along.
That difference in apparent speed is parallax.
For a drone, we're taking that natural phenomenon and amplifying it. You're flying the drone forward into a scene. Simultaneously, you're using the drone's gimbal to pan or tilt the camera backward relative to the drone's direction of travel.
The goal is to keep your chosen foreground subject centered in the frame, or moving very little. Because the drone is moving forward, everything behind your subject is also moving backward in relation to the camera. However, since these background elements are further away, they appear to move much, much faster than your foreground subject, creating that classic parallax illusion.
Step-by-Step: Setting Up and Executing Your Parallax Shot
Here’s how to break down the process of achieving a drone parallax shot. It's a sequence of deliberate actions that, when combined, create that impressive visual effect.
Positioning Your Drone and Subject
First, you need a scene that lends itself to a parallax effect. Look for clear layers of depth: a distinct foreground element (like a person, a car, a signpost), a middle ground, and a background with features that have some visual interest. The more separation between these layers, the more dramatic your parallax will be.
Position your drone behind your foreground subject, giving yourself enough space to fly forward. The further back you start, the more room you have to create the illusion.
The Crucial Simultaneous Movement: Drone Forward, Camera Backward
This is where the magic happens, and it requires coordinating two movements at once. You'll gently fly the drone forward. At the exact same time, you'll use your controller to move the camera.
If you're flying forward directly, you'll typically pan the camera left or right, or perhaps tilt it down, to keep your subject in view. If you're flying forward and slightly to the side, you might adjust the pan and tilt accordingly.
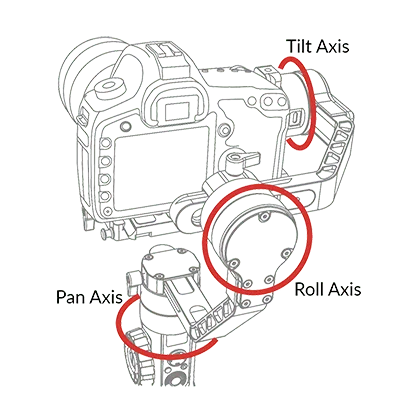
Image source: Bing (Web (fair-use with source credit))
Keeping Your Subject Steadily Framed
The key to a successful parallax shot is keeping your primary subject stable in the frame. If your subject starts drifting significantly left, right, up, or down, the illusion breaks. You'll need to constantly monitor your composition and make micro-adjustments to the camera's pan and tilt to maintain its position.
This is why practice is so vital; it trains your hands and eyes to make these corrections smoothly and intuitively. The goal is for the background to be the only thing that appears to be moving rapidly.
Common Mistakes That Ruin the Illusion
Even with the best intentions, several common mistakes can quickly turn a promising parallax shot into a disappointing mess. Understanding these pitfalls beforehand can save you a lot of frustration in the field.
Jittery Movements and Unstable Control
One of the biggest enemies of the parallax effect is any kind of jerky or unstable movement. This applies to both the drone's flight path and the camera's adjustments. If the drone isn't flying smoothly forward, or if your camera pans and tilts in sudden, unpredictable ways, the illusion of smooth motion will be completely shattered.
This often happens when pilots try to make large camera adjustments too quickly or when the drone's flight path isn't consistent.
Subject Drift and Inconsistent Framing
The entire premise of the parallax shot is to keep the foreground subject relatively stationary in the frame while the background races by. If your subject starts to drift significantly left, right, up, or down, the viewer's attention is drawn to the inconsistent framing, not the desired effect. This means you're not making precise enough camera adjustments to compensate for the drone's movement, or the subject itself is too small or too far away to easily track.
Ignoring Depth or Scene Composition
A parallax shot needs depth to work. If you attempt it in a scene where all the elements are on a similar plane, you simply won't get a noticeable effect. For instance, trying to do a parallax shot across a flat, open field with no distinct foreground or background features will look like just a regular forward flight.
Effective scene composition is crucial; you need clear visual layers that demonstrate the difference in apparent speed as the drone moves forward.
Pro Tips for Smoother, More Dramatic Parallax
Getting that cinematic feel with a drone parallax shot often comes down to a few extra considerations and techniques. These aren't strictly necessary, but they can definitely elevate your footage from good to great.
- Start Slow and Steady: Don't be tempted to fly too fast, especially when you're learning. A slower, more deliberate forward flight allows you more time to make precise camera adjustments and ensures smoother overall movement. You can always speed up footage in post-production if needed.
- Use Your Drone's Flight Modes: Many drones offer specific cinematic modes or adjustable flight parameters that can help smooth out movements. Familiarize yourself with your drone's settings and experiment with them to find what works best for creating that smooth, controlled flight.
- Practice with a Static Subject: Before attempting a parallax shot with a moving subject, practice the drone and camera movements with a stationary object. This lets you focus solely on mastering the control inputs without worrying about tracking something that’s also in motion.
- Anticipate and React: Learn to anticipate how your camera movements will affect the framing of your subject. Sometimes, you'll need to make a slight camera adjustment before the drone reaches a certain point to ensure your subject stays perfectly centered. This comes with experience.
- Consider Your Background: A busy, detailed background will enhance the parallax effect more than a plain one. Look for elements like trees, buildings, or a distinct horizon line that will clearly show the difference in perceived speed.
When to Use a Parallax Shot (and When Not To)
The drone parallax shot is a powerful tool, but like any technique, it’s not always the right choice for every situation. Knowing when to deploy it, and when to leave it out, is part of developing good filmmaking instincts.
Use a Parallax Shot When You Want To:
- Emphasize speed and movement: This shot is fantastic for conveying a sense of journey or rapid passage of time, like arriving at a destination or moving through a dynamic environment.
- Add cinematic depth: It creates a tangible sense of three-dimensional space, making your footage look more professional and engaging.
- Highlight a subject's journey: When the subject is moving through a landscape, this shot can powerfully illustrate their progress.
- Create a "Wow" Factor: It's a visually striking technique that can make your videos stand out.
Avoid a Parallax Shot When:
- The scene lacks depth: If there isn't a clear separation between foreground, middle ground, and background, the effect will be minimal or non-existent.
- The subject is too erratic: Trying to keep a highly unpredictable subject perfectly framed while performing complex drone movements can be extremely challenging and often leads to a bad result.
- You need a static, grounded shot: Sometimes, a simple, stable shot is what the narrative calls for. Overusing dynamic effects can be distracting.
- You're flying in constrained spaces: While possible, performing a precise parallax shot in tight environments increases the risk of collision and can make smooth execution difficult.
Frequently Asked Questions About Drone Parallax
How long does it take to learn a parallax shot?
Mastering the drone parallax shot typically takes several practice sessions. While you might get a usable shot on your first try, achieving consistent, smooth results often requires many hours of hands-on experience with your drone's controls.
What drone features are most important for parallax shots?
A drone with a high-quality, stabilized gimbal is essential for smooth camera movements. Responsive and precise control sticks are also crucial, allowing for the fine-tuned adjustments needed to keep your subject framed.
Can I achieve a parallax effect with any drone?
While many modern drones can perform parallax shots due to advanced gimbals, older or very basic models might struggle. Drones with manual camera control and stable flight performance are best suited for this technique.
What’s the difference between a parallax shot and a dolly zoom?
A parallax shot involves moving the drone forward while keeping the subject framed, making the background appear to move faster. A dolly zoom, however, moves the drone backward while widening the camera's field of view (or vice-versa) to keep the subject the same size in the frame, creating a disorienting effect.
Is there a specific altitude for a parallax shot?
There isn't a set altitude for a parallax shot; it depends entirely on your scene and desired framing. You might be flying low to the ground for an intimate feel or higher up to capture sweeping landscapes. The key is always maintaining the correct relative motion between drone and camera.