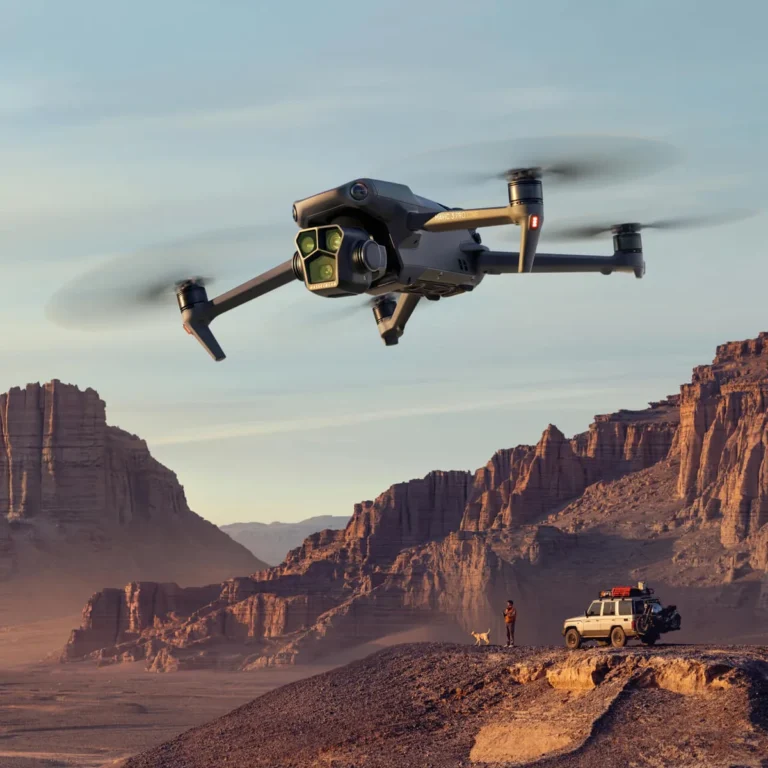
How Do You Do a Drone Orbit Shot?
Nailing a drone orbit shot can elevate your footage from ordinary to cinematic, giving your subject a dynamic and immersive presentation. If you've ever wondered how to achieve that smooth, circling camera movement that highlights everything from buildings to landscapes, you're in the right place. It’s a fundamental technique for drone pilots aiming for professional-looking results.
In our research, we've found that mastering this shot often comes down to understanding the interplay between drone control, camera settings, and environmental factors. Manufacturer specifications for modern drones frequently highlight intelligent flight modes designed to simplify complex maneuvers like orbits, often with pre-set parameters for radius and speed. Let's dive into how you can execute this visually compelling shot.
Quick Answer
To do a drone orbit shot, you'll either use your drone's built-in "Orbit" or "Point of Interest" mode, or fly it manually. Select your stationary subject, define the orbit radius and speed, and then initiate the flight. Ensure clear airspace and smooth camera adjustments to keep your subject perfectly framed throughout the 360-degree movement.
Why Visuals Are Key for Drone Orbits
The essence of a drone orbit shot lies entirely in its visual presentation. It's not just about making the drone circle; it's about how that movement tells a story and showcases your subject. This shot type relies heavily on your ability to see and interpret spatial relationships, camera angles, and the overall composition as it unfolds in real-time.
Without a strong visual understanding, even the best technical flying can result in footage that feels amateurish or confusing.
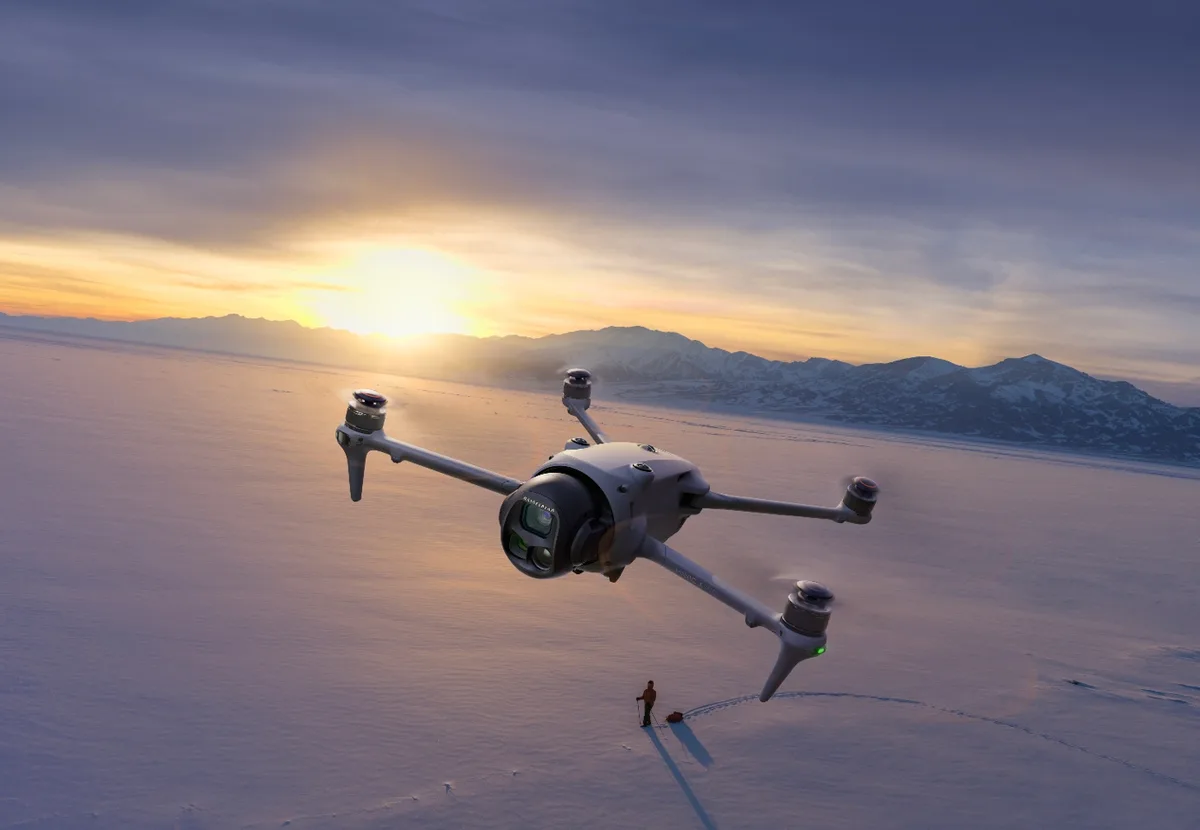
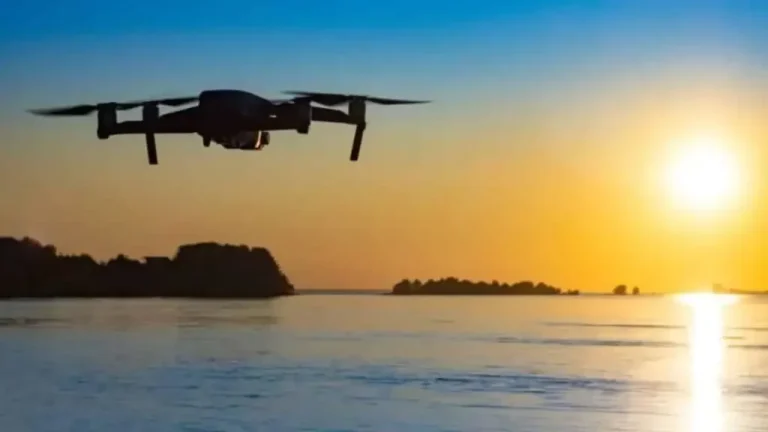
Image source: Bing (Web (fair-use with source credit))
Understanding Drone Orbit Movement
At its core, a drone orbit involves the aircraft flying in a circular path around a specific point. This movement needs to be consistent. Manufacturer specifications, like those for DJI drones, often detail how their intelligent flight modes, such as Point of Interest (POI), enable autonomous circular flight paths, typically with a radius range from 5 to 30 meters (approximately 16 to 98 feet).
The goal is to create a seamless, flowing motion that feels natural to the viewer.
What Makes a Good Orbit Shot Visual?
A visually compelling drone orbit shot maintains perfect focus on the subject while revealing its surroundings. Key identifiers of a good visual orbit include consistent subject framing (it doesn't drift left or right within the frame), a steady camera tilt that follows the subject’s contours, and a smooth transition between revealing the subject’s details and its context. Common visual mistakes include the drone wobbling, the camera angle being too high or low, or the subject being lost as the drone turns.
Step-by-Step: Mastering the Orbit
Executing a drone orbit shot involves a methodical approach, whether you're relying on automated features or taking manual control. The process starts long before takeoff, with careful planning and environmental assessment. Accuracy in each step ensures a professional final product, turning a simple circling motion into a powerful visual narrative.
Method 1: Using Your Drone's Orbit Mode
This is by far the most accessible method for achieving smooth drone orbit shots, especially for those new to aerial cinematography. Most modern drones come equipped with intelligent flight modes designed to simplify complex maneuvers. The "Orbit" or "Point of Interest" (POI) function automates the flight path, allowing you to focus on framing and camera movement.
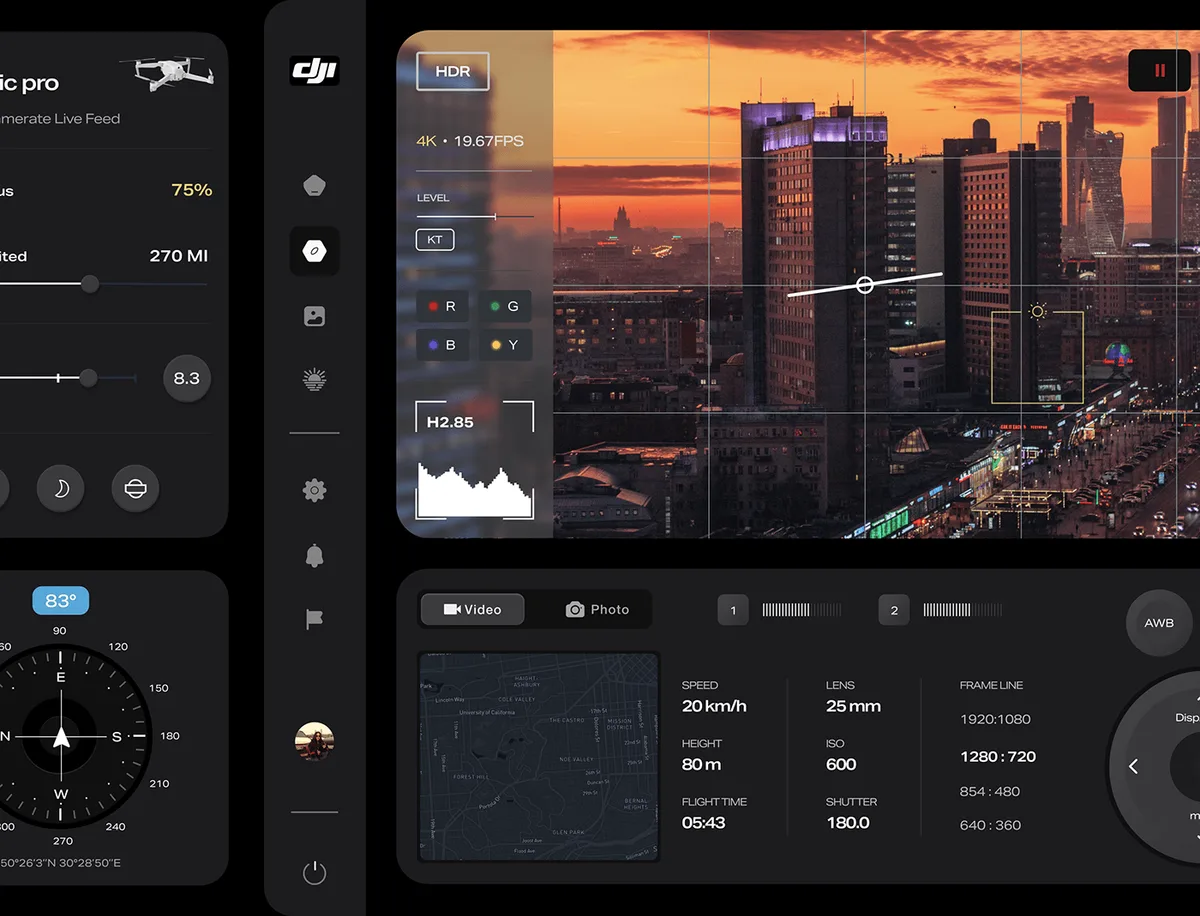
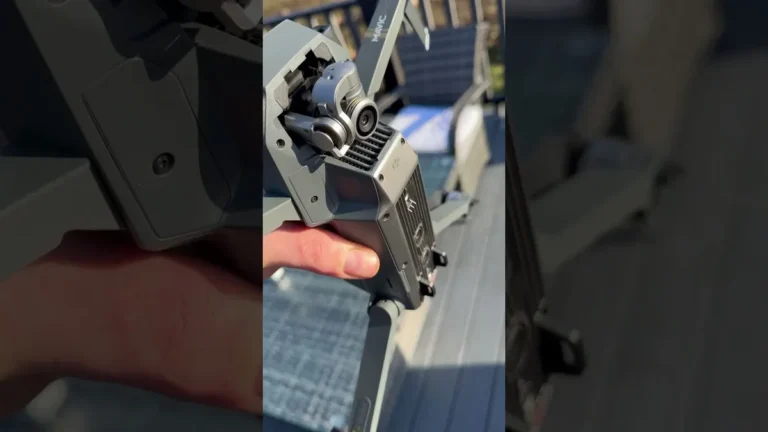
Image source: Bing (Web (fair-use with source credit))
Here’s how it generally works:
- Subject Selection: Place your drone at a suitable distance from your chosen stationary subject. This distance, or radius, will determine the size of your orbit.
- Activate Mode: In your drone's control app, navigate to the intelligent flight modes and select "Orbit" or "Point of Interest."
- Designate Subject: Tap on your subject on the live camera feed to lock it as the center of the orbit.
- Configure Settings: You'll typically be able to adjust:
- Radius: How far the drone will circle from the subject.
- Speed: How fast the drone flies its circular path.
- Direction: Clockwise or counter-clockwise rotation.
- Altitude: The drone’s height during the orbit.
- Initiate Orbit: Once settings are confirmed, hit the 'Go' or 'Start' command.
- Adjust Camera: While the drone orbits, use the camera gimbal controls to tilt the camera up, down, or keep it level to perfectly frame your subject.
- Stop Orbit: When you've captured enough footage, press 'Stop.' The drone will usually hover or return to a safe home point.
This automated approach ensures a consistent circular path and speed, minimizing the risk of jerky movements common in manual flight when first learning.
Method 2: Flying a Manual Orbit
For those seeking ultimate creative control or whose drones lack automated orbit functions, manual flight is the way to go. This method requires significant practice and a good feel for your drone's controls. You'll be simultaneously managing forward movement, rotation (yaw), and altitude while adjusting the camera.
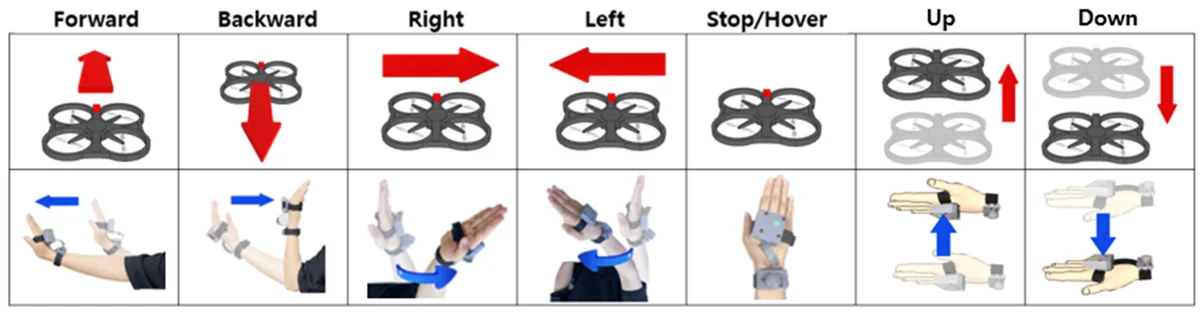
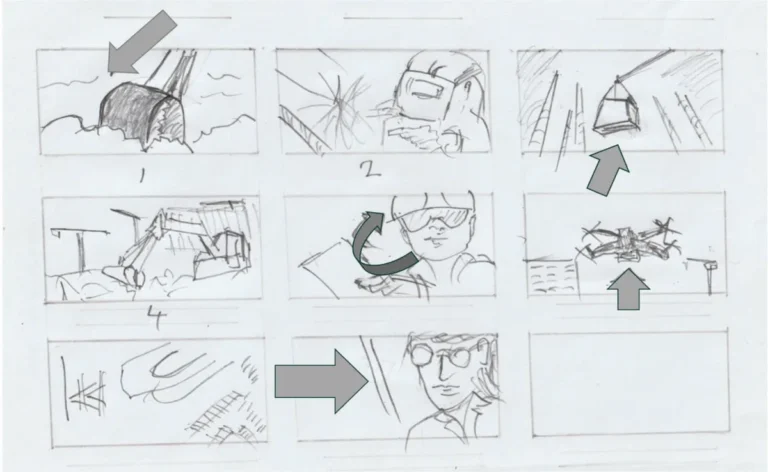
Image source: Bing (Web (fair-use with source credit))
The process generally involves:
- Hover and Assess: Position your drone at the desired starting altitude and distance from your subject. Ensure there are no immediate obstacles.
- Initiate Forward Flight: Gently push the forward control stick. This starts the drone moving towards its circular path.
- Begin Yaw Control: Simultaneously, start rotating the drone using the yaw stick. You'll want to turn the drone away from its direction of travel to create the curve. Think of it as steering.
- Constant Adjustments: This is where practice pays off. You'll make small, continuous adjustments to both the forward and yaw controls to maintain a smooth, circular path. You'll also need to keep the altitude control steady.
- Camera Tilt: Use your other thumb or control stick to tilt the camera up or down, keeping the subject consistently framed.
- Refine and Practice: Start with a wide radius and a slow speed. As you become more comfortable, you can experiment with tighter circles and faster speeds. Achieving a perfectly smooth manual orbit can take many attempts.
Manual orbits offer a more organic feel and allow for subtle variations that automated modes might not provide, but they demand a higher skill level.
Essential Camera Framing and Tilt
Regardless of whether you're using an automated mode or flying manually, the camera's framing and tilt are paramount. The visual success of an orbit shot hinges on keeping your subject consistently within the frame. This means that as the drone circles, the camera's pan and tilt must work in concert to maintain a locked-on view.
For example, if your drone is flying a circular path around a tall building, you'll likely need to tilt the camera downwards slightly as the drone moves. This compensates for the perspective change and ensures the base of the building doesn't disappear from view. On the other hand, if you're orbiting a person, you might keep the camera level or tilt it slightly upwards to capture their expression.
As of 2026, most camera gimbals allow for smooth, precise adjustments that can be controlled independently from the drone's flight path, offering significant creative flexibility.
Key Elements for a Stunning Orbit
To move beyond a basic circle and create a visually arresting drone orbit shot, several elements need careful consideration. It's the combination of precise technical execution and an eye for composition that truly makes these shots shine. Think of it as choreographing a dance between your drone, the camera, and the environment.
Choosing the Right Subject and Setting
Not all subjects are created equal when it comes to orbit shots. Stationary objects with clear, defined shapes or those that stand alone tend to work best. A solitary lighthouse, a unique sculpture, or a historic building are ideal candidates.
Cluttered environments or subjects with highly irregular surfaces can make it difficult to maintain a clean visual narrative. For instance, orbiting a dense forest can be visually confusing unless there's a clear focal point within it.
The setting also plays a critical role. Open spaces with minimal wind are crucial for smooth flight, whether you're using automated modes or flying manually. A light breeze might be manageable, but strong, gusty winds can easily disrupt the drone's path and camera stability, leading to shaky footage.
Always check weather conditions and consider the time of day for optimal lighting.
Adjusting Orbit Speed and Radius
The speed and radius of your orbit significantly impact the final look and feel of your footage. A wide radius with a slow speed creates a majestic, sweeping feel, allowing viewers to take in the subject and its surroundings comprehensively. This is excellent for showcasing large landmarks or expansive landscapes.
Conversely, a tighter radius with a faster speed can create a more dynamic, energetic shot, focusing intensely on the subject's details.
Aggregate user reviews and manufacturer specifications often suggest starting with slower speeds (e.g., 5-10 meters per second) and moderate radii (e.g., 10-20 meters) when learning. As you gain confidence, you can experiment with faster speeds and tighter orbits. However, pushing these parameters too far without sufficient skill can lead to unstable flight or loss of subject framing, turning a potentially great shot into a missed opportunity.
Smoothness: The Secret Sauce
Smoothness is the single most critical factor for a professional-looking drone orbit shot. Any jerky movements, sudden changes in speed, or wobbles in the camera gimbal will immediately detract from the cinematic quality. This is where the choice between automated and manual flight becomes significant.
Automated modes, like the Point of Interest function found on many DJI models, are engineered to provide inherently smooth paths. Their algorithms are designed to make constant, minute adjustments to maintain a consistent velocity and trajectory. When flying manually, achieving this smoothness requires consistent, gentle inputs on the control sticks.
Practicing hovering and precise directional movements before attempting an orbit is highly recommended. Even minor vibrations or jitters can be amplified in post-production, so aiming for near-perfect stability during capture is key.
Common Drone Orbit Mistakes to Avoid
Even with the best intentions, a few common pitfalls can easily turn a promising drone orbit shot into something less than desirable. Recognizing these frequent errors ahead of time can save you a lot of frustration and salvaged footage. It's often the small details that make the biggest difference between amateur and professional results.
Framing Errors
One of the most prevalent mistakes is losing the subject in the frame. This can happen if the drone's camera doesn't track the subject accurately, or if the pilot isn't actively adjusting the camera's tilt as the drone circles. For instance, if the drone flies too high or too low relative to the subject, the framing will be off.
Similarly, if the orbit radius is too large and the subject is small in the frame, it can become lost, especially against a busy background.
Unpredictable Movement
This covers a range of issues from jerky flight paths to inconsistent speed. If you're using an automated mode, this might stem from the drone struggling to lock onto the subject, perhaps due to visual obstructions or a lack of distinct features on the subject itself. When flying manually, unpredictable movement often arises from over-correcting with the control sticks.
Small, deliberate inputs are far more effective than large, abrupt movements.
Environmental Hazards
Ignoring or underestimating environmental factors is another major source of failed orbit shots. High winds are a primary culprit, as they can push the drone off its intended path and cause significant camera shake. Obstacles like trees, power lines, or buildings can pose collision risks, especially if the orbit radius is too small or the pilot loses situational awareness.
Always perform a thorough pre-flight check of the airspace and weather conditions.
Expert Tips for Pro-Level Orbits
To elevate your drone orbit shots from good to great, consider these advanced techniques. Many professional drone pilots use a combination of automated modes for initial setup and then take manual control for the final polish. This hybrid approach offers both precision and creative freedom.
For instance, initiating an orbit with a drone's POI mode can establish a clean circle, but then switching to manual allows for subtle, artistic camera tilts or slight speed adjustments that aren't possible otherwise.
Think about your intended final output. If the footage is for a cinematic piece, slower orbits with gradual camera tilts can build tension and drama. For real estate or architectural showcases, faster orbits might highlight the property's layout and key features more effectively.
Always aim for consistency; even minor deviations in altitude or speed can make the footage look amateurish. Manufacturer documentation, such as the operational manuals for DJI drones, often details how to access and utilize these advanced flight settings.
Safety First: Orbiting Responsibly
Operating a drone safely is paramount, and this is especially true when performing maneuvers like orbits. Before you fly, always consult the latest regulations from your national aviation authority, such as the Federal Aviation Administration (FAA) in the United States. As of 2026, regulations often require drones to be registered if they weigh more than 0.55 pounds (250 grams).
Crucially, maintain Visual Line of Sight (VLOS) with your drone at all times; don't rely solely on the camera feed.
When setting up an orbit, ensure you have ample clear airspace. This means checking for trees, power lines, buildings, and other drones. An orbit requires the drone to move in a continuous path, increasing the risk of collision if the environment is not thoroughly assessed.
If you are using a drone with automated flight modes, understand its emergency procedures, such as Return-to-Home (RTH) functionality, and ensure your geofencing settings are correctly configured to avoid restricted airspace.
Drone Orbit Shot FAQs
What is the ideal altitude for a drone orbit shot?
The ideal altitude depends on your subject and desired framing. For showcasing a building's details, you might orbit at the building's height. For wider landscape shots, a higher altitude might be necessary.
Generally, maintaining a consistent altitude throughout the orbit is crucial, often between 10 to 100 meters (approx. 30 to 330 feet), depending on the scale of the subject.
How do I prevent my drone from drifting during an orbit?
Drifting is usually caused by wind or imprecise control inputs. If flying manually, make continuous, small corrections to your controls. If using automated modes, ensure the drone has a strong GPS lock and that there are no significant wind gusts.
Some drones have enhanced wind resistance capabilities, but always be prepared to take manual control if drift becomes excessive.
Can I orbit a moving subject?
Orbiting a truly dynamic, fast-moving subject is extremely challenging and generally not recommended for standard orbit shots. Most orbit modes and manual techniques are designed for stationary targets. For moving subjects, advanced tracking features or skilled manual piloting focusing on subject acquisition are required, which is different from a classic orbit.
How long should a drone orbit shot be?
A drone orbit shot typically lasts between 10 to 30 seconds. This duration allows viewers to appreciate the subject from multiple angles without becoming monotonous. Longer shots can sometimes feel repetitive unless there's significant visual interest unfolding throughout the orbit, such as changing light or reveal of new details.
What are the minimum drone requirements for an orbit shot?
For basic orbits using automated modes, a drone with a reliable GPS system, a stable camera gimbal, and intelligent flight modes (like POI) is sufficient. For manual orbits, a drone with responsive controls and a well-calibrated gimbal is essential. Most modern consumer drones from brands like DJI or Autel can perform orbit shots effectively.