How Do You Do a Drone Reveal Shot?
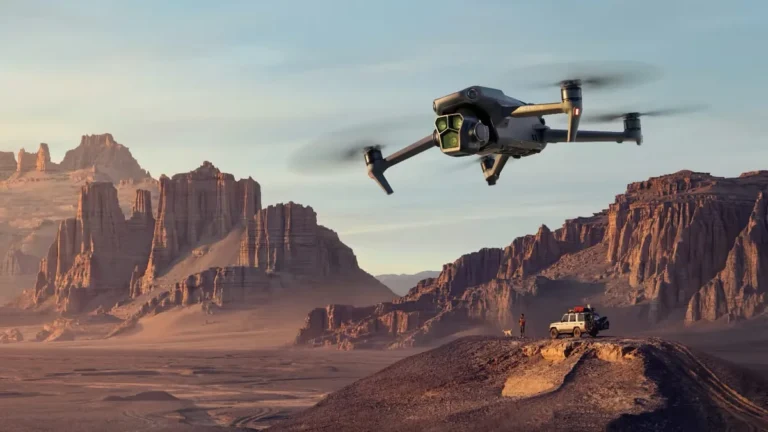
You've seen them: those breathtaking drone shots that start wide and then swoop in, dramatically revealing a stunning vista, a beautiful home, or a surprising subject. Learning how to do a drone reveal shot can seriously elevate your videography, adding a professional and cinematic flair that captivates viewers. It's about crafting a visual journey that builds anticipation and delivers a memorable payoff.
Think of it as telling a story through movement. It’s not just flying; it’s about carefully choreographed camera work that draws the audience in. Manufacturer specifications indicate that modern drones offer advanced flight control that makes these dynamic shots achievable with practice.
Quick Answer
To do a drone reveal shot, you plan a specific flight path and camera angle to deliberately hide and then display your subject. You'll typically start behind an object or far away, then move smoothly to uncover the main point of interest. Careful scouting, precise drone control, and strategic editing are essential for a successful reveal.
Why Visuals Are Everything for a Drone Reveal
When you're aiming for a drone reveal shot, you're essentially creating a visual performance. The camera's movement and the way it unveils your subject are what make the shot compelling. It's less about the technical specs of the drone itself and more about how you manipulate its aerial perspective to tell a story.
This kind of shot thrives on what the viewer sees. If you can't visualize the movement and the final reveal, the shot won't land. It’s like a magician showing you their empty hands before making something appear, the mystery and the eventual display are the core of the trick.
Image source: Bing (Web (fair-use with source credit))
The Power of the Swoop: Building Anticipation
The essence of a reveal shot lies in its ability to build anticipation. You're not just showing something; you're making the viewer want to see it. This is achieved by controlling what the viewer perceives and when.
You can start by showing a general, perhaps less interesting, scene and then use the drone's movement to guide the eye towards the star of the show.
This could involve flying over a dense forest canopy before descending to reveal a hidden cabin, or starting behind a large building and then sweeping around to showcase a spectacular garden. The key is to maintain a sense of curiosity until the perfect moment.
Smooth Moves: Mastering Drone Camera Control
The impact of a drone reveal hinges almost entirely on smooth, controlled camera movement. Jerky, unpredictable flight will instantly break the illusion and make the shot look amateurish. You want the drone's motion to feel intentional and fluid, almost like a balletic aerial performance.
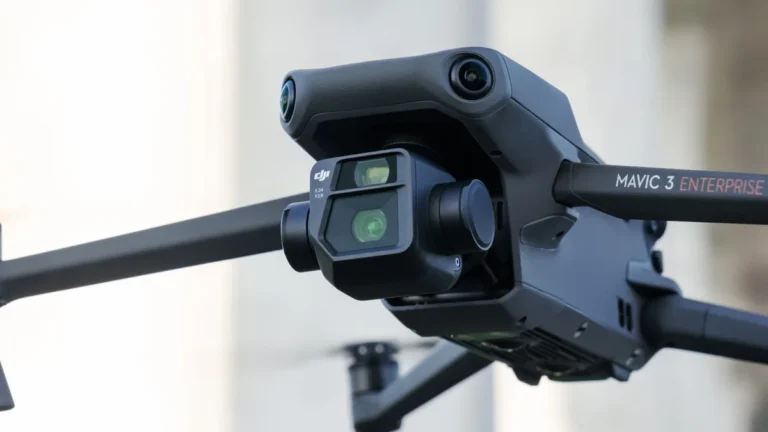
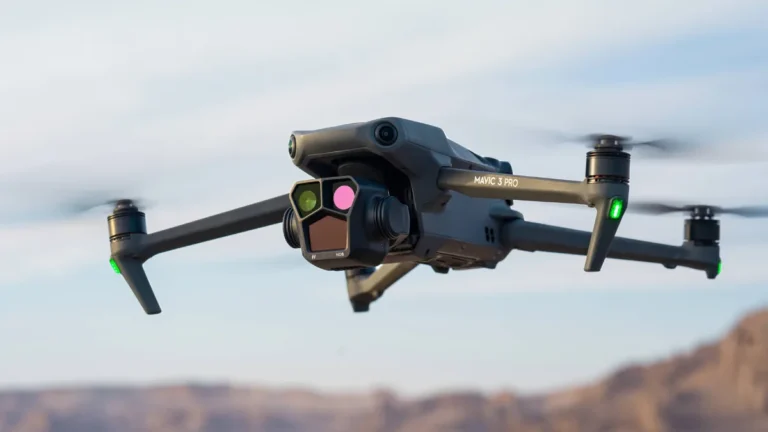
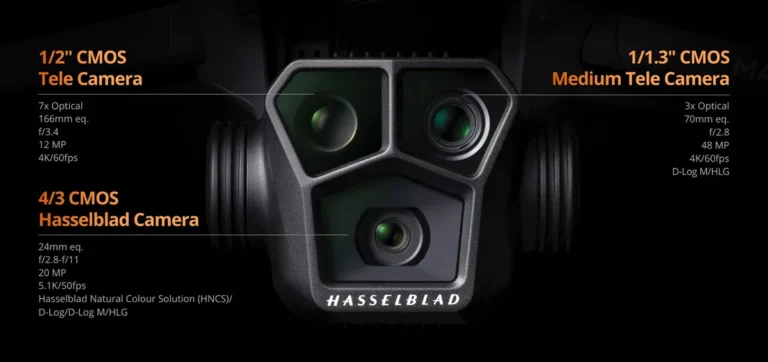
Achieving this requires understanding your drone's controls and practicing consistently. Many drones, particularly those from major manufacturers like DJI, offer advanced flight modes and adjustable sensitivity settings that can help pilots execute more precise and cinematic movements. For instance, a drone like the DJI Mavic 3 Pro offers advanced stabilization, which is critical for those sweeping reveals.
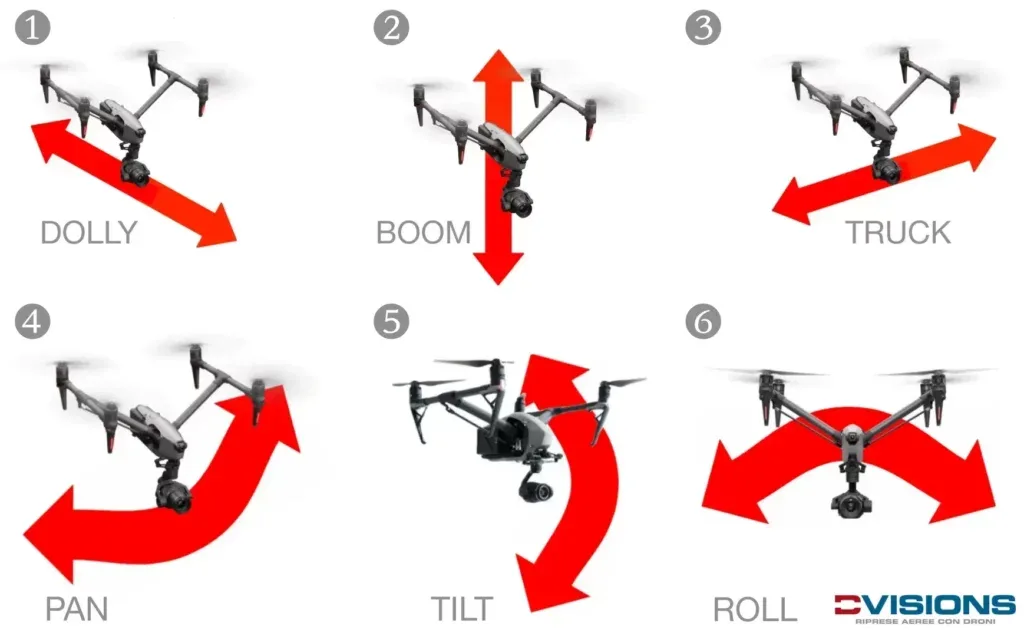
Image source: Bing (Web (fair-use with source credit))
Smooth Moves: Mastering Drone Camera Control (Continued)
Practice is absolutely key here. Think about it: if your drone jitters or lurches as it moves, the viewer's attention is drawn to the instability, not the subject you're trying to reveal. This is why consistent practice with your drone's joysticks is non-negotiable.
Many pilots find that starting in open, low-wind areas helps them get a feel for how the drone responds.
Beyond just steady hands, understanding how to combine directional movement with camera tilt simultaneously is where true cinematic magic happens. This synchronized motion allows you to guide the viewer's eye precisely where you want it, creating that polished, professional look.
Smooth Moves: Mastering Drone Camera Control (Continued)
When you're executing a reveal, you're often layering movements. You might be flying forward while simultaneously panning the camera left or tilting it down. The goal is to make this complex maneuver appear effortless.
Many pilots utilize their drone's intelligent flight modes, which can automate certain movements and improve stability, especially for beginners. However, for the most nuanced and creative reveals, direct manual control is usually preferred once proficient.
Step-by-Step: Planning and Executing Your Reveal
Executing a great drone reveal shot involves a structured approach, from the initial idea to the final edit. It's not something you can usually pull off on the fly without careful thought. Think of it as a mini-production, even if it's just for a short clip.
Scout Your Scene: Finding the Perfect Reveal Spot
Location scouting is arguably the most critical step for any drone reveal. You need to physically go to the place where you plan to film and observe it with the reveal shot in mind. Look for natural elements that can act as an "obstruction" or a starting point for your drone's journey.
Are there tall trees, rolling hills, unique architectural features, or even just open space that can create a sense of mystery?
Consider the subject itself. Where is it positioned within the landscape? What's the best angle to reveal it that will have the most impact?
You're looking for those specific vantage points and natural framing opportunities. For example, a good real estate reveal might use a cluster of trees to partially obscure a stunning home until the drone moves.
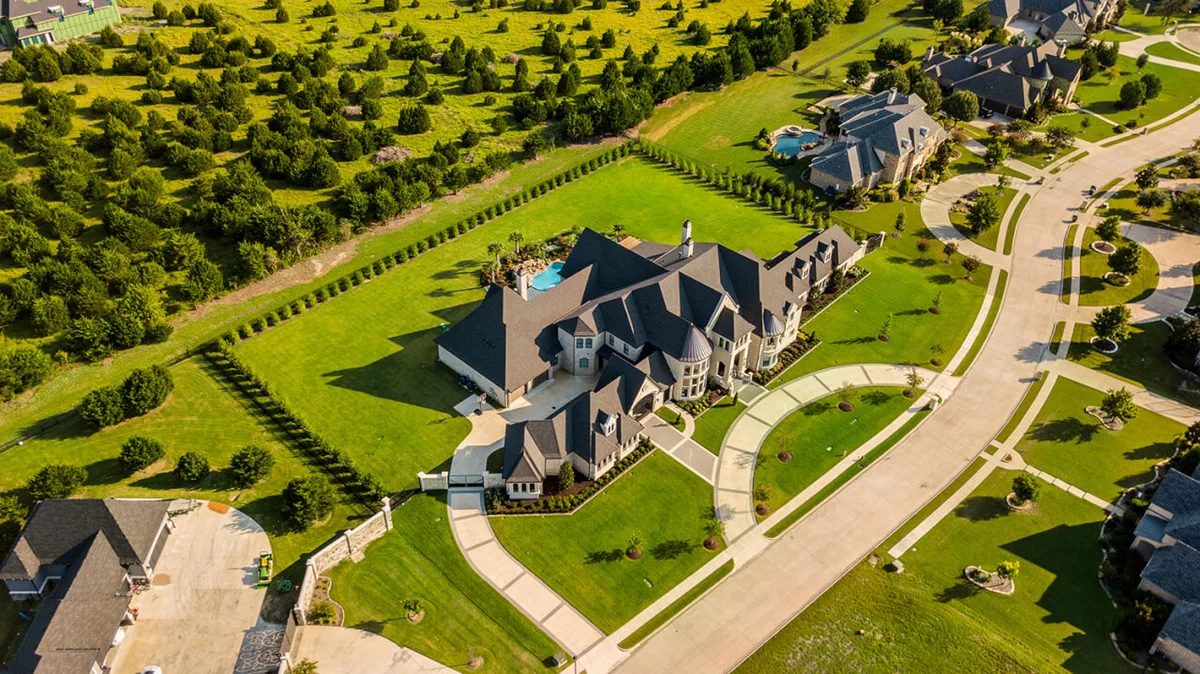
Image source: Bing (Web (fair-use with source credit))
Scout Your Scene: Finding the Perfect Reveal Spot (Continued)
During your scouting, pay close attention to potential hazards. Look for power lines, other aircraft, restricted airspace zones (which you can often check via official aviation authority apps or websites), and any physical obstacles that could impede your flight path or pose a risk to the drone or people. Understanding these limitations upfront prevents mid-flight emergencies.
Also, think about the light. The time of day can dramatically alter how your subject looks. Early morning or late afternoon light (the "golden hours") often provides soft, warm illumination that can make a reveal much more visually appealing than harsh midday sun.
Choreographing the Sky: Planning Your Flight Path
Once you've scouted your location and identified your reveal point, it's time to plan the drone's actual movement. This is where you map out the entire flight path, from the starting position to the final framing of your subject. Visualize the sequence: where does the drone begin, how does it travel, and what angle does it achieve at the moment of reveal?
You'll want to consider the speed. Too fast, and the reveal is lost in a blur. Too slow, and the shot can become boring or monotonous.
You're aiming for a steady, consistent pace that allows the viewer's eye to follow along and build suspense. Many pilots will practice these movements on a simulator or even just by walking the path on foot to get a feel for the timing.
Choreographing the Sky: Planning Your Flight Path (Continued)
Think about the camera angle throughout the flight. Are you starting with a top-down view and then tilting down? Or are you flying horizontally and panning?
Combining these movements is often what creates the most dynamic reveals. For instance, a common technique is to start with the drone flying horizontally behind a hill, and as it crests the hill, the camera tilts down to reveal a valley below.
It’s also worth noting that the FAA requires pilots to maintain visual line-of-sight with their drones at all times, so your planned path needs to be achievable within those regulations. This means you generally can’t fly beyond the horizon or behind very large, solid objects for extended periods without breaking the line-of-sight rule.
Pre-Flight Checks: Getting Your Drone Ready
Before you even think about lifting off, a thorough pre-flight check is essential, especially when executing complex maneuvers like reveal shots. This ensures your drone is operating optimally and safely. Start by checking your drone's batteries, both the flight battery and any remote controller batteries.
Ensure they are fully charged; most drones have flight times ranging from 20 to 30 minutes as of 2026, and you don't want to cut a reveal shot short due to power loss.
Next, calibrate your drone's compass. This is crucial for stable flight and navigation, preventing unexpected drifts or orientation issues. Inspect your propellers for any nicks, cracks, or signs of damage; even minor damage can affect performance and safety.
Make sure they are securely attached.
Pre-Flight Checks: Getting Your Drone Ready (Continued)
It’s also wise to check your drone's firmware and the remote controller's firmware to ensure they are up-to-date. Manufacturers often release updates that improve performance, stability, and safety features. Finally, always ensure you have a clear, open space to take off from and land in.
Your starting position needs to be stable and free of obstructions so you can get the initial framing exactly right before initiating your reveal sequence.
The Actual Flight: Executing the Reveal
This is where your planning pays off. When you're ready, start your drone’s movement slowly and smoothly. The initial moments are critical for establishing the scene and letting the viewer get their bearings before the reveal truly begins.
Avoid abrupt stick movements; use gentle, consistent pressure.
As you execute your planned flight path, focus on maintaining a steady speed and consistent camera angle relative to your movement. If you're revealing something that requires a specific camera tilt, make that adjustment gradually as you fly. If the reveal involves flying around an object, ensure your path keeps you a safe distance from it while still providing a clear view.
The Actual Flight: Executing the Reveal (Continued)
Throughout the flight, keep an ear out for your drone's signals. Pay attention to any audible warnings or visual cues on your controller's screen regarding battery levels, signal strength, or potential hazards. If something feels off, it's always better to abort the shot and land safely than to push your luck.
The goal is a clean, controlled sequence, not a risky maneuver. When you've captured the perfect reveal, bring the drone in for a safe landing.
Common Drone Reveal Mistakes to Sidestep
Even with the best intentions, certain pitfalls can derail a drone reveal shot, turning what should be a moment of awe into a forgettable mistake. Recognizing these common errors upfront can save you a lot of frustration and ensure your footage looks professional.
Avoiding Jerky Movements and Unstable Footage
The most glaring mistake is inconsistent drone movement. This happens when a pilot makes sudden, sharp adjustments to the control sticks. As a result, the drone lurches, wobbles, or changes direction unexpectedly, making the footage look shaky and amateur.
This draws the viewer's attention away from the subject being revealed and towards the poor flying.
To counter this, practice flying with smooth, deliberate stick inputs. Many drones offer adjustable sensitivity settings in their flight apps, allowing you to dial down the responsiveness for finer control. Furthermore, using intelligent flight modes, if available on your drone, can help automate smoother paths, especially for beginners.
Aggressive acceleration or braking can also cause unwanted motion blur or visual distortion.
Avoiding Jerky Movements and Unstable Footage (Continued)
Another significant contributor to unstable footage is attempting complex maneuvers in less-than-ideal conditions. Flying in strong winds, for example, will inevitably make it harder to keep the drone steady, especially during a smooth reveal. Manufacturer specifications for many drones, like those from Autel Robotics, will often list maximum wind speeds they can safely operate in, and it's wise to stay well within these limits.
Always check the weather forecast before you fly and postpone if conditions are too challenging.
When Lighting Fails Your Reveal
Poor lighting is a silent killer of cinematic shots, and drone reveals are no exception. If you try to reveal a subject in harsh, direct sunlight, you'll likely end up with blown-out highlights and deep, distracting shadows that obscure details. Conversely, filming in very low light can result in noisy, grainy footage that lacks clarity and visual appeal.
The ideal scenario is often soft, diffused light. This could be during the golden hours of sunrise or sunset, or on an overcast day. If you have to shoot in challenging light, try to position yourself so the light source is either behind the drone (backlighting the subject for a silhouette effect) or hitting the subject at an angle that creates pleasing contours rather than harsh contrasts.
Understanding how light interacts with your subject is just as important as the drone's movement itself.
Making Your Reveal Shine: Editing for Impact
Capturing great footage is only half the battle; the editing process is where a drone reveal shot truly comes to life. This is where you refine the pacing, enhance the visual appeal, and ensure your carefully planned movement delivers maximum impact. Think of the editing suite as your final rehearsal space.
You’ll want to trim any unnecessary footage, focusing only on the cleanest, most stable parts of your flight. This often means cutting out the initial takeoff and the shaky moments just before or after the main reveal action. The goal is to present a polished, deliberate sequence that flows smoothly from anticipation to payoff.
Pacing and Music: The Hidden Ingredients
The speed at which your reveal unfolds is crucial. If it’s too quick, the viewer might miss the unfolding drama. If it’s too slow, you risk losing their attention.
Your editing should reflect the planned pacing, ensuring the subject is revealed at the most effective moment. Sometimes a slow, creeping reveal builds more tension than a fast swoop.
Music also plays a significant role. A carefully chosen soundtrack can amplify the emotional impact of your reveal, adding a sense of wonder, excitement, or even drama. The right music can guide the viewer’s emotional response and make the visual payoff even more powerful.
Real-World Drone Reveal Scenarios
Drone reveal shots aren't just for showpieces; they have practical applications across various industries, making them a valuable tool for content creators. Understanding how they're used in real-world scenarios can spark ideas for your own projects.
Real Estate: Showcasing Homes from Above
In real estate videography, drone reveals are incredibly effective for showcasing properties. A typical use case involves starting the drone at a distance, perhaps over a nearby street or a wide shot of the neighborhood. The drone then flies smoothly towards the house, revealing its exterior, landscaping, and perhaps even a swimming pool or unique architectural features as it gets closer.
This method allows potential buyers to see the property in its context, understand its layout relative to its surroundings, and get an impressive first impression. The reveal can highlight curb appeal, the size of the lot, and the overall grandeur of a home in a way ground-level shots simply can't match.
Real Estate: Showcasing Homes from Above (Continued)
Consider a scenario where you're marketing a sprawling luxury estate. You might start the drone high above, showing the property's relationship to a nearby golf course or coastline. The drone then descends and performs a gentle curve around the main house, revealing its impressive façade, manicured gardens, and possibly a separate guest house or sports facilities.
This kind of reveal provides context and a sense of scale that is hard to replicate.
The visual information conveyed through this type of shot helps buyers make a more informed decision, even before visiting in person. It offers a dynamic and engaging perspective that keeps viewers interested longer than static photos or traditional video tours.
Drone Reveal FAQs
Can I do this with any drone?
While many drones are capable of aerial movement, achieving truly cinematic reveal shots depends on the drone's capabilities. Drones with advanced stabilization, precise flight controls, and GPS positioning systems will make the task significantly easier. Basic toy drones or those with limited maneuverability might struggle to produce smooth, controlled movements required for a professional-looking reveal.
How fast should the drone move?
The ideal speed for a drone reveal shot is not a fixed number but depends on the context and the desired effect. Generally, you want a speed that is slow enough to allow the viewer to process the unfolding scene without feeling rushed, yet fast enough to maintain visual interest and momentum. Most pilots aim for a steady, consistent pace, often in the range of 5-15 miles per hour for typical reveals, adjusting based on the subject and environment.
What if I'm nervous about flying?
If you're new to drone piloting or feel nervous, it’s crucial to start slow and practice in safe, open environments. Many drones offer beginner modes that limit speed and responsiveness, making them easier to control. Consider taking a basic drone piloting course or practicing with a simulator to build confidence before attempting complex maneuvers like reveal shots.
Remember, safety and comfort come first.