How Do You Shoot Sunrise Drone Footage?
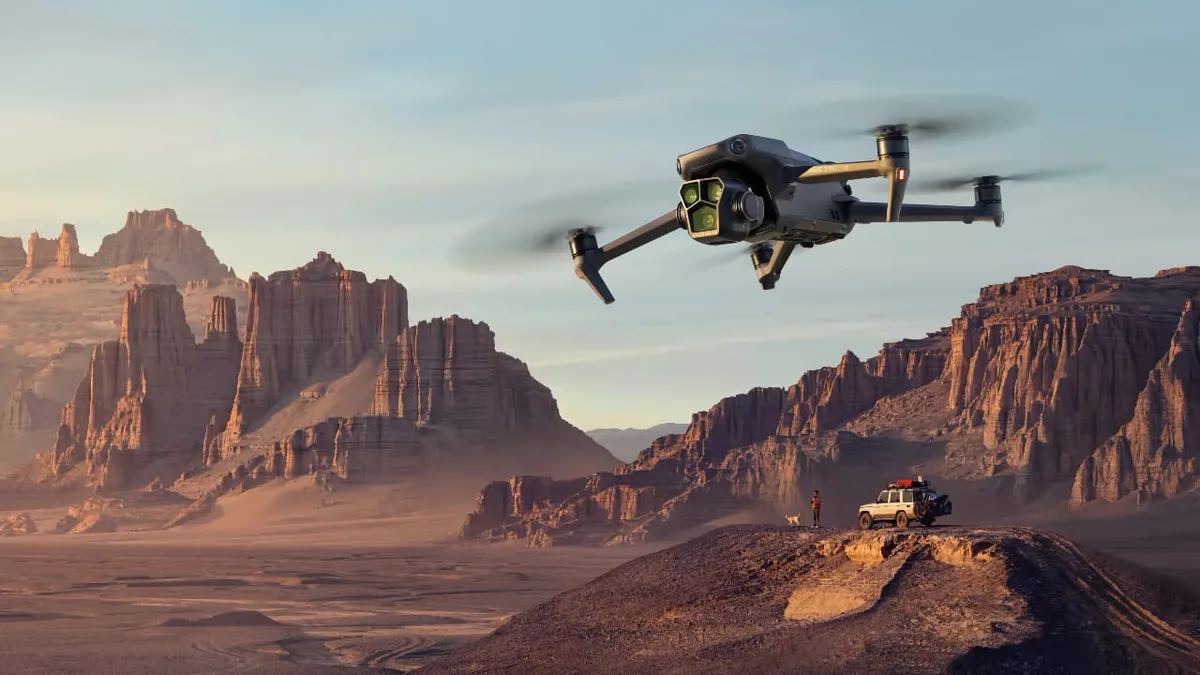
Image source: Bing (Web (fair-use with source credit))
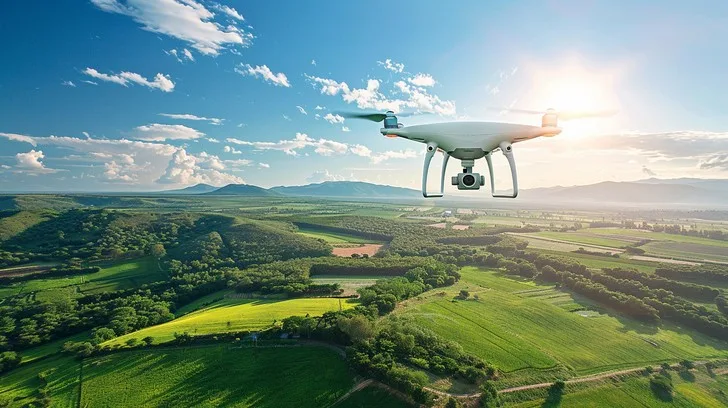
Shooting sunrise drone footage can turn an ordinary morning into something truly spectacular. Knowing precisely how do you shoot sunrise drone footage involves careful planning and understanding the unique challenges of dawn light. You're aiming to capture those fleeting moments when the sky explodes with color, but bad weather or incorrect settings can quickly turn your vision into a grainy disappointment.
Manufacturer specifications for modern drones highlight the importance of good low-light performance, with some high-end models featuring sensors designed to capture up to 12 stops of dynamic range. This capability is crucial for handling the stark contrast between the bright sky and darker foreground elements common in sunrise scenes. Let's break down what you need to know to get it right.
Quick Answer
To shoot sunrise drone footage, arrive early, plan your location, and set your camera to manual mode. Use a low ISO (like 100), adjust shutter speed to double your frame rate (e.g., 1/60s for 30fps), and set aperture around f/4 to f/5.6. Fly smoothly, focus on light and composition, and shoot in RAW for editing flexibility.
Getting Your Gear Ready for the Dawn Patrol
To capture those incredible sunrise moments with your drone, having the right equipment and knowing how to use it is paramount. It's not just about having a drone; it's about preparing it for the specific conditions of early morning light, which can be quite demanding. Think of it as gearing up for an expedition where every piece of equipment plays a critical role.
Essential Drone Equipment
Having the right tools on hand ensures you can focus on the creative aspect rather than troubleshooting technical glitches.
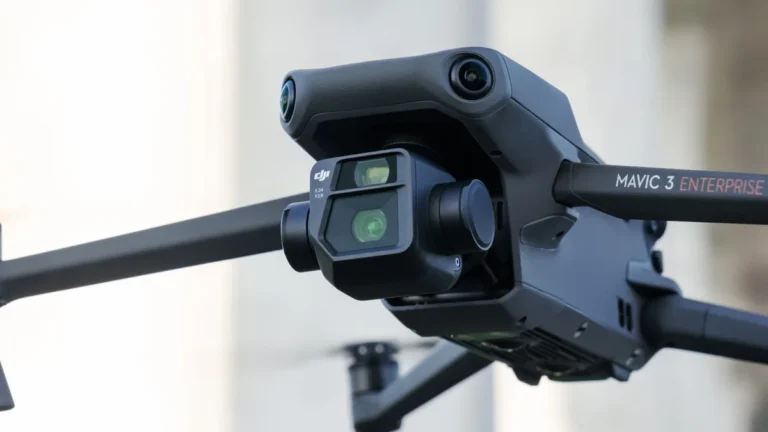
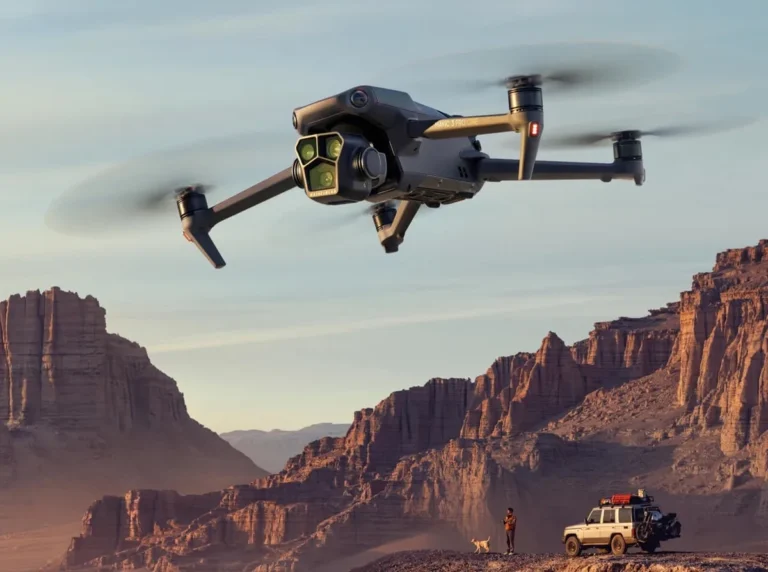
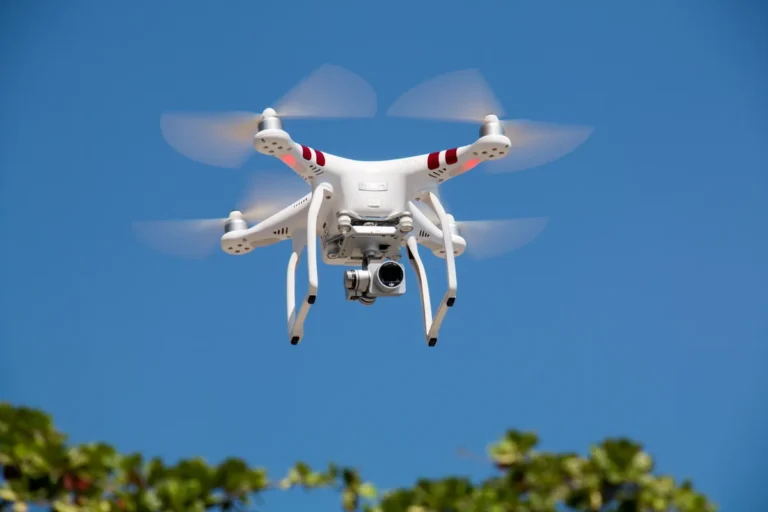
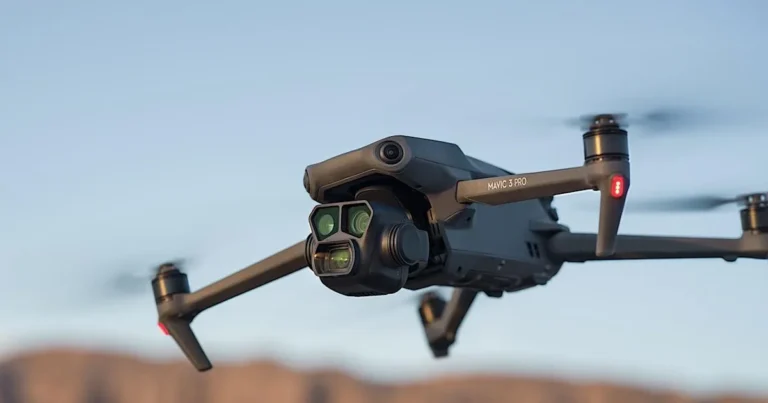
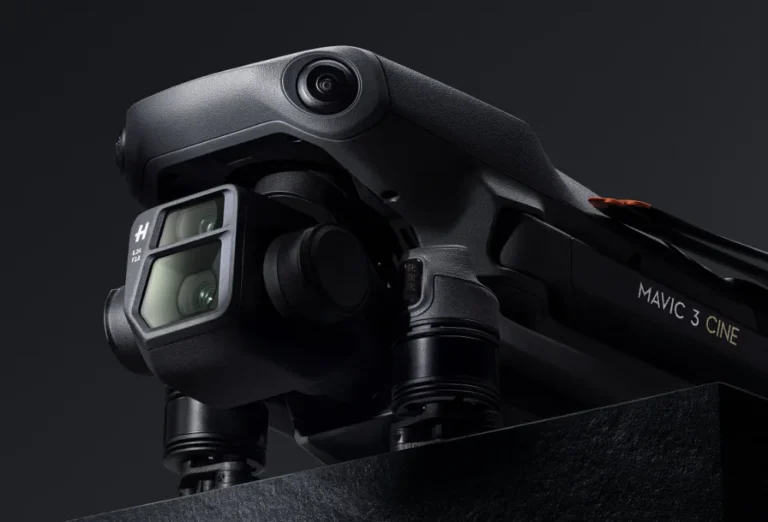
- Drone: Your primary tool. While many drones can technically fly, models with higher-quality cameras and better low-light performance will yield superior results. Consider drones that offer manual camera controls.
- Batteries: Sunrise shoots are battery-intensive. You'll likely want to launch before dawn and might need multiple flights. Editorial analysis of user feedback suggests having at least two to three fully charged batteries is essential, as cold morning air can reduce battery life by up to 20% compared to warmer temperatures.
- SD Card: A fast, high-capacity SD card is non-negotiable. You'll be shooting video, which consumes storage quickly. Aim for a card with at least 64GB, preferably 128GB or more, with a V30 speed rating or higher to handle high bitrates.
- Filters: Neutral Density (ND) filters are incredibly useful for sunrise. They act like sunglasses for your camera lens, allowing you to use slower shutter speeds to achieve smoother motion blur in video, especially when the light gets brighter. Polarizing filters can cut glare and enhance color saturation.
Camera Settings for Low Light Magic
This is where you'll make the biggest difference in image quality. Auto settings simply won't cut it when the light is constantly changing.
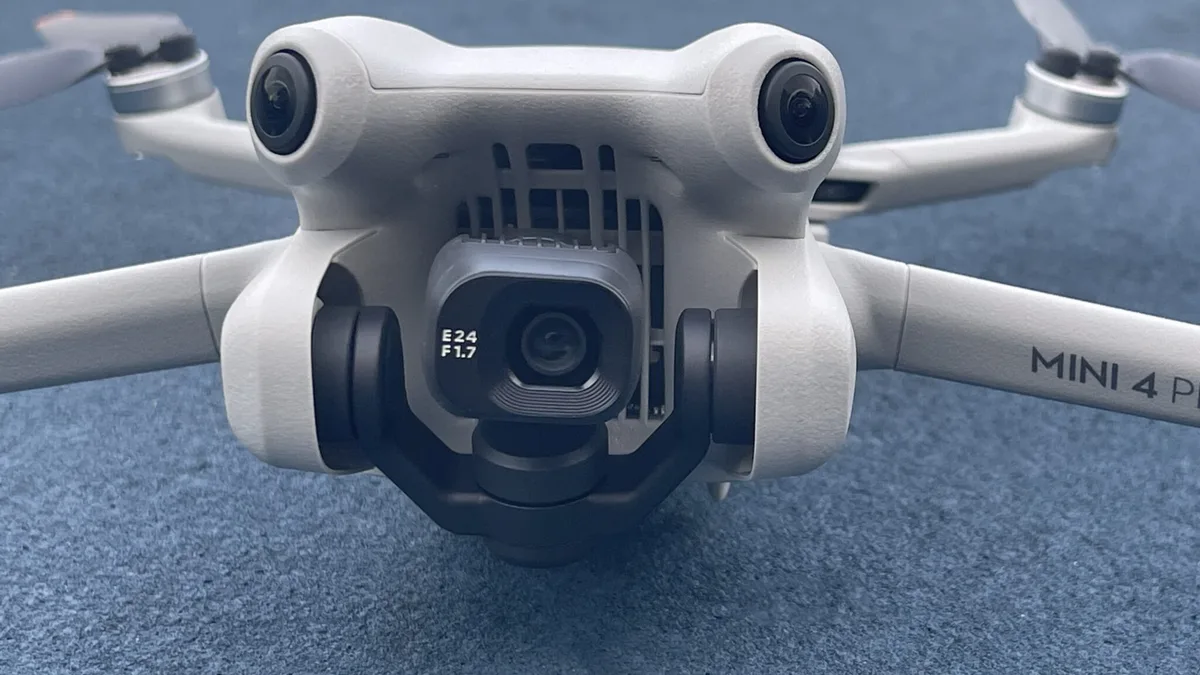
- Manual Mode: Always shoot in Manual (M) mode for video. This gives you full control over exposure.
- ISO: Keep your ISO as low as possible. Per manufacturer specifications, ISO 100 is the native base for most drone cameras, offering the cleanest image with minimal noise. Only increase it if absolutely necessary and you're comfortable with the resulting grain.
- Shutter Speed: For cinematic video, the 180-degree shutter rule is a good guideline. This means your shutter speed should be roughly double your frame rate. So, if you're shooting at 30 frames per second (fps), set your shutter speed to 1/60th of a second. For 60fps, aim for 1/120th.
- Aperture: If your drone has an adjustable aperture, a common sweet spot for sharpness and depth of field is between f/4 and f/5.6. Smaller apertures (higher f-numbers) can create a starburst effect on the sun, but will also darken the image and can sometimes reduce overall sharpness.
- White Balance: Auto white balance can struggle with the rapidly shifting colors of sunrise. It's often best to set it manually. Try a "Daylight" preset or a specific Kelvin temperature, often around 5200K to 5500K, and adjust based on the scene. Alternatively, shooting in a flat color profile like D-Log (if available on your drone) provides the most flexibility for color grading in post-production.
Mastering the Dawn Light: Timing and Location
Getting to the right place at the right time is half the battle. Sunrise isn't a single moment; it's a period of incredible transition. Understanding this nuance is key to capturing its full beauty.
When to Arrive for the Best Colors
Don't wait for the sun to crest the horizon to start shooting. The most magical light often happens before the sun is fully visible.
- Aim for 30-45 Minutes Early: This is when you'll capture the soft, diffused pre-dawn glow, often referred to as the "blue hour," transitioning into the warmer hues of dawn. This light is gentle, creating beautiful gradients in the sky and soft shadows on the landscape.
- Stay Until the Sun is Up: Even after the sun has risen, the light continues to evolve. Observe how it illuminates different parts of the landscape. Sometimes, the direct light of the early sun can create dramatic rays or highlight textures that weren't visible before.
- Monitor Weather: Clouds can dramatically enhance or detract from a sunrise. Light clouds can catch the colors beautifully, acting like a natural diffuser. Heavy, dark clouds might block the sun entirely. Keep an eye on the forecast.
Scouting Your Sunrise Spot
Choosing your location in advance can save you precious minutes and lead to a much better shot. You want a spot that offers interesting foreground elements and a clear view of the horizon where the sun will appear.
- Visit the Day Before: If possible, visit your chosen location during the time you plan to shoot. This helps you understand the light direction, identify potential obstacles like trees or buildings, and find the best vantage points for both your drone and yourself.
- Look for Interesting Foreground: A stunning sky is great, but it's even better when complemented by compelling ground elements. Look for leading lines (roads, rivers, fences), distinct silhouettes (trees, mountains, rock formations), or bodies of water that can reflect the sky.
- Consider Drone Flight Path: Think about how you'll fly your drone to get the most dynamic shots. Will you fly low over water? Will you fly through a gap in trees? Will you ascend from behind a mountain? Planning these paths in advance helps you anticipate any challenges.
- Check Regulations: Before you fly anywhere, always check local drone regulations. Some areas may have restrictions on drone operation, especially near airports, national parks, or private property. The Federal Aviation Administration (FAA) provides resources for understanding these rules within the United States.
The Flight Plan: Composing Your Aerial Sunrise
Once you're on location and your gear is prepped, it's time to think about the actual flight and how to frame your shots. The goal is to translate the breathtaking scene you're witnessing into compelling aerial footage. This stage requires patience and an eye for visual storytelling.
Essential Drone Movements and Techniques
The way you move your drone significantly impacts the feel of your footage. Sunrise is often associated with peace and majesty, so your movements should reflect that.
- Slow and Steady Pans: A slow, deliberate pan across the landscape as the colors shift can be incredibly effective. Avoid jerky movements; use the drone's gimbal to keep the motion smooth.
- Smooth Tilts: Tilting the camera up from a foreground element to the sky, or down from the vastness of the sky to the land below, can create a sense of scale and reveal your scene.
- Forward/Backward Drones: A slow, steady push-in or pull-out from a subject can add a cinematic quality. Fly directly towards or away from your intended point of focus.
- Orbiting: Circling a prominent feature in the landscape can offer a dynamic 360-degree view, showcasing the subject within its environment.
- Fly-Throughs: If your location allows, carefully flying your drone through natural openings like gaps in trees or between rock formations can create engaging, dynamic shots. Always prioritize safety and maintain line of sight.
Finding Silhouettes and Leading Lines
These compositional tools are vital for creating visually interesting and balanced drone shots, especially during sunrise when contrast is high.
- Silhouettes: As the sun rises behind a subject, it can create striking silhouettes. Look for trees, mountains, buildings, or even solitary figures that are backlit by the sunrise. These dark shapes provide a strong contrast against the vibrant sky.
- Leading Lines: These are natural or man-made lines in the landscape that draw the viewer's eye into the frame, guiding them towards the main subject or focal point. Examples include roads, rivers, fences, or even patterns in sand dunes. They add depth and direction to your shots.
- Framing: Use natural elements within the scene, like branches of trees or the edges of cliffs, to frame your main subject. This adds a sense of depth and can draw attention to your focal point.
- Rule of Thirds: While not a strict rule, mentally dividing your frame into thirds horizontally and vertically can help you place key elements of your composition off-center, creating a more dynamic and visually pleasing image.
Common Sunrise Drone Shooting Mistakes to Avoid
Even with the best intentions, a few common pitfalls can derail your sunrise drone footage. Recognizing these ahead of time can save your shoot.
- Flying Too Late: Launching your drone just as the sun appears means you'll miss the most dramatic pre-dawn colors and soft, ethereal light. The window for the best light is often brief.
- Ignoring Battery Life: Underestimating how quickly batteries drain, especially in cooler morning temperatures, can lead to cutting your shoot short or not getting the footage you planned. Always check battery levels and have spares ready.
- Relying on Auto Settings: Sunrise light changes rapidly. Auto settings will constantly try to adjust exposure, leading to inconsistent footage or blown-out highlights and crushed shadows. Manual control is essential.
- Jerky Drone Movements: Sunrise footage often benefits from smooth, flowing camera movements. Abrupt or shaky movements distract from the peaceful mood of the scene and are difficult to fix in editing.
- Not Shooting RAW or Log: While it takes more editing time, shooting in a flat color profile or RAW format captures more image data. This gives you significantly more flexibility to recover details in the shadows and highlights during color grading and ensures you can accurately represent the stunning colors you witnessed.
- Flying Into the Sun Directly: Unless intentionally creating a lens flare effect, pointing your drone camera directly at the rising sun can overexpose your image, making it appear blown out and lacking detail.
Editing Your Sunrise Footage for Maximum Impact
Capturing stunning footage is only the first step; post-production is where you bring your sunrise vision to life. The goal is to enhance the natural beauty you recorded without making it look artificial. This phase is critical for transforming raw clips into a polished final product.
- Color Correction: Your first step will likely be basic color correction. This involves adjusting white balance to ensure colors look natural and balancing exposure. If you shot in a flat profile like D-Log, you'll need to apply a LUT (Look-Up Table) or manually grade the footage to bring out vibrant colors. Manufacturer documentation for DJI drones often provides guidance on using their specific color profiles for optimal results in editing.
- Enhancing the Sky: Use your editing software's tools to subtly boost the saturation and contrast of the sky. Focus on bringing out the warm oranges, pinks, and reds of the sunrise without overdoing it. Careful use of masks or gradient filters can help target specific areas of the image.
- Balancing Light: Sunrise scenes often have high contrast between bright skies and dark foregrounds. You'll want to use tools like exposure, highlights, and shadows sliders to balance these areas. Recovering detail in the shadows can bring out interesting textures in the landscape that might have been lost in the initial recording.
- Stabilization: Even with good drone piloting, some minor jitters can occur. Most editing software includes stabilization tools that can smooth out these imperfections, making your footage look more professional and polished.
- Pacing and Music: The choice of music and the pacing of your edits are crucial for setting the mood. Sunrise footage often pairs well with calm, ambient, or orchestral music. Ensure your cuts align with the music's rhythm and the overall feeling you want to convey.
Frequently Asked Questions About Sunrise Drone Shoots
How long before sunrise should I arrive?
You should aim to arrive at your location at least 30 to 45 minutes before the official sunrise time to capture the best pre-dawn colors and soft light.
What are the best camera settings for sunrise drone footage?
For the best results, use manual settings: a low ISO (like 100), shutter speed double your frame rate (e.g., 1/60s for 30fps), and an aperture around f/4 to f/5.6. Shoot in a flat color profile like D-Log if available.
Can I use any drone for sunrise footage?
While any drone can fly, models with higher-quality cameras, manual controls, and good low-light performance will yield significantly better results. Advanced drones often feature larger sensors and better dynamic range.
What are Neutral Density (ND) filters for sunrise drone shots?
ND filters act like sunglasses for your drone's camera. They reduce the amount of light entering the lens, allowing you to use slower shutter speeds for smoother motion blur in video, especially as the sun gets brighter, and prevent overexposure.