How Do You Do a Drone Establishing Shot?
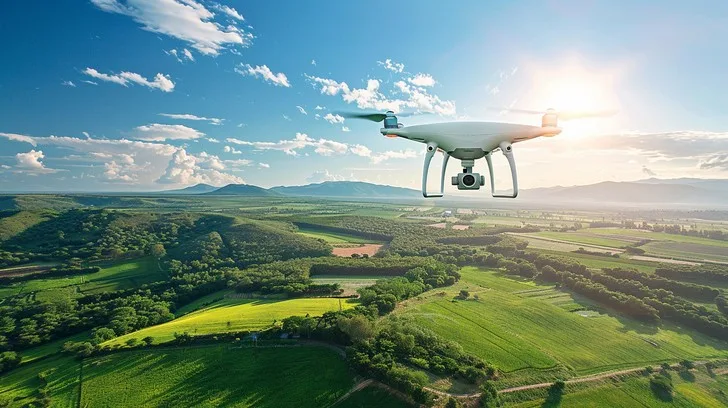
Image source: Bing (Web (fair-use with source credit))
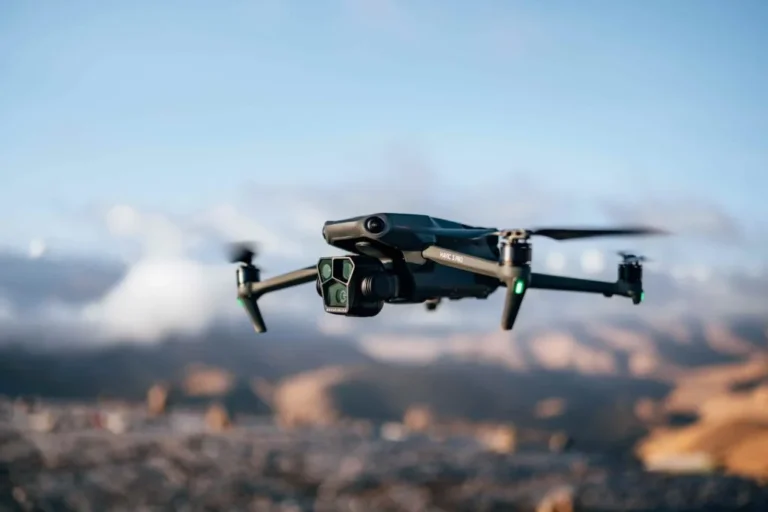
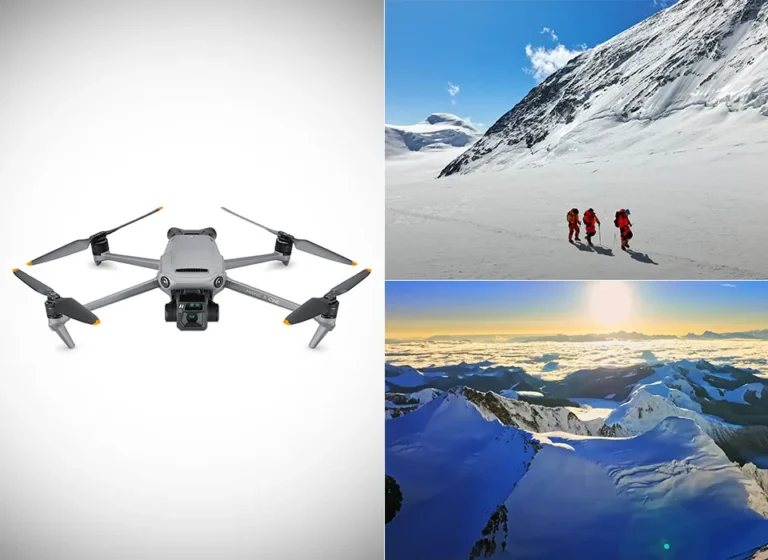
How do you do a drone establishing shot? It's about more than just lifting a camera into the sky; it's the art of setting the perfect scene before your story even begins. We've all seen those breathtaking aerial introductions that instantly immerse us in a new world.
Getting that right takes practice and understanding the fundamentals. For instance, adherence to Federal Aviation Administration (FAA) regulations in the United States is paramount, often requiring drone pilots to maintain visual line of sight (VLOS) with their aircraft. This careful preparation is what elevates a simple flight into a cinematic opening.
Quick Answer
To do a drone establishing shot, you first scout the location to understand its layout and light. Then, you initiate a smooth, controlled ascent from a low altitude, revealing the environment gradually. Maintain a steady visual line of sight while framing key landmarks.
The goal is to capture context and mood before the main action begins, adhering to all airspace regulations.
Prep Work: Setting Yourself Up for Success
Before your drone ever leaves the ground, a solid plan is crucial. This phase isn't about the thrill of flight; it's about strategic thinking that ensures your shot actually works. Skipping these steps is like trying to build a house without blueprints, you might get something standing, but it won't be pretty or stable.
Scouting Your Location (Virtually & In-Person)
This is your reconnaissance mission. You're looking for what makes the location unique and how best to capture it.
- Digital Recon: Start with tools like Google Earth or Google Maps. These give you an overhead view, helping you spot major landmarks, potential flight paths, and any obvious no-fly zones or obstructions. You can get a feel for the scale and layout before you even leave your desk.
- Physical Recon: Whenever possible, visit the site yourself. This is where you’ll notice things digital maps miss: the way the light hits at different times of day, wind patterns in specific areas, or unexpected obstacles like subtle tree branches or antennae. Understanding the actual conditions on the ground is vital for a safe and effective shot.
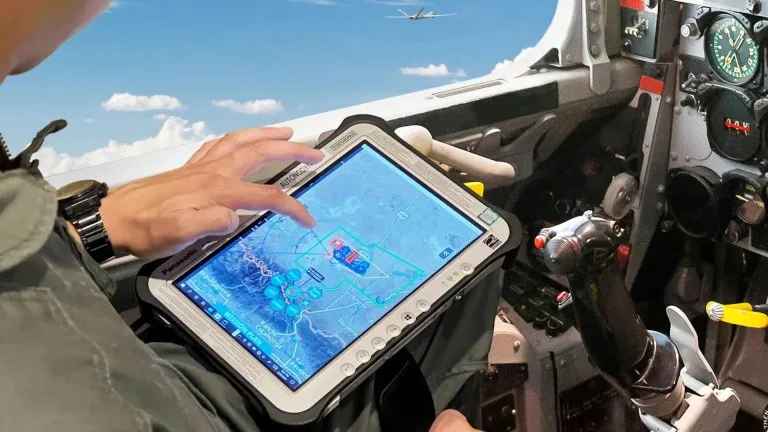
Image source: Bing (Web (fair-use with source credit))
Knowing Your Story's Goal
Why are you filming this specific location? What emotion or information do you want the viewer to take away from this first glimpse? Your intention drives every decision.
Are you aiming to convey isolation, grandeur, or perhaps the everyday hustle of a city? This objective will dictate your framing, altitude, and movement.
Understanding Drone Rules and Regulations
This isn't a suggestion; it's a requirement. Depending on your location, there are strict rules about where, when, and how you can fly a drone. In the United States, the Federal Aviation Administration (FAA) sets many of these guidelines.
For example, commercial drone operations often require a Remote Pilot Certificate. Familiarize yourself with rules regarding altitude limits (typically 400 feet above ground level), proximity to airports, and flying over people. A quick check on government aviation authority websites like the FAA or your local equivalent ensures you fly legally and safely.
Crafting the Shot: From Takeoff to Reveal
This is where the planning meets execution. It's about controlled, deliberate movement to create a visually compelling narrative opening.
Starting Low: Building Anticipation
You don't always need to start from the ground, but beginning at a low altitude, often just a few feet above your takeoff point, is a classic technique. This approach allows you to build anticipation. As the drone rises, the scene gradually unfolds, revealing more of the environment.
It’s like peeling back a curtain, drawing the viewer in by showing them the world you want them to explore. This method also gives you more control over the initial framing and the exact moment the key elements of your scene become visible.
The Smooth Ascent: Mastering Drone Movement
The key to a professional-looking drone establishing shot is smooth, consistent motion. Jerky, unpredictable movements can pull viewers out of the experience.
- Gentle Stick Inputs: If you’re flying manually, your control inputs need to be subtle and deliberate. Practice slow, steady climbs and level flight.
- Programmable Paths: Many modern drones offer "Intelligent Flight Modes" that allow you to program specific movements. Even when using these, it's essential to monitor the flight and be ready to take manual control if needed.
- Gimbal Control: Don't forget the gimbal. It’s responsible for stabilizing the camera. Ensure it's set to provide smooth footage. Manufacturer specifications often detail gimbal stabilization capabilities, with many consumer drones offering 3-axis mechanical stabilization for cinematic results.
Image source: Web (Bing) / circuitpartchristina.s3-website-us-east-1.amazonaws.com (Web image (fair-use with source credit))
Framing Your Scene: What to Focus On
As your drone climbs, you’re not just going up; you’re actively composing your shot. Your goal is to show the viewer what’s important about this location. Identify your key visual elements, perhaps a distinct building, a natural landmark, or the way a road snakes into the distance.
Consider how these elements relate to each other and the overall environment. A straight horizon line is generally preferred for a professional look, though artistic tilt can be used deliberately. Leading lines, like rivers or paths, can add depth and guide the viewer's eye into the scene.
Beyond Up: Creative Drone Movements
While a simple vertical ascent is common, an establishing shot can incorporate more dynamic motion.
- Orbiting: Flying in a circle around a point of interest can give a comprehensive view of its surroundings.
- Push-In/Pull-Out: Moving the drone closer to or further from a subject can be very impactful.
- Crane/Reveal: This popular technique involves starting the drone low, often hidden by an object, and then smoothly ascending to reveal the full landscape or city view. It builds suspense and delivers a satisfying reveal.
Finding the Right Altitude: Scale and Scope
The altitude you choose dramatically affects what your establishing shot communicates. There's no one-size-fits-all answer. For a single building, you might only need to ascend to just above the roofline to show its context on a street.
To capture the vastness of a city skyline, you might need to fly much higher, potentially reaching the maximum legal altitude of 400 feet (122 meters) in the US. For sweeping natural landscapes, a few hundred feet can be sufficient to showcase a valley, coastline, or mountain range. The key is to reach an altitude that best illustrates the scale and significance of the location.
Common Mistakes When Flying Establishing Shots
Even experienced pilots can fall into common traps that undermine an otherwise good shot. Recognizing these pitfalls beforehand can save you from frustrating reshoots.
Rushing the Shot and Over-Complicating Movement
One of the most frequent errors, especially for those new to drone videography, is moving the drone too quickly. A frantic pace can make the footage feel amateurish and unsettling, detracting from the intended immersive quality of an establishing shot. Equally disruptive is overdoing the movement.
Too many pans, tilts, and zooms in quick succession can be visually noisy and distracting, rather than informative or evocative.
Ignoring Lighting and Framing Pitfalls
Poor lighting conditions can ruin an otherwise well-executed shot. Filming directly into the sun, for example, can blow out highlights and create harsh lens flares. Conversely, shooting in very low light can result in grainy footage.
The "golden hour", the period shortly after sunrise and before sunset, often provides the most flattering and cinematic light for aerial photography. Another common framing mistake is neglecting the horizon. A significantly tilted horizon can make the scene feel unstable unless it’s an intentional creative choice.
Paying attention to subtle details like this makes a significant difference.
Safety, Legal, and Compliance for Drone Shooters
Flying a drone legally and safely is non-negotiable. Before you even power up, understand the regulations in your operating area. In the United States, the Federal Aviation Administration (FAA) provides comprehensive guidelines for drone operation.
Key requirements often include maintaining visual line of sight (VLOS) with your aircraft at all times and adhering to altitude restrictions, which typically cap flights at 400 feet above ground level. For commercial operations, obtaining a Remote Pilot Certificate is usually mandatory. Always check for local ordinances, temporary flight restrictions (TFRs), and any specific rules for national parks or sensitive areas.
Neglecting these can lead to fines, revocation of pilot privileges, or even more serious legal consequences.
Expert Tips for Next-Level Drone Establishing Shots
To truly elevate your drone establishing shots from functional to breathtaking, consider these advanced techniques. These insights come from years of practical application and observing what truly makes aerial footage compelling.
- Embrace Leading Lines: Roads, rivers, coastlines, or even fences can act as "leading lines." By framing your shot so these lines draw the viewer's eye into the scene and towards a point of interest, you create a sense of depth and narrative flow. Think about how a river might curve towards a remote cabin you're showcasing.
- Utilize Time of Day: As mentioned, the "golden hour" around sunrise and sunset offers soft, warm light that's incredibly flattering for landscapes and architecture. Midday sun can be harsh, creating strong shadows and blown-out highlights, so plan your shoots accordingly. Consider how the light will interact with your subject.
- Storytelling Through Movement: An establishing shot isn't just static. A slow, deliberate pull-out can reveal the scale of a city, while a gentle orbit can showcase the 360-degree beauty of a natural landscape. The way you move the drone can enhance the story you're telling about the location.
- Consider the Weather: Wind is a major factor for drone stability and safety. Heavy winds can make smooth flight nearly impossible and can push your drone off course. Rain or fog can obscure vision and damage electronics. Always check the forecast and err on the side of caution.
- Layer Your Shots: Think about what’s in the foreground, middle ground, and background. A good establishing shot has depth. Perhaps your drone starts low behind some trees, then rises to reveal a sprawling valley beyond. This layering adds visual interest and complexity.
FAQs About Drone Establishing Shots
What is the most important factor for a good drone establishing shot?
The most important factor is clear intent. You need to know what you want the shot to communicate about the location, whether it's scale, isolation, or energy, and then execute the flight and framing to achieve that specific goal.
How high should I fly for a drone establishing shot?
There's no single correct altitude; it depends entirely on what you're trying to show. For a building within a neighborhood, just above the rooftops might suffice. For a cityscape, you might need to fly up to the legal limit of 400 feet.
The key is to reach an altitude that provides the necessary context and scale for your scene.
Can I fly a drone establishing shot at night?
Night flying with drones has specific regulations and increased safety considerations. In many jurisdictions, you may need additional authorization or certification, and visibility can be a significant challenge. It's crucial to thoroughly research and comply with all local laws and be extra cautious about maintaining a visual line of sight.
How do I avoid jerky movements when filming?
Smooth movements come from practice and gentle control inputs. If flying manually, use slow, deliberate stick movements. Many drones also offer intelligent flight modes that can perform smooth, pre-programmed movements, but always monitor the flight carefully.
Ensure your gimbal is also functioning correctly for stabilization.
What are the risks of not following drone regulations?
Failing to follow drone regulations can lead to severe consequences, including hefty fines, confiscation of your equipment, and even legal prosecution. For commercial operations, it can result in the loss of your pilot certification. Always prioritize safety and compliance with authorities like the FAA.