How Do You Make Smooth Drone Movements?
You've seen those breathtaking aerial shots in movies and commercials, buttery smooth camera pans, graceful dives, and effortless follows. But how do you actually make your own drone movements look that professional? Learning how to make smooth drone movements is less about expensive gear and more about technique, understanding your drone's capabilities, and a healthy dose of practice.
It's about translating your vision into precise aerial choreography. Many drone pilots start with jerky, unpredictable footage, but by focusing on the right settings and subtle control inputs, you can achieve polished, cinematic results. As of 2026, understanding these fundamentals is more important than ever for creating compelling visual content.
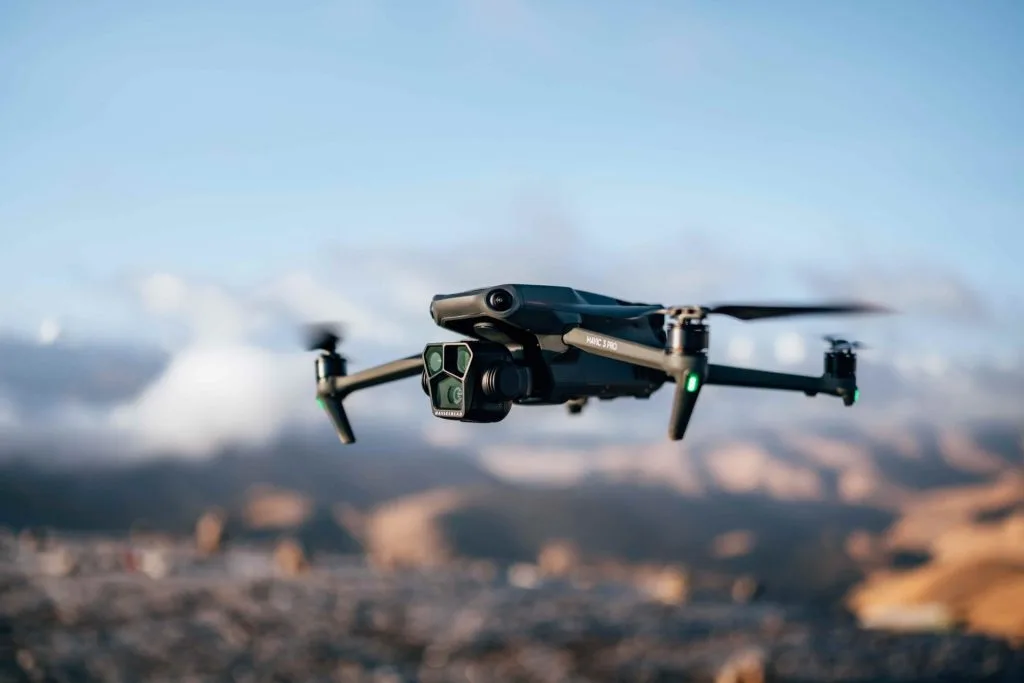
Image source: Bing (Web (fair-use with source credit))
Quick Answer
To make smooth drone movements, you need to adjust your drone's flight and gimbal settings for stability, practice gentle control stick inputs, and learn to anticipate and ease off your commands. Focus on slow, deliberate movements, especially when starting and stopping. Consistent practice in open areas is crucial for developing the feel required for professional-looking aerial footage.
Drone Settings for Smooth Flight
Before you even think about flying, it's worth diving into your drone's settings. These aren't just technical details; they directly impact how your drone responds to your commands and, ultimately, how smooth your footage will be. Think of them as the foundation for everything else.
Flight Mode Selection
Your drone likely has several flight modes, each designed for different purposes. For smooth, cinematic movements, you'll want to stick to modes that prioritize stability and predictable handling. Most drones offer modes like "Normal," "P-mode" (Position Mode), or similar.
These modes use GPS and other sensors to maintain a stable position and limit the drone's maximum speed and acceleration. This means your commands translate into gentler, more controlled actions.
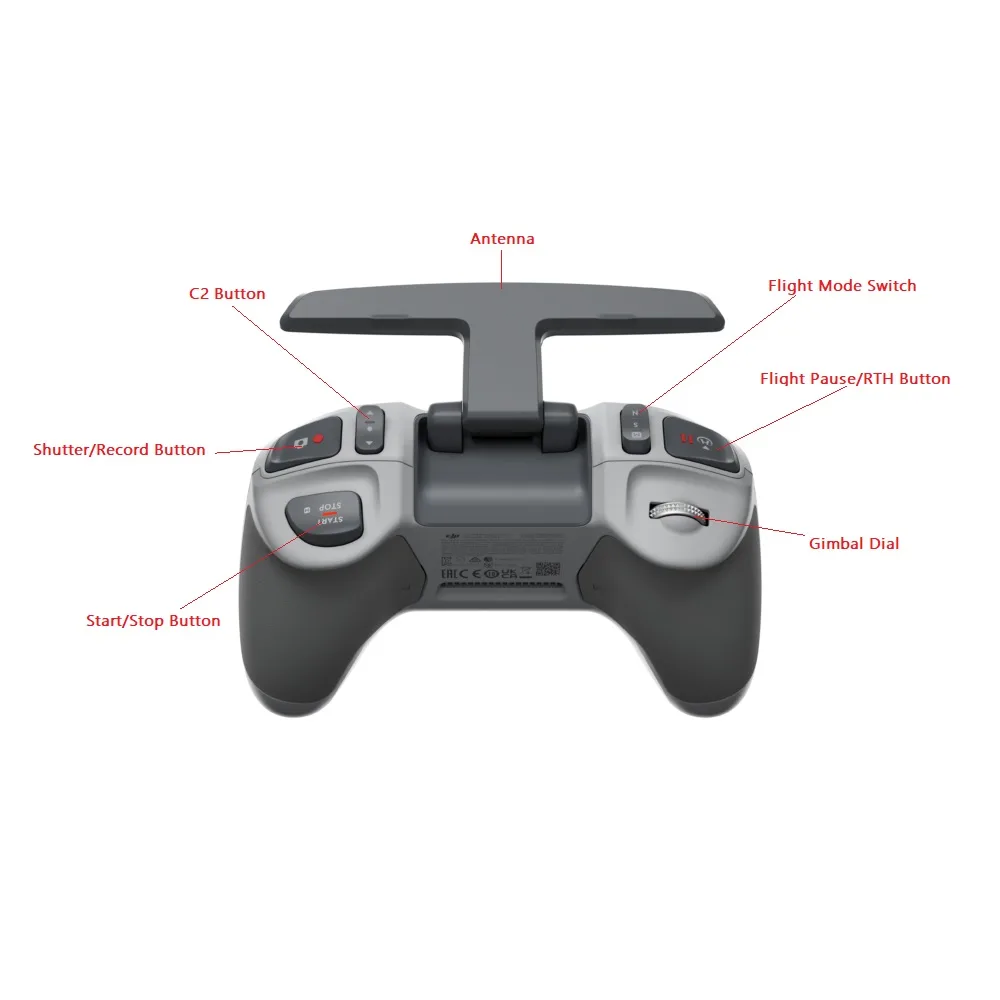
Image source: Bing (Web (fair-use with source credit))
On the other hand, modes like "Sport" or "ATTI" (Attitude Mode) are built for speed and agility. While fun for quick maneuvers, they drastically reduce the drone's stability and make its response to stick inputs much more sensitive. Using these for cinematic shots is like trying to paint a fine art piece with a house brush, possible, but incredibly difficult and rarely effective.
Manufacturer specifications, like those from DJI, consistently highlight the benefits of P-mode for stable aerial videography.
Gimbal Responsiveness and Speed
Your drone's gimbal is what keeps the camera level and allows it to tilt and pan independently of the drone's movement. Adjusting its settings is critical for smooth camera work. You'll typically find options for gimbal pitch (up/down tilt) and yaw (left/right pan) speed and sensitivity.
For slow, sweeping shots, you’ll want to dial these down considerably.
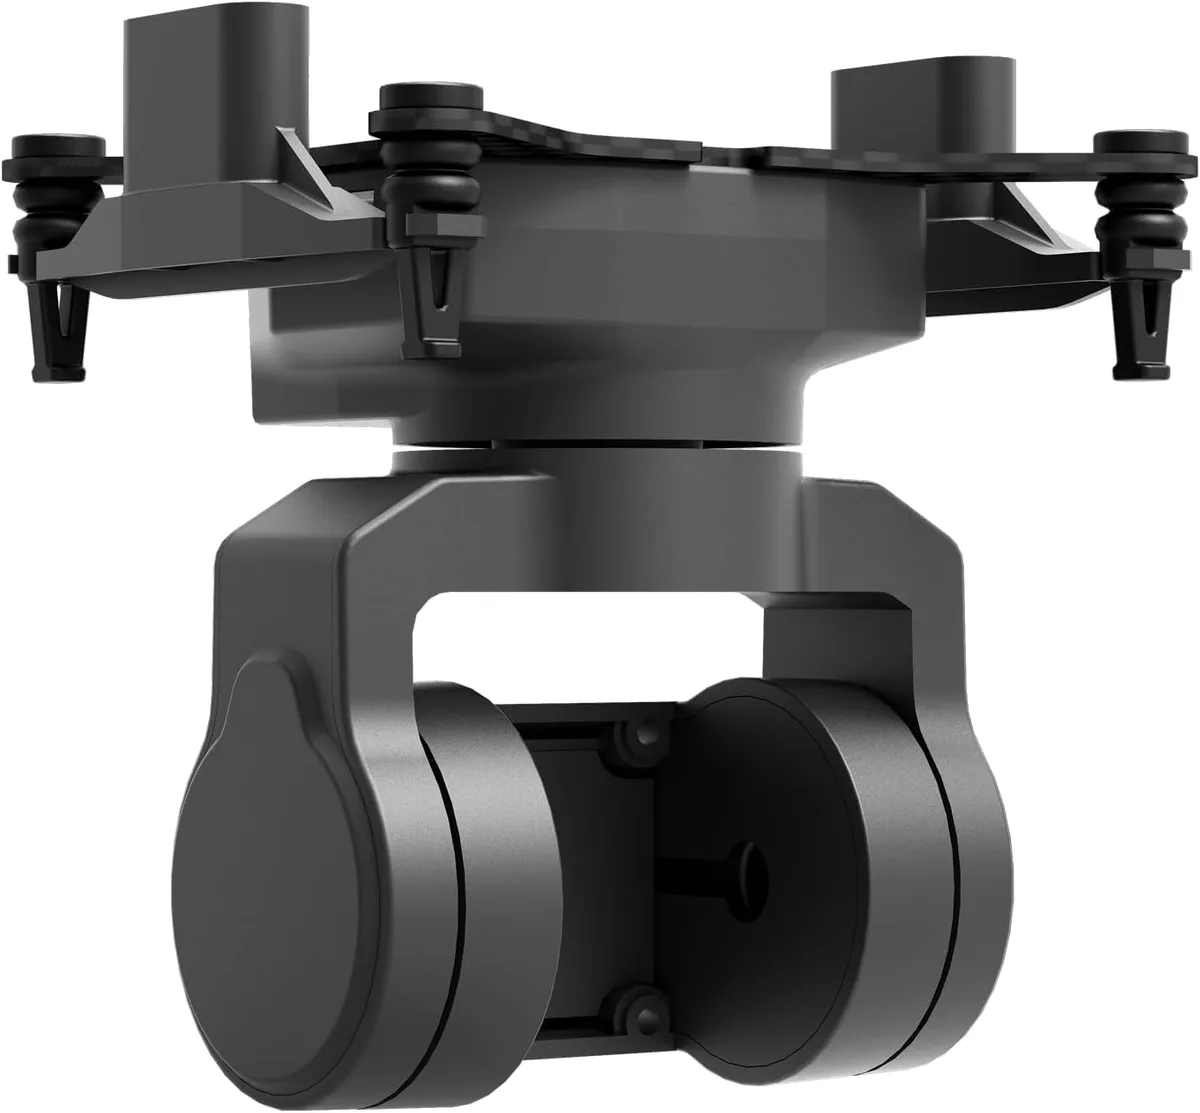
Image source: Bing (Web (fair-use with source credit))
Reducing gimbal speed means that when you move the control stick to pan or tilt, the camera moves more slowly and deliberately. Lowering sensitivity prevents tiny stick movements from causing sudden, jarring camera shifts. Many users report that setting gimbal speeds to 20-30% of their maximum is a good starting point for smooth, controlled shots.
For example, aggregate reviews indicate that many professional videographers set their gimbal pitch speed to under 30 degrees per second for typical slow pans.
Mastering Your Control Stick Technique
This is where the real skill comes in, and it's all about feel. Your control sticks are your direct link to the drone's movement, and how you use them dictates the smoothness of every action. It's not about flicking them; it's about finesse.
Gentle Input and Anticipation
Think of your control sticks not as on/off switches, but as proportional inputs. When you gently push a stick forward, the drone moves forward slowly. Push it harder, and it moves faster.
The key to smooth drone movements is to use very little force. Imagine you're trying to push a feather without disturbing it. Small, consistent pressure is far more effective than sudden, forceful inputs.
This also means you need to anticipate your movements. If you want to fly forward and then stop, you don't wait until you're at your destination to bring the stick back to center. You start easing off the stick a little before you reach your stopping point.
This gradual reduction in input allows the drone to decelerate smoothly rather than abruptly. Many users find that practicing flying in a straight line for 30 seconds and then stopping smoothly is a great exercise.
The Art of the Smooth Stop
The stop is often where things go wrong. A sudden return of the control stick to its neutral position will cause the drone to stop just as abruptly, resulting in a jarring visual. To achieve a smooth stop, you need to feather the stick back to the center.
This means slowly and progressively reducing the input.
Picture the drone's deceleration curve. You want a gentle slope downwards, not a vertical drop. As you approach your desired stopping point, gradually move the stick back towards the center.
The amount of time it takes to move the stick back to neutral should correspond to the desired smoothness of the stop. For example, a common best practice cited by drone pilots is to spend 1-2 seconds gradually returning the stick to center for a nearly imperceptible stop. This requires practice, but it's the single biggest factor in eliminating jerky footage.
Practicing for Cinematic Perfection
You can read about technique all day, but the real gains come from putting in the flight time. Smooth movements are a physical skill, and like any skill, they require repetition and conscious effort. Don't expect to nail it on your first try; that's completely normal.
Open Space Drills
The best place to practice is a large, open area with no obstacles. This allows you to focus solely on your control inputs and the drone's response without the constant worry of hitting something. Think of a big, empty park or a wide-open field.
Start with the basics: hovering. Get a feel for how the drone drifts in the wind and how much input it takes to keep it perfectly still. This builds your fundamental control.
Then, move on to simple linear movements. Fly forward a short distance, then practice stopping smoothly. Fly backward, stop.
Fly left, stop. Fly right, stop. Do this for an extended period.
The goal here isn't speed; it's control. Manufacturer documentation often suggests starting with basic hover and position hold drills for at least 15-30 minutes before attempting more complex maneuvers.
Focusing on Movement Quality
Once you're comfortable with basic straight-line movements and stops, begin to focus on the quality of the movement. Are your turns smooth, or do they have a slight wobble? Is your ascent gradual, or does the drone speed up and slow down unexpectedly?
Experiment with different levels of stick input. Try a very slow, controlled turn. Then try a slightly faster, but still smooth, turn.
Record your flights and watch them back. This is incredibly insightful. You'll often see or feel things you didn't notice while flying.
For instance, you might discover you have a habit of over-correcting, leading to oscillations. This self-review process is invaluable for identifying specific areas for improvement.
Effective Camera Gimbal Control
While the drone's movement gets you from point A to point B, the camera's movement is what directs the viewer's eye and tells the story. Smooth gimbal control is just as vital as smooth drone flight. It's about making the camera feel like a natural extension of the narrative, not a separate, jerky entity.
Smooth Pans and Tilts
When you pan the camera left or right, aim for a consistent, slow speed. Imagine you're following a single point in the distance with your gaze. Avoid rapid, jerky pans unless it's a very specific, intentional effect.
The same applies to tilting the camera up or down. Gradual movements here are key. Reducing the gimbal speed in your drone's settings (as discussed earlier) is the first step.
The next is applying gentle, consistent pressure to the gimbal control stick. Many users find that a slow pan lasting 5-10 seconds across a scene is more effective than a 2-second quick sweep.
Combining Drone and Gimbal Movement
The real magic happens when you combine drone movement with gimbal movement. For instance, you can fly the drone forward while simultaneously panning the camera to reveal a landscape, or ascend the drone while tilting the camera down to focus on a subject. The trick is to ensure each movement is smooth and controlled independently.
If your drone flight is smooth and your camera pan is smooth, combining them will also result in a smooth, professional-looking shot.
For example, a common technique involves flying the drone forward while slowly tilting the camera down to reveal a subject that was initially out of frame. The key is to coordinate the timing so both actions happen with consistent, gentle inputs. This requires practice and a good understanding of how your drone and gimbal respond to combined commands.
Think of it as conducting an orchestra, each instrument (drone forward, camera pan, camera tilt) needs to play its part smoothly for the overall piece to sound good.
Common Mistakes in Drone Movement and How to Fix Them
Even with the right settings and practice, it's easy to fall into bad habits that lead to jerky footage. Recognizing these common mistakes is the first step toward correcting them. One frequent error is stick-twitching, where pilots make small, involuntary movements with their thumbs, causing tiny, unintended shifts in the drone's direction or camera angle.
This often happens when a pilot is tense.
Another pitfall is pushing the controls too hard too soon. This leads to sudden acceleration or deceleration. If you've ever seen footage where the drone suddenly lurches forward or stops dead, that's usually the culprit.
Overcorrection is also a major problem. When the drone drifts slightly, a pilot might overreact, pushing the stick too far in the opposite direction, causing an oscillation, a back-and-forth wobble that looks very unnatural.
What Not to Do When Flying Smoothly
- Sudden Stick Movements: Avoid sharp, abrupt nudges or full-stick throws. This sends a direct command for immediate, often sharp, acceleration or deceleration.
- Overcorrection: When the drone drifts, don't yank the stick the other way to compensate. Apply small, controlled inputs. Think of it as gentle steering, not wrestling the controls.
- Ignoring the Stop: Failing to anticipate and ease off the control stick before reaching your desired stopping point is the most common cause of abrupt halts.
- Using Sport Mode for Cinematics: While tempting for speed, Sport mode's aggressive handling makes smooth, controlled movements nearly impossible.
Fixing these often comes down to developing a lighter touch and better anticipation.
Is Sport Mode Ever Okay for Smooth Shots?
Generally, no. Sport mode is designed for agility, not stability or smooth cinematic flight. Manufacturer specifications consistently detail Sport mode's focus on increased speed and sharper responsiveness, which directly conflicts with the goal of smooth, controlled movements.
While you could technically fly in Sport mode, achieving smooth results would require an exceptionally high level of skill and precise, feather-light stick control that most pilots find incredibly challenging to maintain consistently. It's far more practical and effective to use P-mode or Normal mode and adjust sensitivity settings.
Step-by-Step Process: Achieving Your First Smooth Shot
Let's break down the process of executing a simple, smooth drone movement, like a forward flight with a gentle stop. This approach emphasizes control and anticipation.
- Pre-Flight Check: Ensure your drone is in a stable flight mode (like P-mode) and your gimbal settings are dialed down for slower movement. If your drone is an Autel Evo series, for instance, you'd check its flight control parameters and gimbal speed settings within its app.
- Initiate Forward Movement: Gently push the left stick (or relevant control for forward/backward movement) forward. Apply just enough pressure to get the drone moving at a slow, steady pace. Aim for about 5-10 mph.
- Maintain Consistent Speed: Keep the pressure on the stick even. Avoid any sudden increases or decreases in force. If you're flying outdoors and there's a slight breeze, you might need tiny, micro-adjustments to keep the speed consistent.
- Anticipate the Stop: As you approach where you want to stop, begin to slowly and smoothly return the left stick towards its neutral center position. Don't wait until the last second.
- Execute the Gentle Stop: Continue easing the stick back to center. The drone should decelerate gradually and come to a halt with minimal perceptible change in motion. The entire process from initiating movement to stopping should feel fluid.
This methodical approach, focusing on each stage of the movement, helps build the muscle memory needed for consistent smoothness.
What to Look For: Identifying Smooth vs. Jerky Footage
When you're reviewing your footage, or even when you're practicing, there are clear visual cues that differentiate smooth drone movements from jerky ones. Understanding these identifiers helps you critically assess your own flying and identify areas for improvement.
Smooth Movement Indicators
- Consistent Speed: The drone appears to move at a steady pace throughout the shot, without sudden accelerations or decelerations.
- Gradual Starts and Stops: The drone begins its movement gently and ends it with a soft deceleration, rather than an abrupt halt.
- No Oscillation: The drone maintains a straight line or a predictable curve without wobbling or overcorrecting.
- Fluid Gimbal Action: The camera pans and tilts smoothly, matching the drone's movement or performing independent actions at a controlled pace.
Jerky Movement Red Flags
- Abrupt Lurches: Sudden, sharp movements in any direction.
- Sudden Stops: The drone appears to slam to a halt, often with a slight bobble.
- Wobbling or Wobbling: The drone shakes or oscillates side-to-side, indicating overcorrection or instability.
- Camera Jitters: The camera itself moves erratically, even if the drone is flying relatively straight.
By learning to spot these indicators, you can much more effectively diagnose what went wrong and how to fix it on your next flight.
Practice Scenarios for Developing Smooth Control
Beyond basic drills, engaging in specific practice scenarios can help you develop the nuanced control needed for various smooth drone movements. These scenarios simulate real-world shooting situations, pushing your skills in practical ways.
Orbiting a Subject Smoothly
This is a classic cinematic move. To orbit smoothly, you'll typically use the right stick to control the drone's yaw (rotation) while simultaneously using the left stick for forward or backward flight to maintain a consistent distance from your subject.
- Setup: Select a static, non-moving subject (like a tree, a building, or a parked car).
- Execution: Begin flying forward slowly. As you move, gently turn the drone's yaw to keep the subject in the center of your frame. Apply small, continuous adjustments to both sticks to maintain a consistent radius and speed. The goal is a perfect circle.
- Refinement: The key is to avoid "square" orbits. This happens when pilots make distinct left/right inputs rather than a continuous turn. Aim for a constant, gentle rotation.
The "Reveal" Shot Practice
This involves starting with the camera aimed at something less interesting or a neutral background and then moving the drone (or just the camera) to reveal a more compelling subject.
- Setup: Find a scene with a clear subject that is initially out of the camera's view.
- Execution: Start with the camera facing away from the subject. Fly the drone forward or sideways slowly. As you fly, slowly pan the gimbal to bring the subject into view.
- Refinement: The reveal should feel natural, not forced. The speed of the drone's movement and the gimbal's pan must be coordinated so the reveal is gradual and aesthetically pleasing. A common mistake is flying too fast, making the reveal happen before the viewer can appreciate it.