What Aperture Should I Use for Drone Video?
Choosing the right aperture setting for your drone video is key to getting that professional, polished look. Get it wrong, and your footage can appear too busy, too dark, or just a bit… off. So, what aperture should I use for drone video?
The answer isn't a single number, but rather a flexible approach based on light and your creative goals.
Most modern drones offer some level of aperture control, but understanding how and when to adjust it makes all the difference. We’ve dug into manufacturer specs and common videography practices to break down exactly how you can master this crucial camera setting for stunning aerial shots.
Quick Answer
For drone video, start with f/2.8 in good light for a balance of sharpness and bokeh. If you need more depth of field or are in bright sun, use f/4 or higher. In low light, wider apertures like f/1.7 are best, but watch shutter speed.
Adjust ISO last to control noise.
Understanding Aperture for Drone Video
Aperture, often expressed as an f-stop (like f/1.7 or f/4), controls how much light enters your drone's camera lens and also directly impacts the depth of field. Think of it like the pupil of your eye: it gets bigger in the dark to let more light in and smaller in bright light. For video, you’re not just capturing an image, you’re telling a story, and aperture plays a vital role in that narrative.
- Wide Aperture (small f-number, e.g., f/1.7): Lets in more light, creates a shallow depth of field (blurry background), good for low light.
- Narrow Aperture (large f-number, e.g., f/8): Lets in less light, creates a deep depth of field (everything sharp), good for bright conditions and when you need maximum scene clarity.
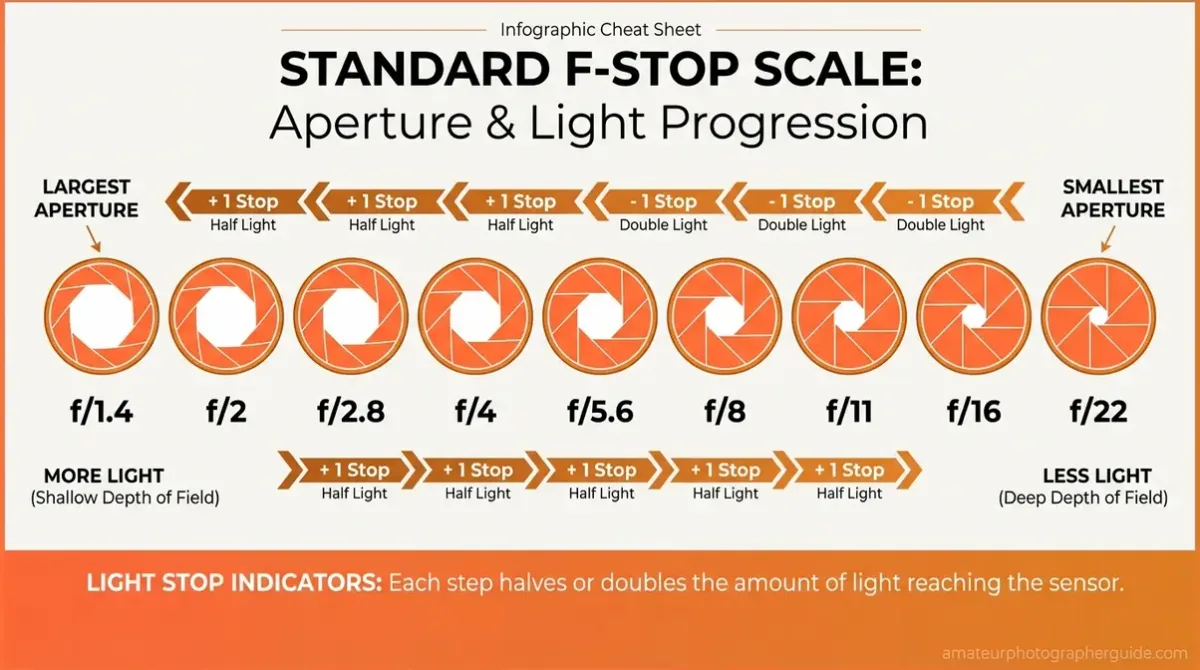
Image source: Bing (Web (fair-use with source credit))
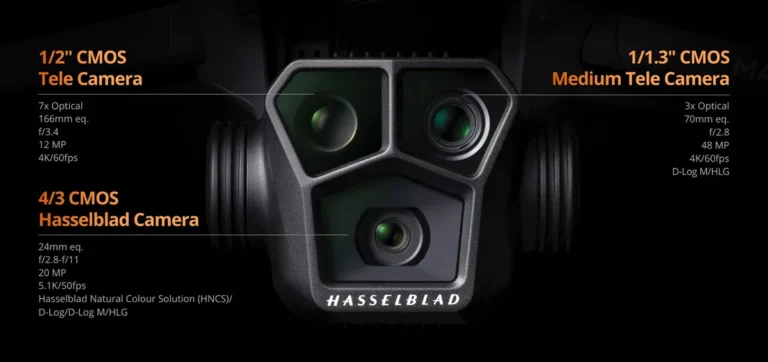
Most drones have fixed aperture lenses, meaning you can’t change it. However, some higher-end models offer variable aperture, giving you more creative control. Manufacturer specifications confirm that these models are designed to provide videographers with greater flexibility in various shooting scenarios.
When to Change Your Drone's Aperture
Deciding whether to adjust your drone's aperture comes down to two main factors: the amount of light available and the visual effect you're aiming for. It’s a dance between capturing a well-exposed image and creating a specific look for your footage.
The Lighting Factor
The amount of light is usually the first thing to consider. If you're shooting on a bright, sunny day, you might need to stop down the aperture to a higher f-number (like f/5.6 or f/8) to prevent overexposure. This lets less light reach the sensor.
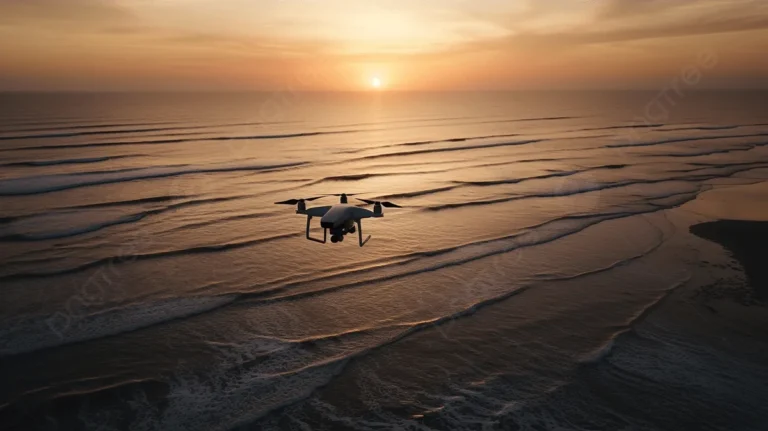
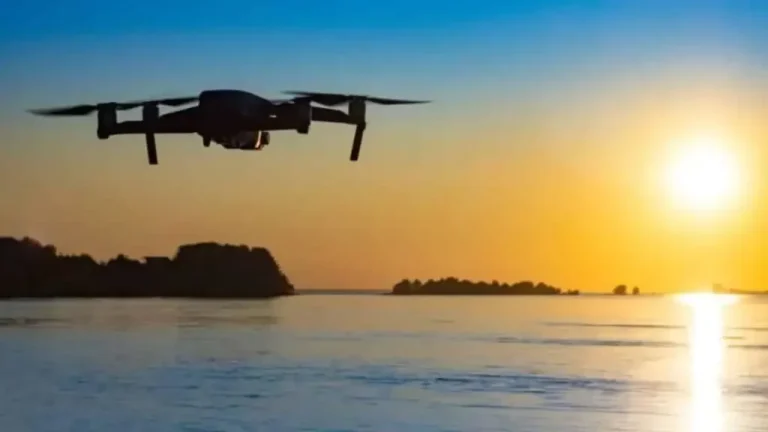
Conversely, in dim conditions, like during golden hour or indoors, you’ll want to open the aperture to its widest setting (the smallest f-number, like f/1.7 or f/2.8) to let in as much light as possible.
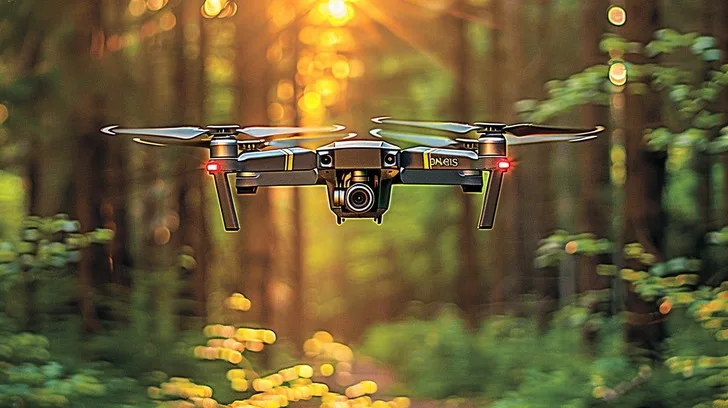
Image source: Bing (Web (fair-use with source credit))
Aggregate user reviews often highlight that struggling with exposure is a common pain point for drone pilots, and aperture is a primary tool for managing this.
The Depth of Field Factor
Beyond just exposure, aperture is your main tool for controlling depth of field. This refers to the range of distance in your shot that appears acceptably sharp.
- Shallow Depth of Field (wide aperture): This blurs the background, making your subject stand out. It’s often used for a cinematic look, isolating a single element like a person, a car, or a specific architectural detail against a softened backdrop.
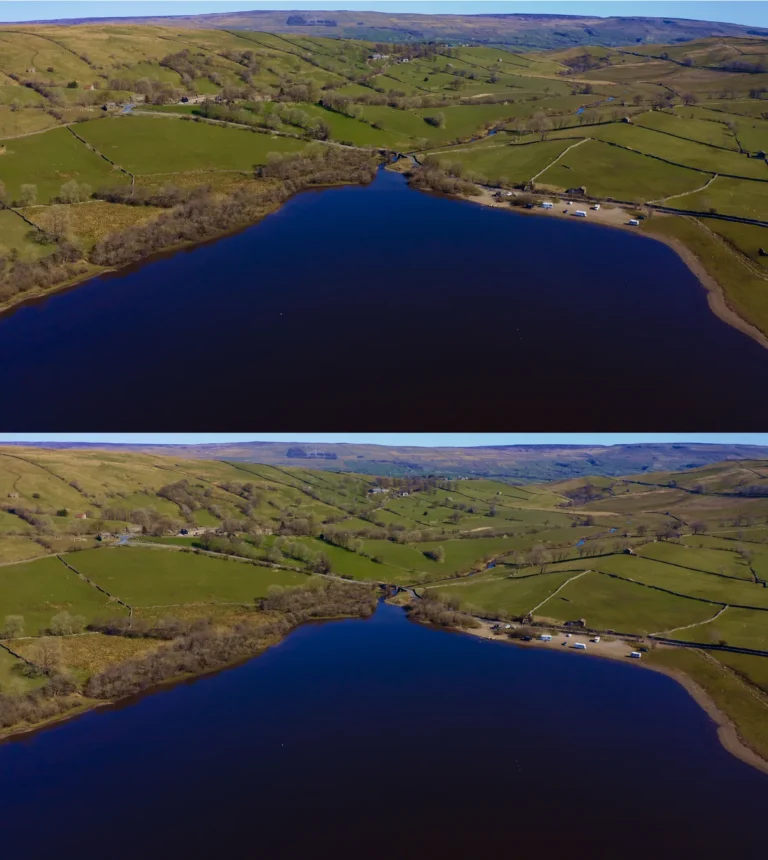
- Deep Depth of Field (narrow aperture): This keeps almost everything in focus from foreground to background. It's great for landscapes where you want the entire scene to be sharp and detailed, or when you need to ensure multiple subjects at different distances are all clear.
Think about what you want the viewer to focus on. If it’s a vast, sweeping landscape, you’ll want that deep depth of field. If you’re focusing on a specific boat sailing on a wide ocean, a shallower depth of field can help guide the eye.
Making the Aperture Decision: A Step-by-Step Guide
Navigating the world of drone video settings can feel complex, but when it comes to aperture, breaking it down into manageable steps makes it much easier. Here’s a workflow to help you decide on the best f-stop for your shot.
Step 1: Assess the Light
First, take a good look at your environment. Is it bright midday sun, overcast and gloomy, or is it twilight? This will give you an initial idea of whether you need to open up or stop down your aperture.
A quick check of your drone’s live camera feed will often give you a good visual cue.
Step 2: Consider Your Desired Look (Depth of Field)
Now, think about what you want your footage to look like. Are you shooting a sweeping landscape where everything needs to be sharp? Or are you trying to isolate a subject, creating a soft, blurred background for a more dramatic effect?
This creative choice will guide your aperture selection.
Step 3: Lock in Your Settings (Aperture, Shutter Speed, ISO)
Once you have a starting aperture based on light and desired depth of field, you'll set your other critical exposure settings. For video, the general rule is the 180-degree rule, which suggests your shutter speed should be roughly double your frame rate (e.g., 1/50 sec for 24/25 fps, 1/100 sec for 50 fps).
- If your aperture and shutter speed are locked: You’ll adjust ISO to achieve proper exposure. Keep ISO as low as possible to minimize digital noise.
- If you have a variable aperture: You might adjust aperture first, then shutter speed to maintain the 180-degree rule, and finally ISO for fine-tuning exposure.
Step 4: Use ND Filters When Needed
If you’re in very bright conditions and even your narrowest aperture (e.g., f/8) and lowest ISO aren’t enough to get a proper exposure without blowing out highlights, or if you can’t achieve the 1/50th shutter speed required by the 180-degree rule, you’ll need Neutral Density (ND) filters. These are like sunglasses for your drone's lens, reducing the overall light entering without affecting color. You can then use your desired aperture and shutter speed.
Common Aperture Mistakes with Drone Video
Even experienced pilots can stumble over aperture settings. Understanding these common pitfalls can help you avoid them and ensure your footage stays sharp and well-exposed.
Shooting in Harsh Sunlight
One of the biggest mistakes is forgetting that direct, harsh sunlight creates a lot of light. If you’re shooting at midday with your aperture wide open (e.g., f/1.7 or f/2.8), your footage will likely be overexposed, with blown-out whites and lost detail in the brightest areas. Always remember to stop down your aperture to a higher f-number or use ND filters in such conditions.
Forgetting the 180-Degree Rule
While not strictly an aperture mistake, it's closely related. When you open up your aperture to let in more light, you might be tempted to also slow down your shutter speed to compensate, especially if you're not using ND filters. However, for smooth, natural-looking motion blur in video, sticking to the 180-degree rule for shutter speed (double your frame rate) is crucial.
If you can’t achieve this because of too much light, use ND filters or a narrower aperture.
Pushing ISO Too High
When you’re in low light and have your aperture wide open and your shutter speed set correctly (e.g., 1/50 sec), but your footage is still too dark, the temptation is to crank up the ISO. While ISO increases sensitivity to light, it also introduces digital noise, making your footage look grainy and reducing image quality. It’s generally better to manage exposure primarily with aperture and shutter speed, using ND filters when necessary, and only resorting to higher ISOs as a last resort.
Many manufacturers, such as DJI in their technical documentation, emphasize minimizing ISO for best results.
Pro Tips for Mastering Drone Aperture
Beyond the basics, a few advanced insights can really elevate your drone video. Think of these as ways to get more mileage out of your aperture settings and consistently nail those shots.
- Match Your Subject: For close-ups where you want to isolate your subject, a wider aperture (smaller f-number) is your friend. This creates that pleasing background blur, drawing the viewer's eye precisely where you want it.
- Landscape Clarity: If you’re capturing expansive vistas, wide-open spaces, or detailed architectural shots where everything from front to back needs to be in focus, opt for a narrower aperture (larger f-number). This ensures maximum depth of field.
- ND Filter Dependency: Don't be afraid of ND filters. As of 2026, they remain essential tools for drone pilots. If you find yourself constantly struggling with overexposure in bright light, even at f/8, invest in a set of good quality ND filters. This will allow you to maintain proper exposure while keeping your shutter speed at the optimal 180-degree setting and using your preferred aperture.
- Monitor Your Histogram: Your drone’s display likely has a histogram. This is a graph showing the tonal distribution in your image. Learning to read it will help you avoid clipping (losing detail in highlights or shadows) and ensure you're getting a well-balanced exposure, regardless of your aperture choice.
When Aperture Doesn't Change (Fixed Aperture Drones)
It's important to acknowledge that not all drones offer variable aperture. Many popular models, especially in the consumer and prosumer categories, come equipped with fixed aperture lenses. This means the f-stop is permanently set by the manufacturer and cannot be adjusted by the user.
For drones with fixed aperture lenses, the primary way to control exposure is through shutter speed, ISO, and the use of Neutral Density (ND) filters. If your drone has a fixed aperture, say f/2.8, you’ll use that setting and then adjust your shutter speed (following the 180-degree rule) and ISO to get a good exposure. In bright sunlight, you will almost certainly need ND filters to reduce light and maintain the correct shutter speed.
While you lose the creative control over depth of field that a variable aperture offers, you can still achieve excellent results by mastering the other exposure controls. Manufacturer specifications for these drones will list the fixed aperture value, which is usually optimized for general-purpose shooting.
FAQs: What Aperture Should I Use for Drone Video?
What is aperture in drone video?
Aperture refers to the adjustable opening in your drone's lens that controls how much light reaches the camera sensor. It's measured in f-stops, like f/2.8 or f/8, and directly affects both exposure and depth of field.
Do all drones have adjustable aperture?
No, many drones, especially entry-level and some mid-range models, have a fixed aperture lens. Higher-end drones often feature variable aperture, giving you more creative control over your shots. Always check your drone's specifications.
How does aperture affect depth of field?
A wider aperture (smaller f-number) creates a shallower depth of field, meaning your subject is sharp while the background is blurred. A narrower aperture (larger f-number) creates a deeper depth of field, keeping more of the scene in focus.
When should I use a wide aperture (e.g., f/1.7, f/2.8) for drone video?
Use a wide aperture when you need more light, such as in low-light conditions, or when you want to isolate your subject with a blurred background for a cinematic look.
When should I use a narrow aperture (e.g., f/5.6, f/8) for drone video?
Use a narrow aperture when shooting in bright daylight to avoid overexposure, or when you need maximum sharpness throughout your entire scene, like for sweeping landscape shots.