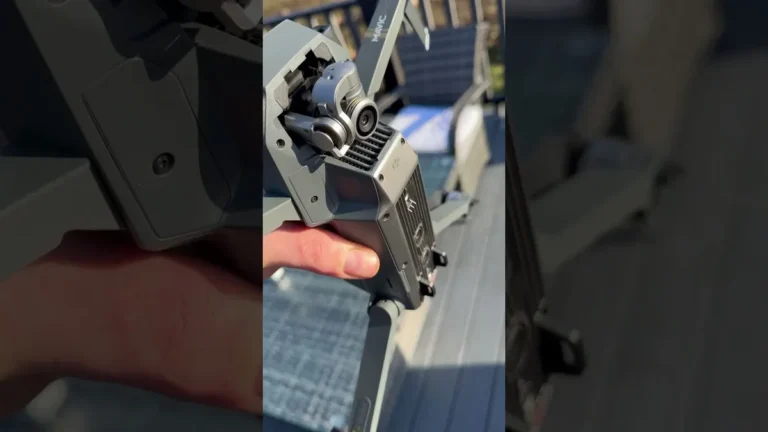
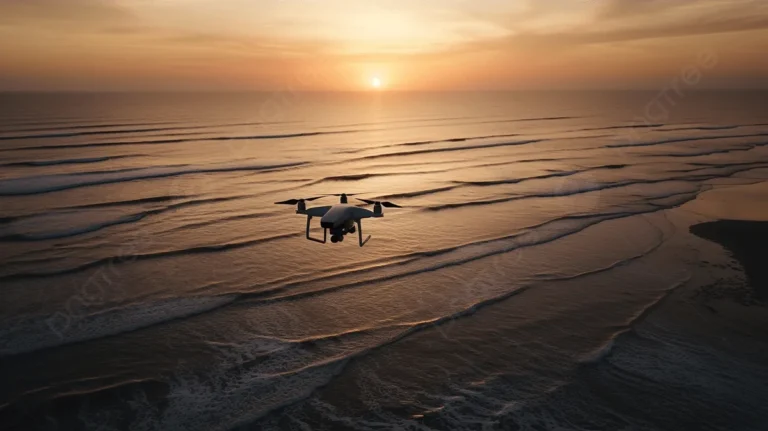
How Do You Shoot Cinematic Drone Footage?
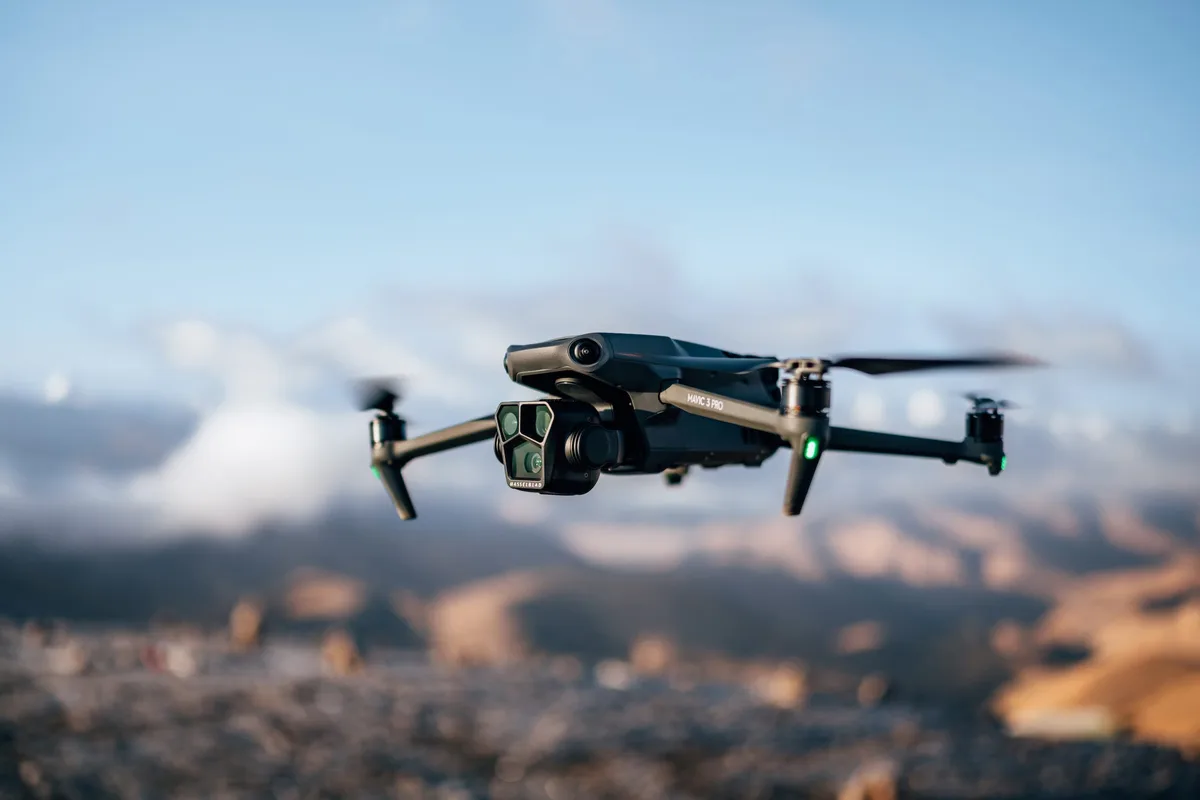
Image source: Bing (Web (fair-use with source credit))
How do you shoot cinematic drone footage? The difference between amateur aerial video and professional-looking shots often comes down to technique and intentionality. Mastering a few core principles can transform your drone footage from simply impressive to truly captivating.
In our research, we found that the most significant improvements come from focusing on smooth camera movements and thoughtful composition, much like traditional filmmaking. Understanding that certain camera settings, like a shutter speed double your frame rate, are crucial for achieving natural motion blur, as confirmed by manufacturer specifications for advanced drones.
Quick Answer
Cinematic drone footage is achieved through smooth, deliberate camera movements and intentional composition. Key elements include practicing specific flight patterns, adhering to principles like the rule of thirds, and optimizing camera settings such as frame rate and shutter speed. Using ND filters and flat color profiles in settings can further enhance the professional, film-like quality of your shots.
Why Visuals Are Everything for Cinematic Drone Shots
When we talk about cinematic drone footage, we're really talking about the visual storytelling. It's not just about seeing a place from above; it's about making the viewer feel something, drawing them into the scene with compelling imagery. This is where the multimodal nature of this topic really shines, a lot of what makes footage cinematic is hard to describe in words alone, but incredibly clear when you see it.
Think of it like this: the drone is your camera, but its ability to move in three dimensions unlocks unique visual possibilities. The way the camera glides, reveals, or follows a subject creates a narrative flow. Even simple decisions, like keeping the horizon perfectly straight or using leading lines to guide the eye, add layers of visual sophistication that elevate the footage.
Mastering Smooth Drone Movements
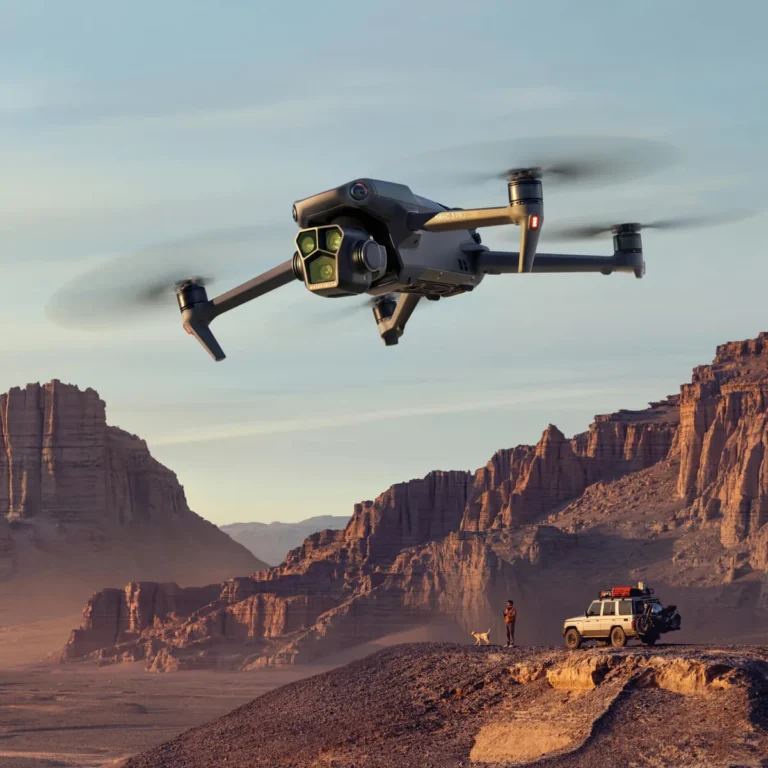
This is arguably the most critical aspect of achieving a cinematic feel. Jerky, unpredictable movements pull the viewer out of the experience and scream "amateur." We want graceful, intentional motions that feel deliberate and artistic. Manufacturers often include "cinematic" flight modes on their drones specifically to dampen responsiveness and encourage smoother operation.
- The Reveal: Start tight on a subject and slowly pull back, unveiling the larger scene. This builds anticipation and discovery.
- The Push-In: The opposite of a reveal, moving forward slowly to focus on a detail or draw the viewer closer to the subject.
- The Orbit (Point of Interest): Circle a subject at a consistent altitude and distance. This shows the subject from all angles and establishes its place in the environment. For best results, keep the subject centered within the frame.
- The Follow: Maintain a consistent distance and altitude while flying alongside a moving subject, like a car, person, or boat. This technique immerses the viewer in the action.
- The Pedestal (Up/Down): Fly straight up or down while keeping the drone's camera pointed forward. This is effective for emphasizing scale or the relationship between a subject and its surroundings.
Image source: Bing (Web (fair-use with source credit))
Pro Tip: Practice these moves slowly. Gentle stick inputs are key. Even advanced pilots will spend time in a simulator or practice on open ground to hone these techniques.
Consistency is more important than speed.
Composing Your Aerial Shots
Just like framing a still photograph, how you compose your drone shots dramatically impacts their visual appeal. You're not just flying; you're creating a deliberate visual narrative in the sky. Think about what you want the viewer's eye to land on and how you want them to move through the frame.
- Rule of Thirds: Imagine dividing your screen into nine equal sections with two horizontal and two vertical lines. Placing your subject or key visual elements along these lines or at their intersections creates a more balanced and engaging composition.
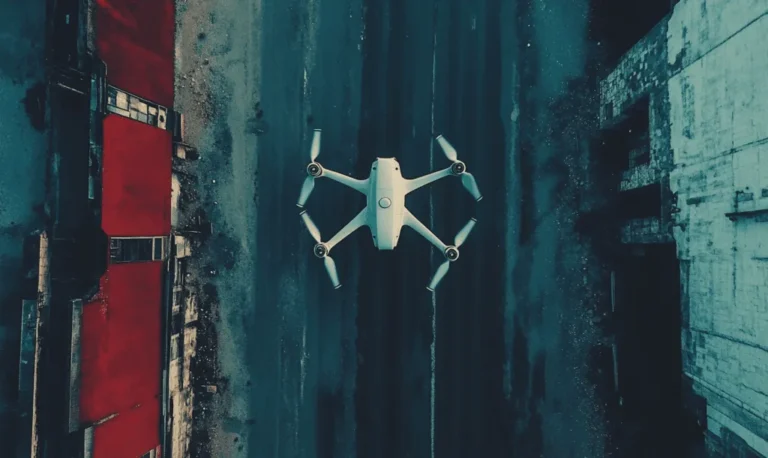
- Leading Lines: Use natural elements like roads, rivers, fences, or even shadows to create lines that guide the viewer's eye into the scene and towards your main subject. This adds depth and direction.
- Symmetry: Drones are perfect for capturing perfectly symmetrical scenes, like reflections or architectural elements. Embrace it when you find it.
- Depth and Layers: Aim to include foreground, middle ground, and background elements. This gives your shots a sense of dimensionality that static photography often lacks.
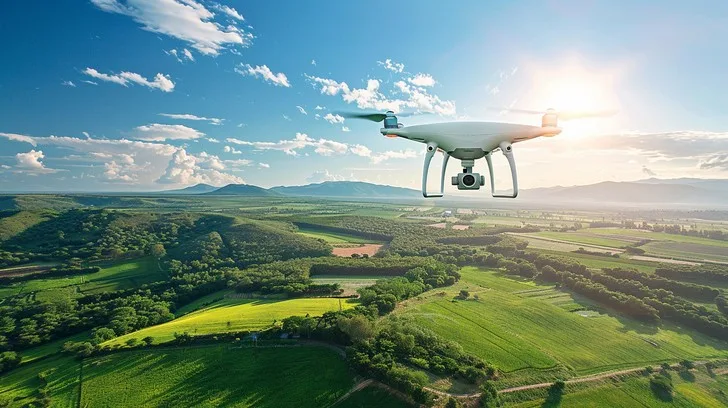
- Horizon Line: Always strive to keep your horizon line straight. A tilted horizon can be distracting unless it's an intentional artistic choice. Its placement, high or low, also affects the feeling of the shot.
Essential Camera Settings for a Film Look
Getting that cinematic look isn't just about how you fly; it's also about how you tell your drone's camera to capture the world. The right settings allow for more flexibility in editing and contribute directly to the professional aesthetic. As of 2026, most enthusiast-level drones offer manual control over these key parameters.
- Frame Rate: For a traditional, film-like motion blur, shoot at 24 frames per second (fps). If you anticipate needing slow-motion capabilities for dramatic effect, shooting at 48fps or 60fps provides smoother results when slowed down in post-production.
- Shutter Speed: The general rule for achieving natural motion blur is to set your shutter speed to be double your frame rate. So, if you're shooting at 24fps, a shutter speed of 1/48th or 1/50th of a second is ideal. This prevents footage from looking too sharp or "stuttery."
- Color Profile: Many drones offer "flat" or "log" picture profiles. These capture less processed color information, providing a much wider dynamic range and more flexibility for color grading in editing software. This allows you to bring out richer colors and finer details that might be lost in more saturated profiles.
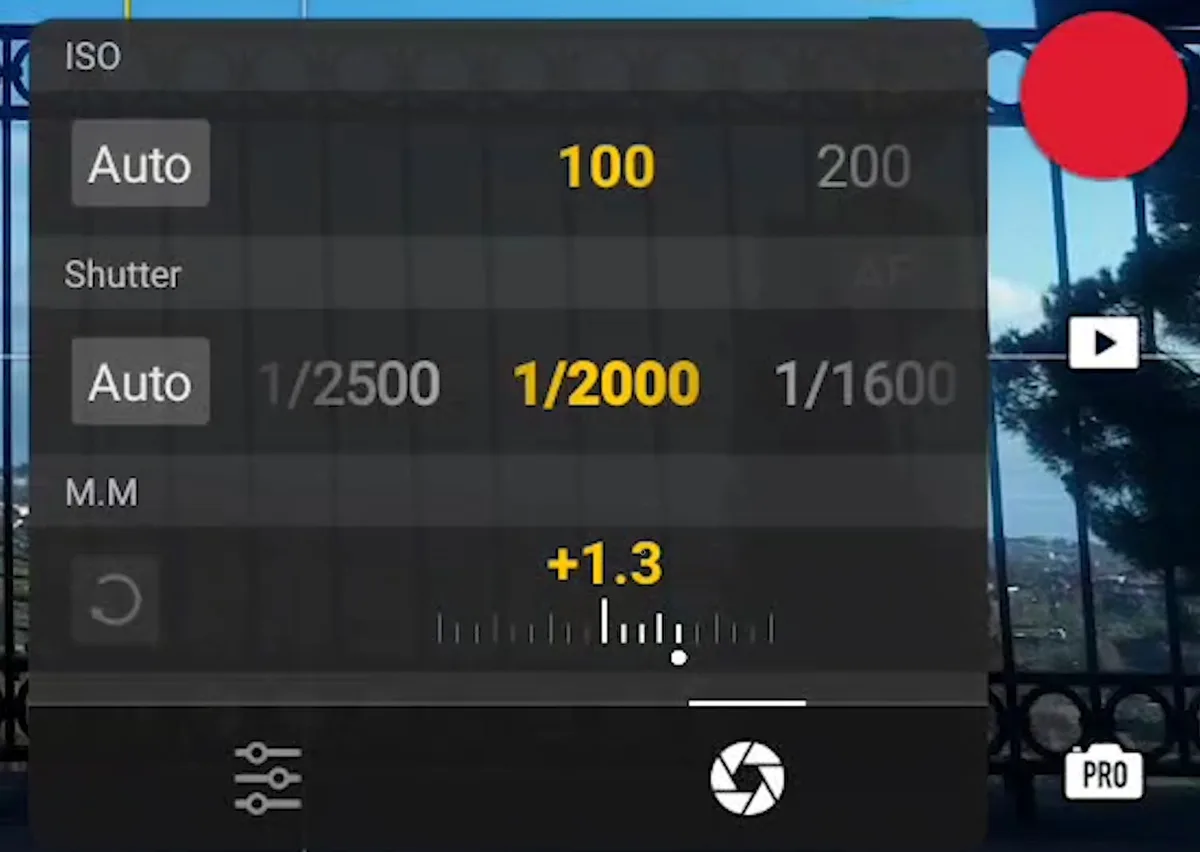
Image source: Bing (Web (fair-use with source credit))
Step-by-Step: Achieving That Cinematic Feel
Transforming your drone footage into something cinematic involves a methodical approach, blending pre-flight preparation with careful in-air execution and post-production finesse. It’s a workflow that prioritizes intention and precision at every stage.
- Plan Your Shots: Before you even power up, sketch out the shots you want. Think about the story you're telling and how the drone's movement can enhance it.
- Check Your Gear: Ensure your drone batteries are fully charged, ND filters are clean and readily accessible, and your controller and any monitoring device are powered on and connected.
- Configure Camera Settings: Based on your plan and lighting conditions, set your frame rate, shutter speed, and color profile. Manufacturer specifications often detail optimal settings for various lighting scenarios.
- Perform Pre-Flight Checks: Always conduct a thorough pre-flight inspection of your drone, propellers, and surrounding environment. Ensure you're aware of any local airspace restrictions or weather advisements.
- Execute Flight Movements Slowly: Lift off and perform your planned movements with deliberate, gentle stick inputs. Prioritize smooth transitions between movements. If a move feels too fast, reduce your speed.
- Compose Deliberately: Pay attention to the rule of thirds, leading lines, and how elements frame your subject. Adjust your drone's position and camera angle to refine the composition in real-time.
- Record High-Quality Footage: Ensure your recording settings are correct and hit the record button well before you start your desired movement.
- Review and Refine: After landing, review your footage. Identify what worked and what could be improved for your next flight. This iterative process is key to skill development.
Common Mistakes That Kill Your Cinematic Vibe
Even with the best intentions, it's easy to fall into common traps that can derail your efforts to create cinematic drone footage. Recognizing these pitfalls is the first step to avoiding them.
- Jerky Movements: This is the cardinal sin. Rapid stick movements, sudden stops, or uneven acceleration can make footage look amateurish and unwatchable. Practice is essential to build the muscle memory for smooth control.
- Unstable Shots: While gimbals are excellent, they can only do so much. Flying too fast in windy conditions or making abrupt turns can overwhelm the stabilization system, resulting in shaky footage.
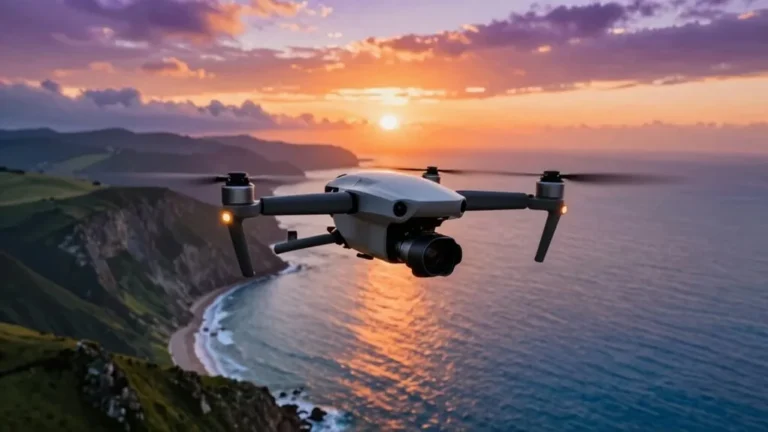
- Poor Lighting: Shooting in harsh midday sun can lead to blown-out highlights and deep, unflattering shadows. Overcast days or the golden hours (shortly after sunrise and before sunset) often provide more even, pleasing light for aerial cinematography.
- Flat or Overly Processed Colors: Relying on default camera settings without considering color profiles or post-production grading can result in footage that looks bland or unnaturally vibrant.
- Ignoring Composition: Simply flying and pointing the camera without considering framing, the rule of thirds, or leading lines will result in visually uninteresting shots, regardless of how smoothly you fly.
Pro Tips for Next-Level Drone Cinematography
Moving beyond the basics involves incorporating tools and techniques that give you more control and polish. These pro tips can help you achieve a truly professional look, often seen in high-end productions. They focus on enhancing image quality and creative flexibility.
The Power of ND Filters
Neutral Density (ND) filters are crucial for achieving that smooth, cinematic motion blur, especially in bright conditions. They work like sunglasses for your drone's camera, reducing the amount of light entering the lens. This allows you to use a slower shutter speed to match your frame rate without overexposing the image.
Without ND filters, you might be forced to use a very fast shutter speed, which results in choppy, unnatural motion. Aggregating user feedback suggests that a range of ND filters, typically from ND8 to ND64, provides sufficient versatility for most common lighting scenarios. Different filter strengths are essential for varying light levels, ensuring you can maintain optimal camera settings throughout the day.
Leveraging Color Profiles for Editing
The choice of color profile on your drone's camera can significantly impact your post-production workflow and the final look of your footage. While standard profiles offer vibrant, ready-to-use colors, they often clip highlights or crush shadows, limiting editing flexibility.
- Flat (or Log) Profiles: These profiles record a wider dynamic range and a more neutral color palette. They appear "dull" or "washed out" straight out of the camera, but this is by design. This "flatness" preserves more detail in both the brightest and darkest areas of your image.
- Benefits: The primary advantage is vastly improved color grading capabilities. You have more room to adjust contrast, saturation, and hues without introducing artifacts. This is how filmmakers achieve those distinct visual styles.
- Considerations: Shooting in a flat profile requires color grading in post-production. If you're new to video editing, starting with a "neutral" profile might be a better balance before diving into complex grading.
When to Seek Professional Drone Services
While many individuals can learn to fly a drone and capture decent footage, there are specific situations where hiring professional drone services is not just beneficial but necessary. These professionals bring a combination of advanced equipment, specialized skills, and regulatory compliance that is hard for hobbyists to match.
- Complex Commercial Projects: For feature films, high-end commercials, or large-scale real estate developments, professionals offer precision, reliability, and access to specialized cinematic drones. They understand how to integrate aerial shots seamlessly into a larger production narrative.
- Regulatory Hurdles: Professionals are typically certified and fully aware of aviation regulations in their operating area. This includes understanding Part 107 rules in the US or similar certifications elsewhere, which can be complex and time-consuming for individuals to navigate.
- High-Risk Environments: Operating in challenging weather, near critical infrastructure, or in congested airspace requires a level of expertise and risk management that seasoned professionals provide. Their experience minimizes potential accidents and ensures project continuity.
- Time-Sensitive Projects: When deadlines are tight, professionals can deploy quickly and efficiently, delivering polished results without the learning curve or potential setbacks an amateur might face.
Ultimately, if your project demands polished, reliable, and legally compliant aerial footage, investing in professional services often proves more cost-effective and yields superior results.
Frequently Asked Questions
How long does it take to learn cinematic drone movements?
Learning basic cinematic drone movements can take a few hours of practice for some, but mastering them to a professional standard requires consistent effort over weeks or months. Focusing on one or two key movements at a time, like the reveal or the orbit, helps build proficiency faster.
Do I need a specific type of drone for cinematic footage?
While many modern drones can capture good footage, those with larger sensors, better low-light performance, and manual camera controls offer more flexibility for cinematic shooting. Drones capable of shooting in RAW or higher bitrates, and supporting advanced color profiles like D-Log, are particularly beneficial for post-production.
What is the most common mistake beginners make?
The most frequent error beginners make is flying too fast and making jerky movements. This results in unstable, unwatchable footage that lacks the smooth, intentional feel of cinematic shots. Practicing slow, deliberate control inputs is paramount.
Can I use my smartphone for cinematic drone footage?
Some high-end drones allow control via a smartphone, but for truly cinematic results, using the dedicated controller with a bright, high-resolution monitor or FPV goggles is recommended. This provides better control precision and visual feedback, essential for framing and executing complex shots.