How Do I Avoid Overexposure in Drone Video?
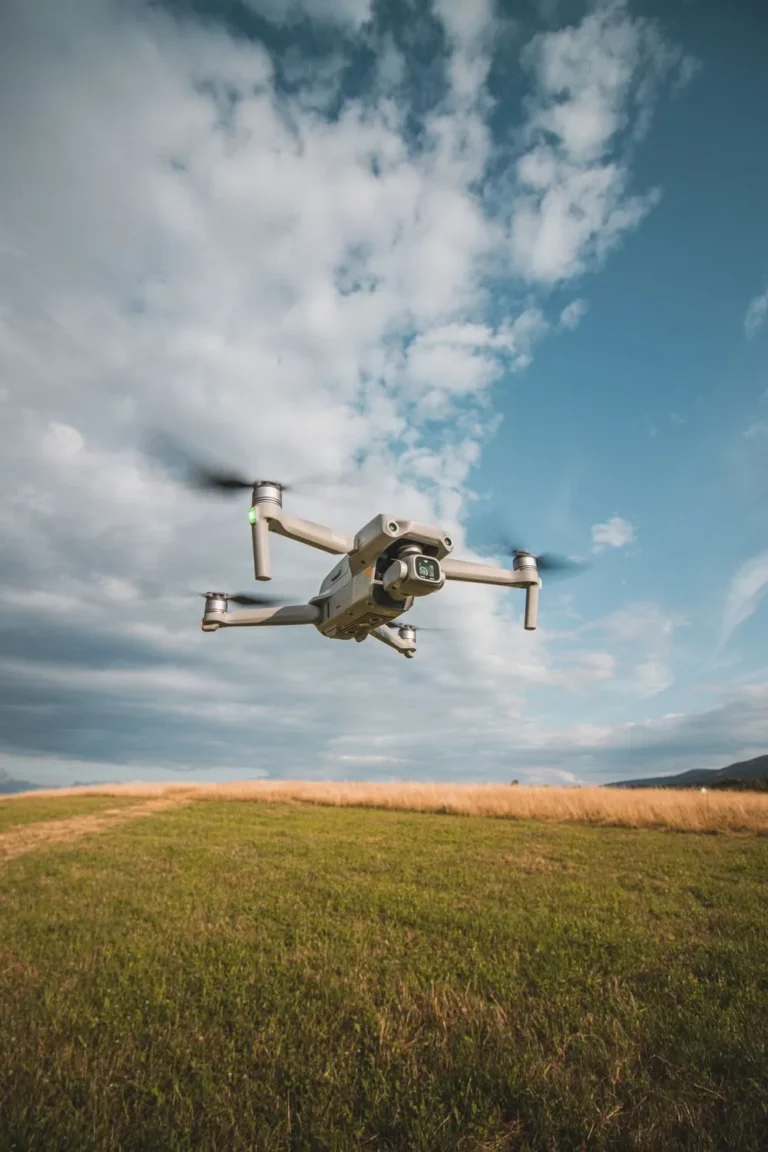
Ever feel like your drone footage looks a little too bright, almost "blown out"? Learning how to avoid overexposure in drone video is a game-changer for getting professional-looking shots. When the bright parts of your image lose all detail, it just looks flat and uninteresting.
The good news is, this is a fixable problem. Most modern drones offer manual controls that let you dial in the perfect exposure, even in tricky lighting. Per manufacturer specifications, drone cameras often have a dynamic range of about 10-13 stops, but bright sunlight can easily push beyond that if not managed.
Quick Answer
To avoid overexposure in drone video, lower your ISO and adjust your shutter speed. Use ND filters to reduce light in bright conditions. Monitor your camera's histogram for real-time exposure feedback.
This workflow prevents washed-out highlights and preserves detail.
Why Is My Drone Video Overexposed?
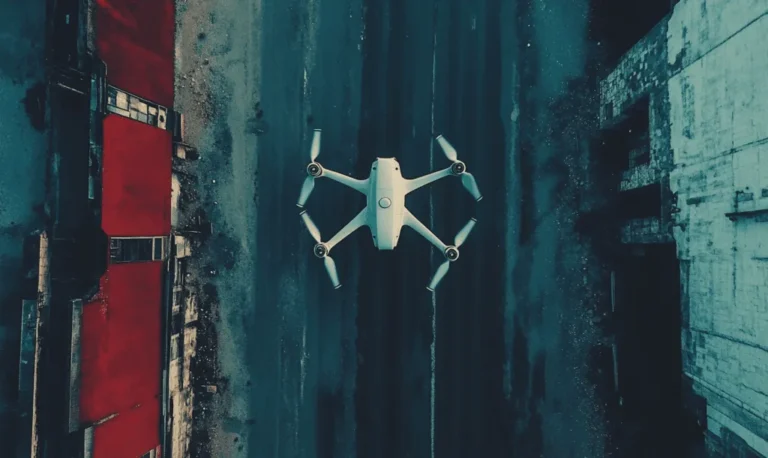
When your drone camera is exposed to too much light, especially on a bright, sunny day, it can't process all that brightness effectively. This leads to overexposure, where the brightest areas of your image turn pure white, losing all texture and detail. Think of the sky looking like a solid white sheet, or white buildings having no discernible features.
This happens because the camera's sensor has a limit to how much light it can capture before it saturates. If the light hitting the sensor exceeds this limit, the information is lost, and you can't recover it later in editing. It’s like trying to pour a gallon of water into a pint glass, it just spills over.
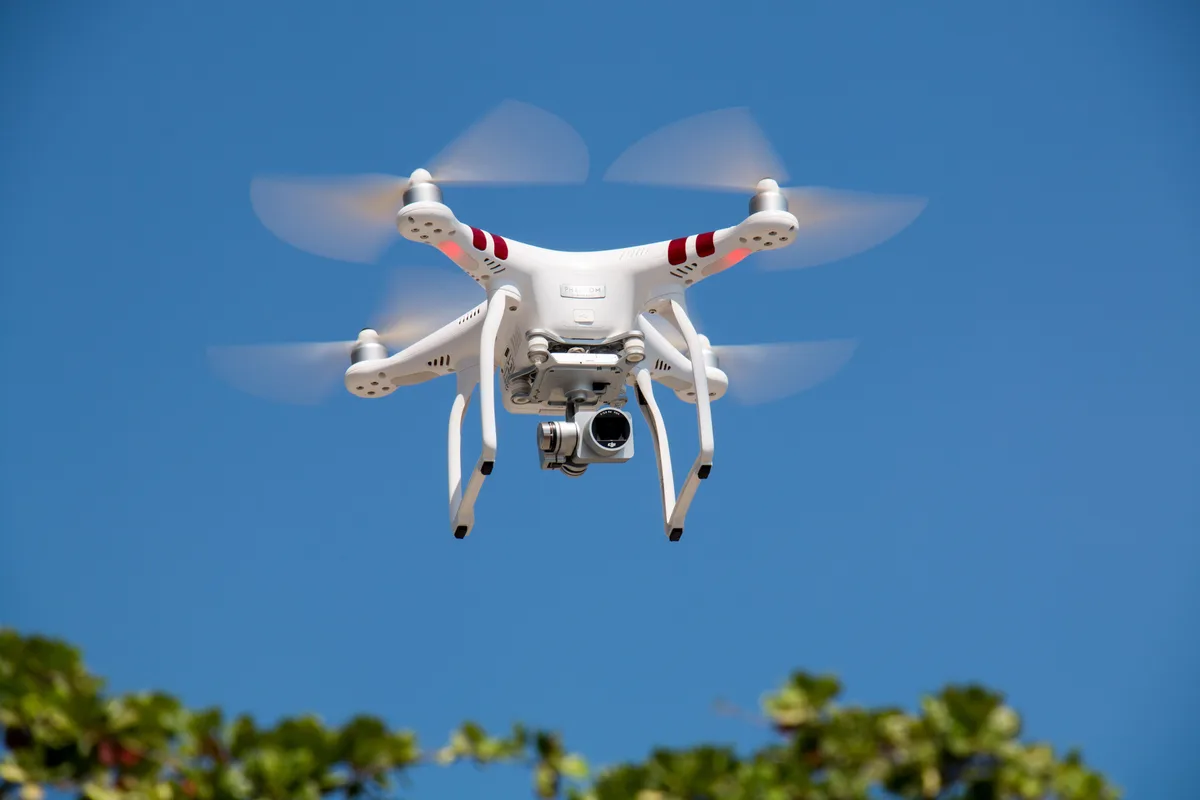
Image source: Bing (Web (fair-use with source credit))
Essential Tools for Controlling Drone Video Exposure
You've got a few key settings and accessories at your disposal to keep your drone video looking just right, even when the sun is blazing. These are your primary defenses against that washed-out look.
Understanding ISO, Shutter Speed, and Aperture
These three settings work together to determine how much light your drone's camera captures. Understanding each one is crucial for controlling exposure.
ISO: This measures the camera sensor's sensitivity to light. A lower ISO (like 100 or 200) means less sensitivity, which is ideal for bright conditions. Increasing ISO makes the sensor more sensitive, useful in low light but can also introduce digital noise and worsen overexposure in bright scenarios. For drone video, keeping ISO as low as possible is almost always the first step to preventing blown-out highlights.
Shutter Speed: This controls how long the camera sensor is exposed to light. A faster shutter speed (e.g., 1/200th of a second) lets in less light, while a slower one (e.g., 1/30th of a second) lets in more. For video, a common guideline is the "180-degree rule," where your shutter speed is roughly double your frame rate (e.g., 1/60s for 30fps) to achieve natural motion blur. If you're overexposed, increasing shutter speed is a direct way to reduce light.
Aperture: This is the size of the opening in the lens that light passes through. A wider aperture (lower f-number, like f/1.8) lets in more light, while a narrower aperture (higher f-number, like f/8) restricts light. Many drone cameras have a fixed aperture, meaning you can't adjust this setting. If yours is adjustable, closing down the aperture is another way to cut down on light.
The Magic of Neutral Density (ND) Filters
When you're shooting in bright sunlight, even with your ISO at its lowest and your shutter speed set according to the 180-degree rule, you might still be letting in too much light. This is where Neutral Density (ND) filters become your best friends.
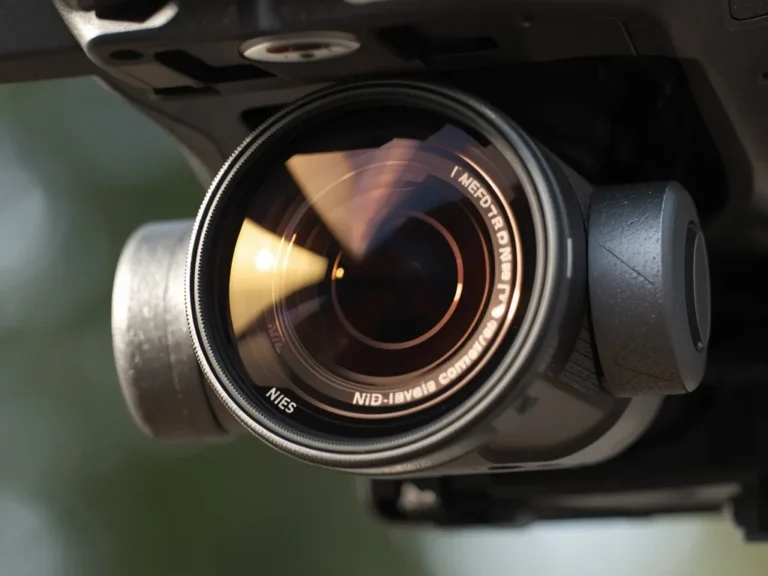
Think of ND filters as sunglasses for your drone's camera. They are specially designed pieces of glass or plastic that reduce the overall amount of light entering the lens without altering the colors or contrast. They come in various strengths, often labeled by how many f-stops of light they block (e.g., an ND8 filter blocks 3 f-stops).
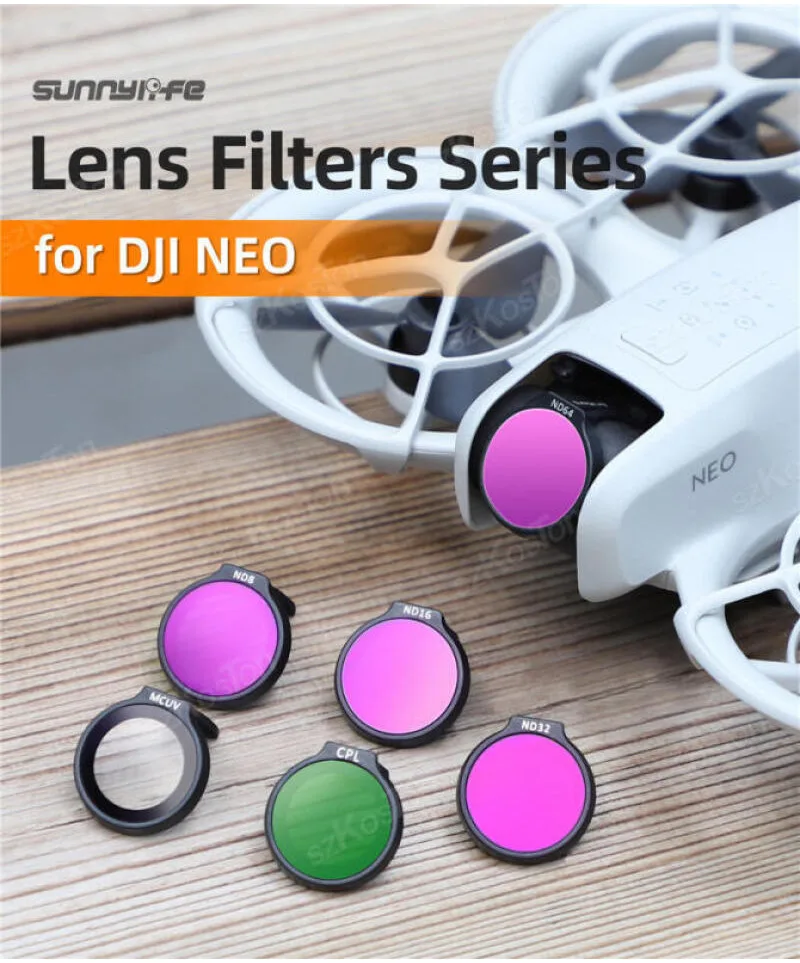
Image source: Bing (Web (fair-use with source credit))
Using an ND filter allows you to maintain your desired shutter speed (for natural motion blur) and aperture settings even in very bright conditions. This is key to achieving a cinematic look, as it prevents you from being forced to use an unnaturally fast shutter speed just to avoid overexposure. For any serious drone pilot, a set of ND filters is an essential piece of kit.
A Step-by-Step Workflow to Nail Your Exposure
Avoiding overexposure isn't usually about one single setting; it's about a systematic approach. When you understand the interplay between your camera's settings and the lighting conditions, you can confidently capture well-exposed footage. This workflow helps you make the right decisions before and during your flight.
Pre-Flight Checks and Settings
Before you even launch your drone, taking a few minutes to configure your camera settings will save you a lot of headaches. It’s about setting a baseline that works for most bright conditions.
- Set Your ISO: Always start with the lowest possible ISO your drone offers, typically 100 or 200. If your drone is set to Auto ISO, switch to Manual mode. Auto ISO can sometimes push the sensitivity too high in bright light, leading to overexposure.
- Configure Shutter Speed: If your drone allows manual shutter control, set it according to the 180-degree rule. For 30 frames per second (fps) video, aim for a shutter speed of 1/60th of a second. For 60fps, try 1/120th of a second. This provides a natural motion blur for smooth-looking video.
- Check Aperture (If Adjustable): If your drone has an adjustable aperture, start by closing it down slightly. An f-number around f/4 or f/5.6 is a good starting point in bright daylight. If your aperture is fixed, you’ll rely more on ISO and shutter speed, and importantly, ND filters.
On-Location Adjustments in Bright Light
Once you're out flying, you'll need to assess the actual lighting and make adjustments. The sun's intensity can change throughout the day, and different environments reflect light differently.
- Visual Inspection: Look at your drone's live view feed on your controller. Are the brightest parts of the scene already looking blown out or pure white? This is your first clue.
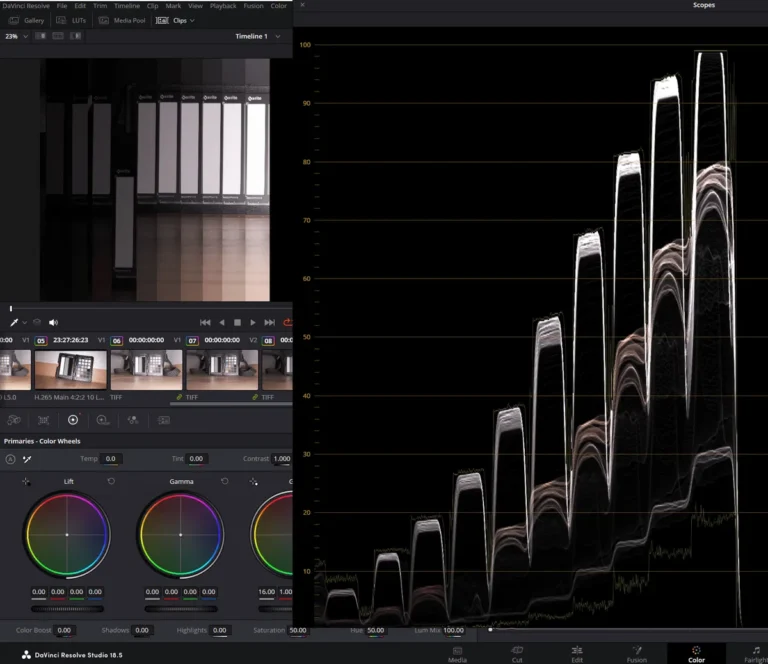
- Check the Histogram: Most advanced drone cameras provide an exposure meter called a histogram. This is a graph that shows the distribution of light tones in your image. A healthy histogram for a well-exposed image generally has a bell shape, with no major spikes pushed all the way to the right (overexposed highlights) or left (underexposed shadows). If you see a significant spike on the far right, your image is overexposed.
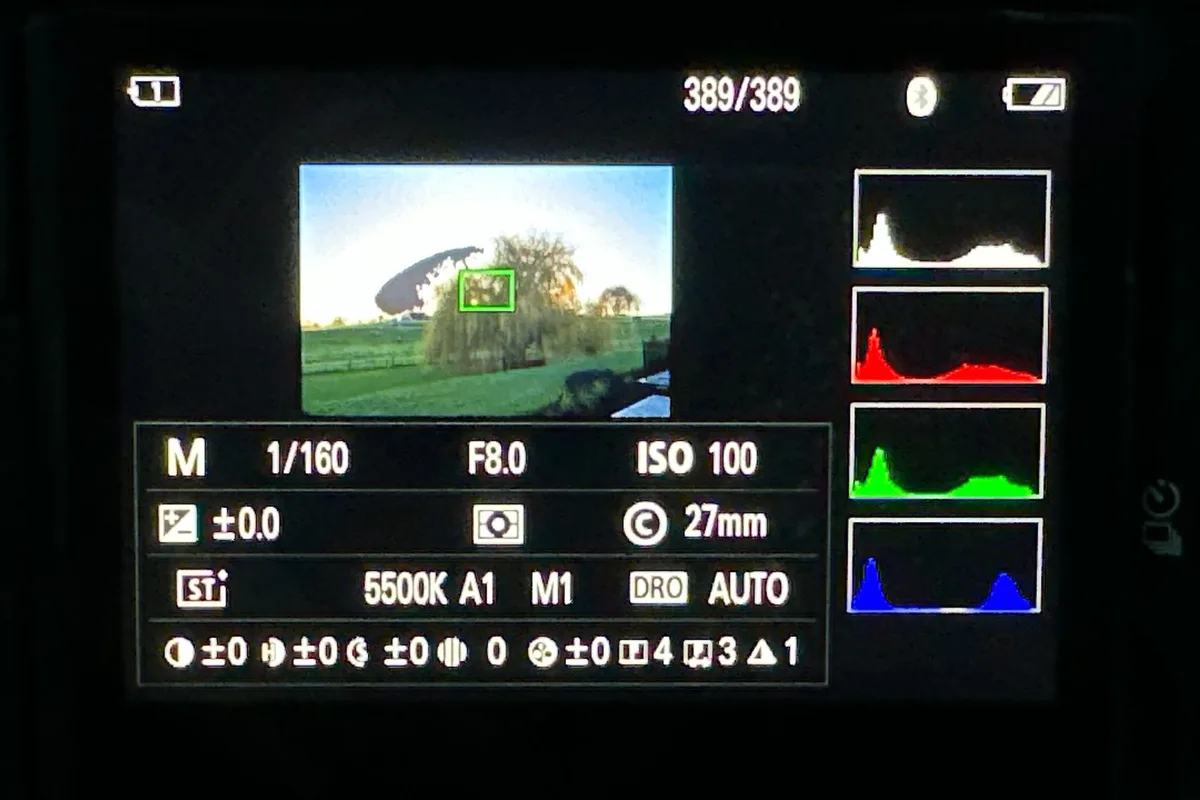
Image source: Bing (Web (fair-use with source credit))
- If Overexposed: If your live view or histogram indicates overexposure, and you've already set the lowest ISO and appropriate shutter speed, it’s time to bring in your ND filters. Start with a moderate strength filter, like an ND8 or ND16, and attach it to your drone's camera. Re-evaluate your exposure. You might need a stronger filter, like an ND32 or ND64, depending on how bright it is.
Fine-Tuning for the Perfect Shot
With your basic settings and ND filter in place, you're likely close to a good exposure. Now it’s about making those final, subtle tweaks to ensure your footage is perfect.
- Review the Histogram Again: After attaching an ND filter, check your histogram one more time. The entire graph will shift to the left, indicating less light is hitting the sensor. You want to ensure that spike on the right has moved away from the edge, indicating detail is preserved. Your goal is to have the histogram’s data spread across the graph without being crammed against either end.
- Manual Adjustment: If the image is still slightly too bright after applying the strongest ND filter you have, you might need to slightly increase your shutter speed beyond the 180-degree rule. Be cautious; going too high can make motion look unnatural. Conversely, if the ND filter made it too dark (rare in bright sun), you might need to step down to a weaker filter.
- Focus on Highlights: Pay particular attention to the brightest parts of your scene. The sky, bright clouds, sunlit water, or white buildings are common culprits for overexposure. Ensure these areas have visible detail and aren't just solid white.
Common Mistakes That Lead to Overexposure
Many drone pilots, especially when starting out, fall into a few common traps that result in overexposed footage. Recognizing these mistakes is the first step to avoiding them.
Relying on Auto Settings: Many drones default to automatic exposure modes. While convenient, Auto ISO and Auto Shutter Speed can be unpredictable in challenging lighting. Auto settings might overcompensate for bright conditions by keeping the ISO too high or using a shutter speed that's too slow, leading directly to overexposure. Always switch to Manual mode when possible for critical shots.
Forgetting ND Filters: This is perhaps the biggest mistake. Pilots often head out on a sunny day without ND filters, forcing them to use excessively fast shutter speeds just to get any usable exposure. This compromises motion blur and the overall aesthetic of the video. Manufacturer specifications for most drone cameras suggest ND filters are key for optimal video quality in daylight.
Ignoring the Histogram: The histogram is a powerful tool that tells you precisely how your exposure is balanced. Many pilots don't understand it or simply don't look at it. Relying solely on what your screen looks like can be deceiving, as screen brightness and color profiles can vary. The histogram provides objective data.
Not Adjusting for Lighting Changes: Lighting conditions can change rapidly, especially with clouds moving in and out. What was a perfectly exposed shot five minutes ago might be overexposed now. It’s crucial to continually monitor your exposure settings and your histogram as you fly.
When to Reach for ND Filters (And Which Ones)
Neutral Density (ND) filters are the most effective tool for combating overexposure in bright daylight conditions. If you're shooting video outdoors when the sun is strong, you should almost certainly be using one. They are not optional for professional-looking drone footage in full sun.
- When Sun Is Strong: If you're filming at midday, especially in open areas like beaches, deserts, or fields with minimal shade, ND filters are essential.
- When You Need Natural Motion Blur: To adhere to the 180-degree shutter speed rule (shutter speed = 2x frame rate) for cinematic motion blur, you'll need an ND filter if the ambient light is too bright for a proper exposure at that shutter speed.
- When Shooting Around Water or Snow: These surfaces are highly reflective and can significantly increase the amount of light hitting your camera, making ND filters a must-have.
Choosing the Right ND Filter Strength
ND filters come in different strengths, corresponding to how much light they block. As of 2026, common labeling includes:
- ND2 / ND4 / ND8: These are lighter filters, blocking 1 to 3 f-stops of light. Useful for moderately bright conditions or when you want to slightly adjust exposure while maintaining a wider aperture.
- ND16 / ND32 / ND64: These are moderate to strong filters, blocking 4 to 6 f-stops. These are often the workhorses for sunny days, allowing you to maintain your 180-degree shutter speed rule.
- ND128 and Stronger: These are very dense filters, blocking 7+ f-stops. You might need these for extremely bright environments like shooting directly into the sun or in high-altitude, intense sunlight.
For most drone pilots, a kit containing ND8, ND16, and ND32 filters will cover the majority of shooting scenarios. You might consider adding stronger ones if you frequently fly in harsh, bright climates.
Recovering Overexposed Footage in Editing
Sometimes, despite your best efforts, a shot might still come back a little too bright. While it’s always best to get the exposure right in-camera, editing software does offer tools to help salvage slightly overexposed footage. These tools can make a difference, but they can't work miracles on completely blown-out highlights.
The primary tool you'll use is the "Highlights" slider in your editing software. This slider allows you to selectively reduce the brightness of the brightest areas in your image. By gently pulling this slider down, you can often recover some lost detail in the sky or other bright elements.
However, if a highlight area is pure white (clipped to 255 on the white scale), there's no data left to recover. In these cases, the editing adjustments will only darken the pure white to a lighter shade of grey, but the detail won't magically reappear. This is why getting the exposure correct during the flight is so critical.
Targeted Adjustments with Color Grading Tools
More advanced color grading tools, like the Lumetri Color panel in Adobe Premiere Pro, offer even more granular control. You can use curves or other color wheels to make more precise adjustments to specific tonal ranges.
For instance, you might use a color grading tool to lower the "whites" or "highlights" specifically, or you might even use masking to isolate a particularly bright area and apply targeted exposure reduction. However, always remember that these are recovery tools, not magic wands. The quality of the recovered footage will always be inferior to footage that was correctly exposed from the start.
Frequently Asked Questions About Drone Video Exposure
What's the best ISO for drone video in bright sunlight?
The best ISO for drone video in bright sunlight is almost always the lowest native ISO your drone camera offers, typically 100 or 200. Lower ISO means less sensitivity to light, which is exactly what you want when the sun is strong. You should manually set this and avoid Auto ISO settings in bright conditions.
How much do ND filters cost?
ND filters for drones can range in price from about $15 to $50 or more per filter, depending on the brand, quality, and the specific drone model they are designed for. Kits containing multiple ND filters (e.g., ND8, ND16, ND32) are often more cost-effective. As of 2026, high-quality filters from reputable brands are widely available.
Can I fix overexposed drone footage in post-production?
You can recover some detail in slightly overexposed drone footage using editing tools like highlight sliders and color grading panels. However, if the highlights are completely blown out (pure white), no amount of editing will bring back the lost detail. It's always best to get the exposure correct in-camera.
Is there a rule for shutter speed in drone video?
Yes, the widely accepted "180-degree rule" suggests setting your shutter speed to be double your frame rate for natural-looking motion blur. For example, if you're shooting at 30 frames per second (fps), your shutter speed should be 1/60th of a second. Using an ND filter often becomes necessary to maintain this rule in bright light.
What's the difference between overexposure and underexposure?
Overexposure is when too much light enters the camera, making bright areas appear washed out or pure white, losing detail. Underexposure is the opposite, where not enough light enters the camera, making the image too dark, and shadow details become obscured or turn into black masses, also losing detail.