Why Does My Drone Video Look Dark?
Ever been excited to review your drone footage, only to find it's all dim and murky? You're not alone. It’s a super common frustration for drone pilots, especially when you’re sure you were flying in good light.
We’ll break down the most likely reasons your video is coming out darker than you’d like, and more importantly, how to fix it.
This guide will walk you through the common causes, from how your drone's camera interprets light to simple settings you can adjust. Following these steps can help you capture the bright, clear aerial shots you’re aiming for.
Quick Answer
Your drone video looks dark because the camera's automatic exposure is often fooled by bright scenes, making the entire image dimmer. Other causes include pointing the lens directly at the sun, incorrect manual settings, or poor lighting conditions. Adjusting camera settings like exposure compensation, switching to manual mode, and setting the correct white balance can dramatically brighten your footage.
Common Culprits Behind Gloomy Drone Footage
Your drone's camera is designed to capture stunning aerial views, but sometimes its interpretation of light can lead to darker-than-expected video. Understanding these common issues is the first step to fixing them.
Automatic Exposure (AE) Making Things Too Dark
When your drone's camera is set to automatic exposure, it tries to figure out the best brightness for the entire scene on its own. This can be a big problem if there's a very bright spot in your shot, like a sunny sky or a brightly lit building. The camera, trying to avoid "blowing out" that bright area (making it pure white), will darken the entire image.
As a result, other perfectly lit parts of your scene can end up looking too dim. Manufacturer specifications confirm that many consumer drone camera sensors are optimized for a specific dynamic range, and exceeding this automatically can lead to such compromises.
Shooting Directly Into Bright Lights
It sounds obvious, but it's a super easy mistake to make when you're focused on framing that perfect shot. If your drone’s camera lens is pointed directly at the sun or another very intense light source, it's going to struggle to get a good exposure. That intense light can overwhelm the camera's sensor.
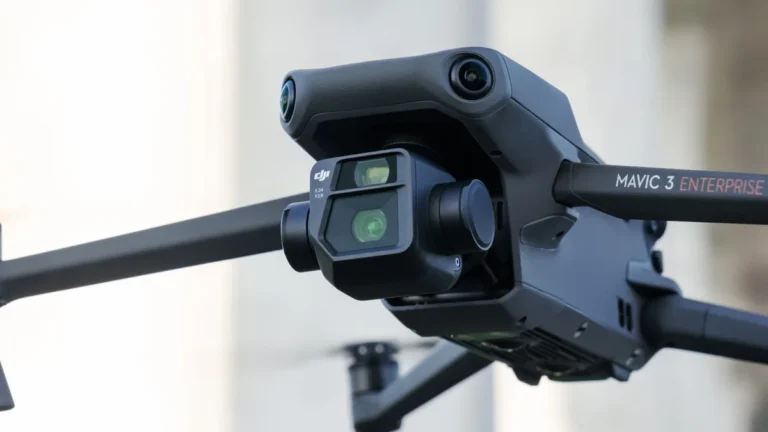
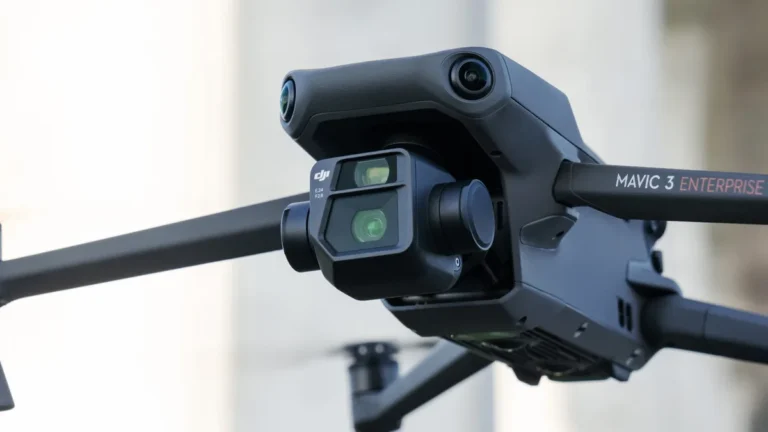
This is true for most camera systems, including those found on drones like the DJI Mavic series, which feature advanced sensors but are still susceptible to direct, harsh light.
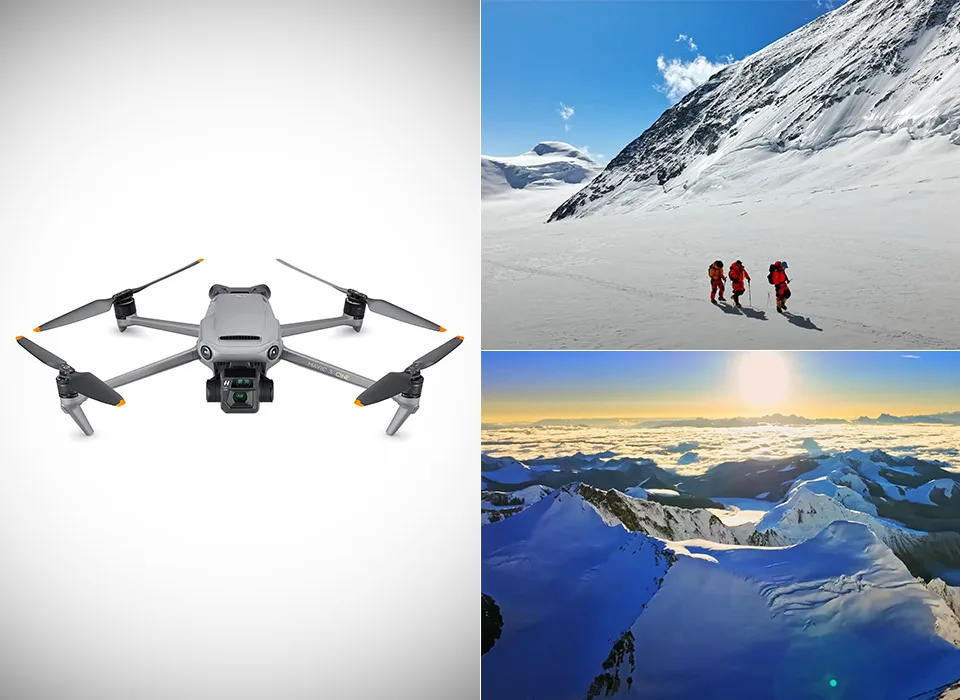
Image source: Bing (Web (fair-use with source credit))
Low Light Conditions
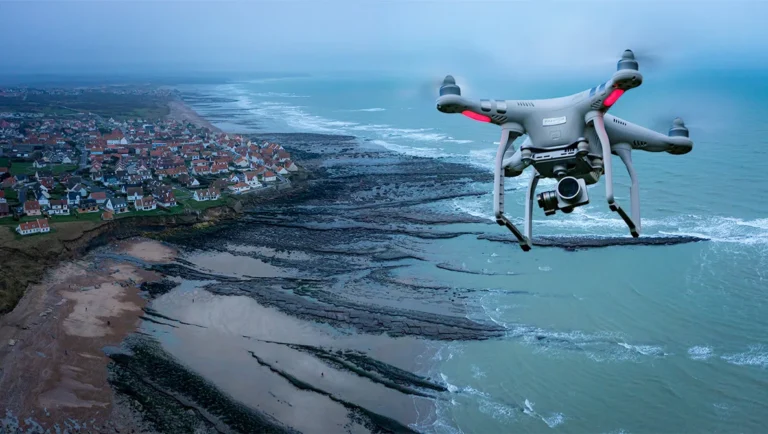
Sometimes, the simplest explanation is the correct one: it’s just not that bright out! If you're flying at dawn, dusk, or on a heavily overcast day, your drone’s camera has less light to work with. In these situations, the footage will naturally appear darker.
While your drone’s camera might try to compensate by increasing ISO, this can also introduce unwanted noise or grain into your video.
Manual Exposure (ME) Settings: When Auto Fails
If your drone’s camera is set to Manual Exposure (ME), you have direct control, but this also means you’re responsible for getting it right. If you've set your ISO too low for the available light, or your shutter speed too fast, you won't be letting in enough light. The camera has no automatic system to correct for these user-defined settings, so the resulting video will be dark.
This is common when pilots experiment with manual controls without fully understanding the interplay between ISO and shutter speed.
Incorrect White Balance
White balance (WB) is crucial for accurate color reproduction. It tells your camera what "white" looks like under different lighting conditions. If your white balance is set incorrectly for your environment, for example, using an "indoor tungsten" preset while flying outdoors on a sunny day, it can drastically alter the color temperature and perceived brightness of your footage.
This can make colors look unnatural and the overall image appear darker or strangely cast. Most drone apps offer presets like "Sunny," "Cloudy," or "Daylight" for this reason.
Taking Control: Understanding Your Drone's Camera
If you're finding your drone video consistently looks too dark, it's time to move beyond automatic settings and get a handle on your camera's core controls. Think of it as learning to use your eyes to see the light, rather than letting a computer guess. This gives you the power to dictate the final look of your footage, ensuring it’s bright and clear.
Manual vs. Auto Camera Modes
Automatic (Auto) mode is what most drones default to. It’s designed to be user-friendly, with the camera automatically adjusting settings like ISO, shutter speed, and aperture to get what it thinks is a balanced exposure. While convenient, Auto mode can be easily tricked, especially in scenes with high contrast.
Manual mode, on the other hand, gives you direct control over these settings. Manufacturer specifications, like those for advanced drones, often highlight the flexibility of manual controls for creative professionals who need precise image adjustments.
Key Camera Settings Explained: ISO, Shutter Speed, Aperture
To master manual mode and brighten your footage, you need to understand these three fundamental settings:
- ISO: This determines how sensitive your camera's sensor is to light. A lower ISO (e.g., 100 or 200) means less sensitivity and typically cleaner images. A higher ISO (e.g., 800, 1600, or more) makes the sensor more sensitive, capturing more light in dark conditions, but it can also introduce visible "noise" or grain into your video.
- Shutter Speed: This controls how long the camera's sensor is exposed to light. A faster shutter speed (e.g., 1/1000th of a second) freezes motion but lets in less light. A slower shutter speed (e.g., 1/50th of a second) lets in more light but can create motion blur if the drone or its subject is moving quickly. For video, a common rule of thumb is to set shutter speed to roughly double your frame rate (e.g., 1/50 sec for 25fps video).
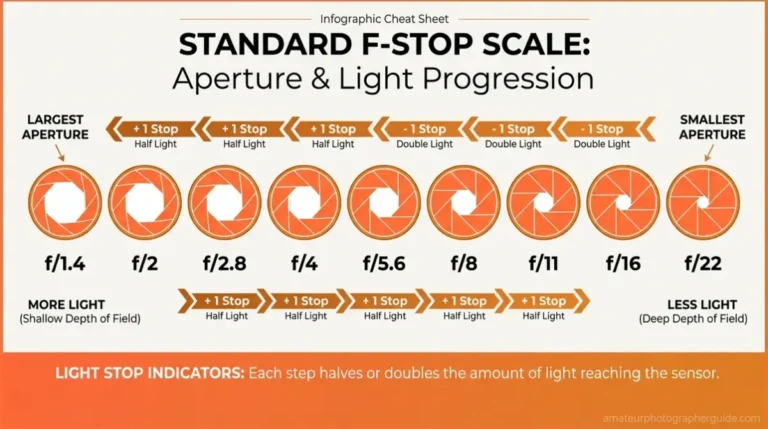
- Aperture: This is the size of the opening in the lens that lets light through. A wider aperture (indicated by a lower f-number, like f/2.8) lets in more light and creates a shallow depth of field (blurry background). A narrower aperture (higher f-number, like f/8) lets in less light and increases the depth of field (more of the scene in focus). Some drone cameras have adjustable apertures, while others are fixed.
Step-by-Step: Fixing Dark Drone Video
Let’s get your drone footage looking bright and vibrant. This workflow will guide you through the most effective steps to troubleshoot and correct dark video.
1. Initial Checks: Exposure Compensation & Lens
Before diving into manual settings, let’s cover the basics.
- Exposure Compensation: This is your first and easiest tool. It’s like a brightness dial. If it’s set to a negative value (e.g., -1 or -2), your video will be darker. Check your drone app and ensure this is set to 0 or a positive value if needed.
- Lens Cleanliness: A smudged or dirty lens can significantly reduce the amount of light reaching the sensor. Use a microfiber cloth to gently clean your drone’s camera lens.
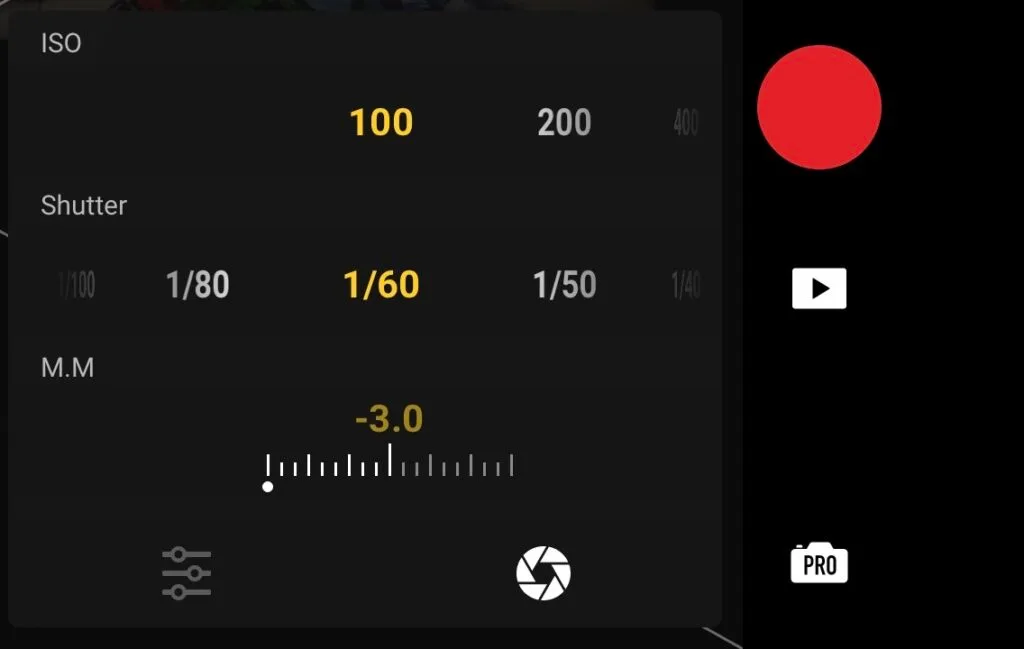
Image source: Bing (Web (fair-use with source credit))
2. Mastering Manual Controls: Adjusting Settings in Real-Time
If Auto mode isn’t cooperating, switch to Manual mode in your drone’s camera app.
- If it’s too dark:
- Increase ISO: Gradually raise the ISO. Stop if you see too much grain.
- Decrease Shutter Speed: Slow down your shutter speed. Be mindful of motion blur, especially if you’re flying fast. Aim for roughly double your frame rate (e.g., 1/50s for 25fps).
- Open Aperture (if adjustable): If your drone has an adjustable aperture, use a lower f-number (wider opening) to let in more light.
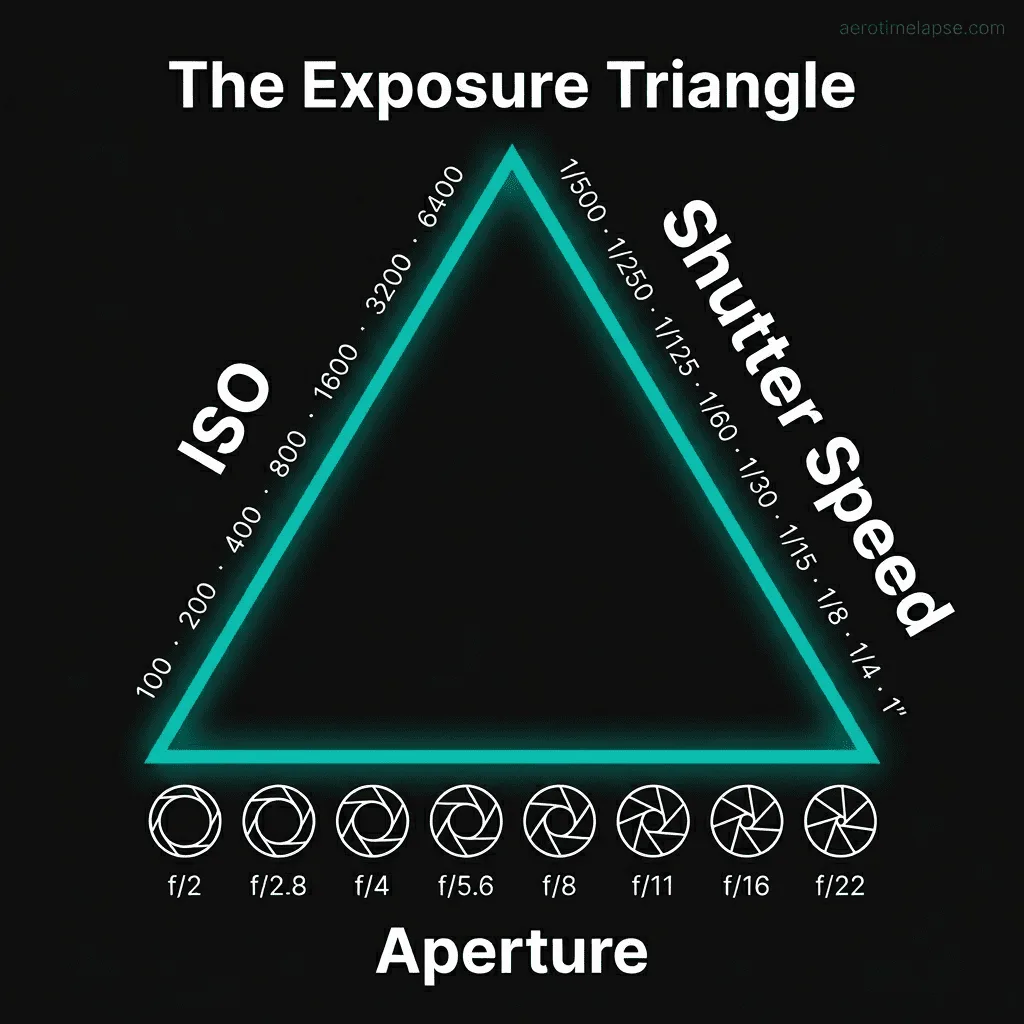
Image source: Bing (Web (fair-use with source credit))
3. White Balance: Getting Colors Right
An incorrect white balance can make footage look darker. Ensure your WB setting matches your environment. Use presets like "Sunny," "Cloudy," or "Daylight" when outdoors.
For advanced control, consider setting a custom white balance if your drone supports it, using a white or grey card under your shooting light.
4. Assess the Scene: Bright vs. Dark Areas
Observe your flight path. If you’re constantly flying between very bright sunlit areas and deep shadows, your camera will struggle to expose evenly. Try to frame your shots to favor well-lit subjects or fly during times of day with more consistent lighting, like mid-morning or mid-afternoon.
5. Filter Check: ND Filters and Their Impact
If you’re using Neutral Density (ND) filters, especially on bright days, remember they are designed to reduce the amount of light entering the lens. While essential for smooth motion blur in bright conditions, using too strong an ND filter will darken your footage. Ensure you're using an ND filter appropriate for the light levels, or remove it if you need more light.
For example, an ND16 filter reduces light by 4 stops.
Common Mistakes Drone Pilots Make
Even experienced pilots can fall into these traps, leading to frustratingly dark footage. Being aware of these common errors is key to avoiding them.
- Relying Solely on Auto Mode: While convenient, Auto mode doesn't always make the best decisions for video, especially in scenes with high contrast (bright skies and dark ground). It often prioritizes preventing blown-out highlights over ensuring the entire scene is well-exposed.
- Forgetting Exposure Compensation: Many pilots don't realize this simple adjustment can immediately brighten or darken their footage. If your video is consistently dark, checking and adjusting your exposure compensation is often the quickest fix.
- Ignoring White Balance Settings: Flying with the wrong white balance preset can not only distort colors but also make the overall image appear darker than it should be. Always match your WB setting to the ambient lighting conditions.
- Using Too Strong an ND Filter: ND filters are essential for achieving cinematic motion blur in bright daylight, but using one that's too powerful (like an ND64 or ND128 when it’s only moderately sunny) will over-darken your footage, requiring significant post-production correction.
- Not Cleaning the Lens: A dirty lens is a surprisingly common cause of dim and hazy footage. Fingerprints, dust, or smudges can all reduce light transmission and clarity.
When to Edit: Boosting Your Footage in Post-Production
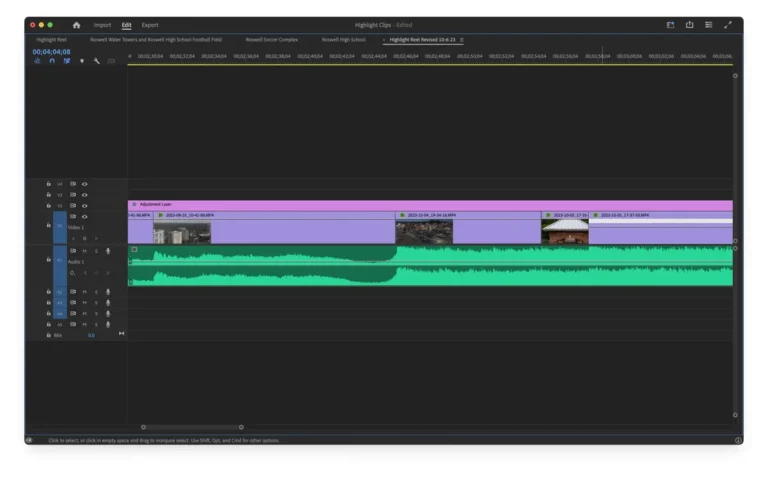
Even with careful planning and the right settings, sometimes your drone footage might still come out a bit darker than you’d ideally like. That’s where post-production editing comes in handy. Most video editing software, whether it’s professional-grade like Adobe Premiere Pro or simpler options like iMovie or DaVinci Resolve, offers powerful tools to enhance your footage.
You can easily adjust brightness, contrast, and exposure levels. Often, a slight boost in these areas can salvage footage that’s just a touch too dim, making it look professionally finished. However, it’s always best to get your shot as close to perfect in-camera as possible, as over-editing dark footage can lead to unwanted noise or artifacts.
Frequently Asked Questions About Dark Drone Video
What does "exposure compensation" do for drone video?
Exposure compensation allows you to manually override the camera's automatic brightness setting. If your video is too dark, you can increase it to brighten the scene. If it's too bright, you can decrease it.
Should I always use manual camera settings on my drone?
Using manual settings gives you more creative control and often leads to better results, especially in challenging lighting. However, auto settings can be sufficient for simple, well-lit shots and are easier for beginners.
How can I prevent my drone video from looking grainy?
To avoid grainy footage, keep your ISO as low as possible. If you need more light, try slowing down your shutter speed or opening your aperture (if adjustable) before increasing ISO.
Can I fix dark drone footage if I forgot to change settings?
Yes, most video editing software allows you to adjust brightness, contrast, and exposure. While you can often improve dark footage, heavily underexposed clips may retain noise or lose detail, so it's best to get it right in-camera.
What’s the best time of day to fly a drone for good lighting?
Flying during the "golden hours", shortly after sunrise and before sunset, offers soft, warm light that is often ideal for drone videography, minimizing harsh shadows and creating a pleasing aesthetic. Mid-morning and mid-afternoon can also provide consistent, good lighting.