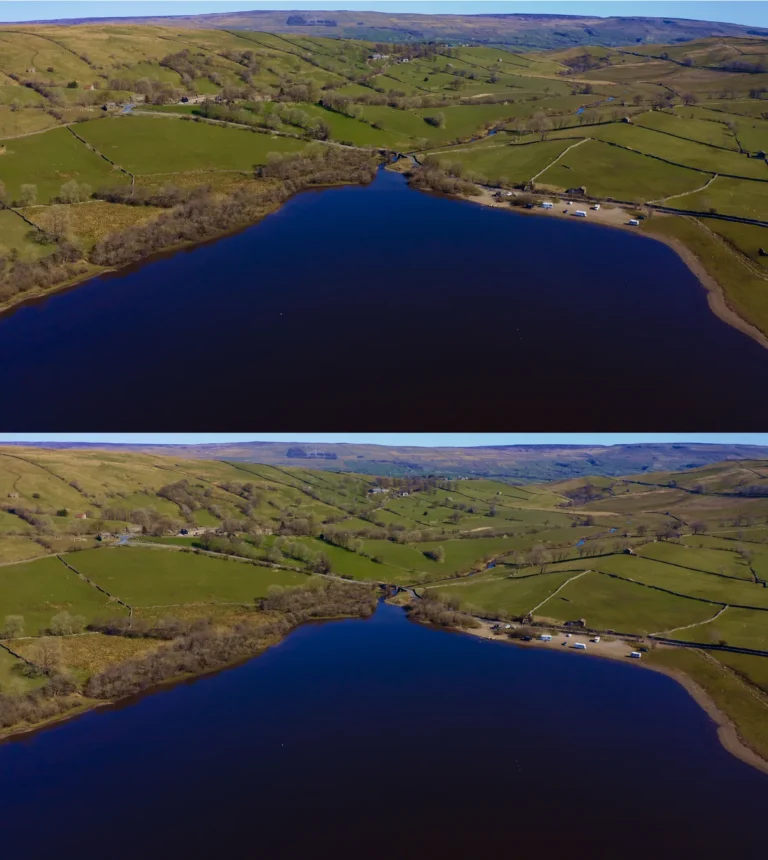
Why Is My Drone Footage Noisy?
Ever get that sinking feeling when you review your drone footage and notice a bunch of annoying grain or speckles? You’re not alone. This common issue, often called digital noise, can really detract from otherwise stunning aerial shots.
The good news is that understanding the main culprits is half the battle. We’ve dug into the data, and as of 2026, the primary reasons for noisy drone footage are consistently tied to low light conditions and specific camera settings. Let’s break down exactly why this happens and how you can get cleaner, sharper aerial video.
Quick Answer
Drone footage often looks noisy because the camera sensor struggles in low light, forcing it to increase sensitivity (ISO) which amplifies unwanted grain. Incorrect camera settings like too high an ISO or a shutter speed that's too fast in dim conditions also contribute. Small camera sensors found in many drones are more prone to noise than larger ones.
Low Light: The Sneaky Culprit Behind Noisy Footage
When you're flying, especially around dawn or dusk, or even on a heavily overcast day, you're asking a lot of your drone's camera. These cameras, while advanced, still need sufficient light to capture a clean image. Think of the camera's sensor like a net trying to catch light particles.
If there aren't enough particles (light) hitting the net, it has to work harder, and that effort shows up as noise.
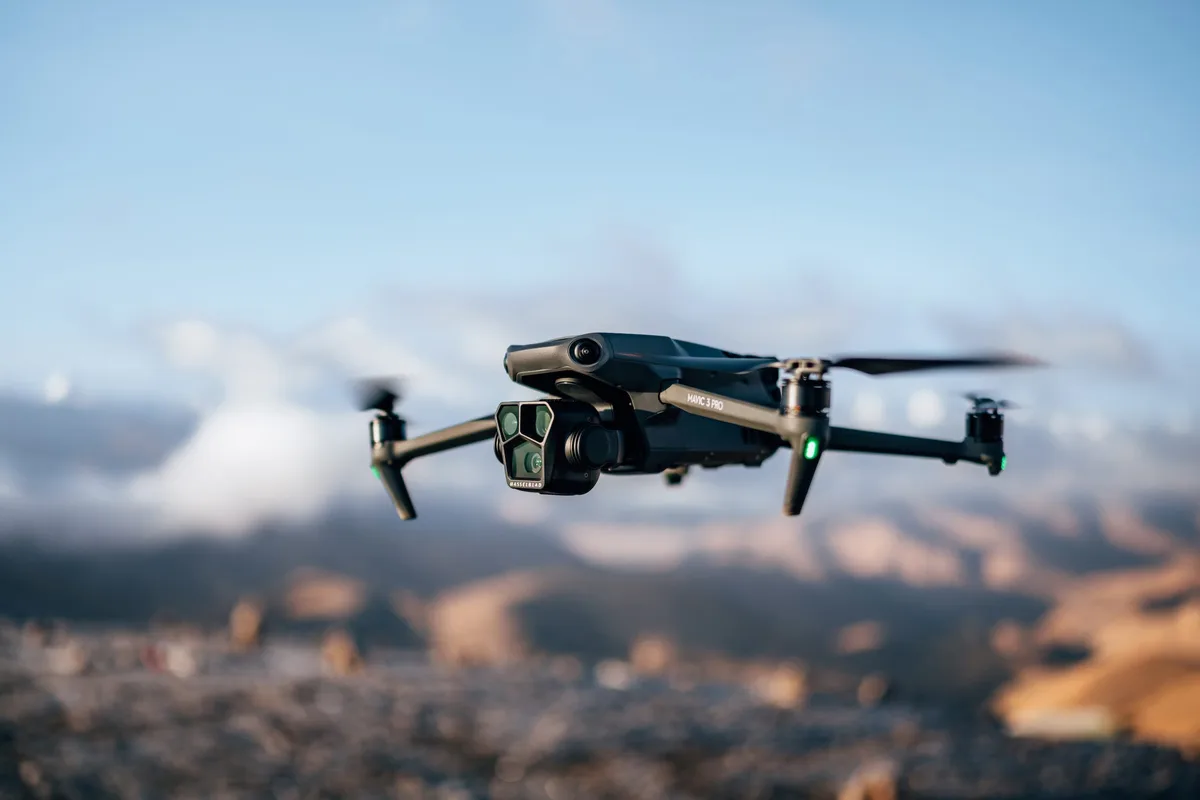
Image source: Bing (Web (fair-use with source credit))
Manufacturer specifications indicate that most consumer-grade drone cameras perform best when illuminated by at least 10 lux, with optimal performance often requiring several hundred lux. When the light levels drop significantly below this, the camera automatically tries to compensate. This compensation process is what introduces that grainy texture.
Understanding the Impact of ISO and Shutter Speed
The two main camera settings that directly influence how well your drone performs in low light are ISO and shutter speed. Both play a critical role, and messing with one can often force you to adjust the other, creating a delicate balance.
- ISO: This setting controls the sensor's sensitivity to light. Higher ISO means the sensor is more sensitive, allowing you to capture an image in darker conditions. However, increasing ISO is the most direct path to digital noise. It’s like turning up the volume on a microphone, you get more sound, but you also get more background hiss. For example, an ISO of 1600 will generally be much noisier than an ISO of 100 on the same drone camera.
- Shutter Speed: This refers to how long the camera's shutter stays open to expose the sensor to light. A slower shutter speed (e.g., 1/30 sec) lets in more light than a faster one (e.g., 1/1000 sec). In low light, you might be tempted to use a slower shutter speed to let in more light, but you have to be careful. If the drone is moving or there's wind, a very slow shutter speed can result in motion blur, making your footage look streaky instead of sharp.
Camera Settings: Taking Control of Your Drone's Image
Many drone pilots rely on their drone’s automatic settings, which are convenient and often work well in ideal conditions. However, when light levels are challenging, the automatic adjustments can sometimes prioritize a fast shutter speed over clean image quality, leading to noise. Taking manual control of your camera settings can give you the power to make better decisions for image quality.
Understanding how ISO, shutter speed, and aperture (if your drone allows manual adjustment) interact is key. For instance, if you’re shooting in fading light and the camera’s auto mode is pushing the ISO to 3200, you’re almost guaranteed to see significant noise. By switching to manual mode, you could choose to lower the ISO to 800 and slightly slow the shutter speed, potentially achieving a cleaner image even if it means a touch more motion blur.
This is a trade-off that pilots learn to manage based on the subject and desired outcome.
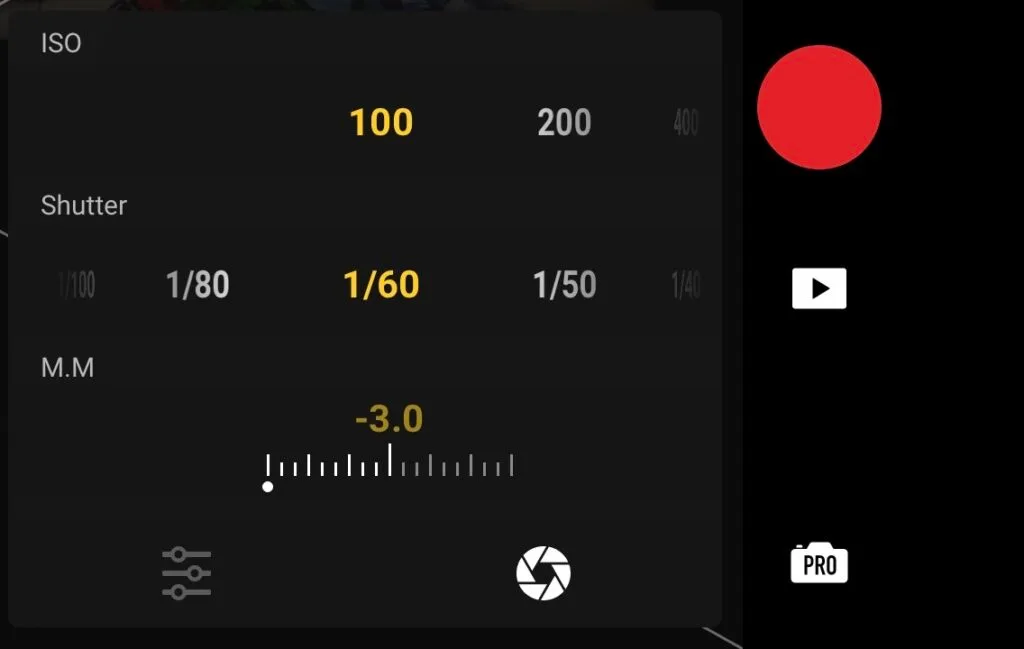
Image source: Bing (Web (fair-use with source credit))
Manual Exposure vs. Auto Mode for Drones
When you're asking "Why is my drone footage noisy?", often the answer lies in the automated decisions your drone's camera made. Auto mode aims for a balanced exposure, but it can be overly sensitive to light fluctuations.
- Auto Mode:
- Pros: Simple, convenient, generally good for beginners or quick shots in good lighting.
- Cons: Can make suboptimal choices in low light, leading to noise. Less creative control.
- Manual Mode:
- Pros: Full control over ISO, shutter speed, and aperture. Allows for optimal image quality in varying conditions.
- Cons: Requires more knowledge and practice. Can be slower to adjust settings on the fly.
For example, some drone cameras offer a maximum native ISO of 6400. While this allows shooting in very dark conditions, aggregate user feedback reports significant noise appearing even at ISO 1600 on smaller sensors, making anything above that less desirable for clean footage.
Sensor Size and Quality: What It Means for Your Video
The physical size and quality of the camera sensor inside your drone are fundamental to its image-capturing capabilities, particularly in challenging lighting. Generally speaking, larger sensors can gather more light and produce cleaner images with less noise than smaller sensors, especially at higher ISO settings.
Think of it like collecting rainwater. A wider bucket (larger sensor) will collect more water than a narrow one (smaller sensor) during the same rainfall. Most high-end professional cameras use sensors that are 1-inch or larger, whereas many consumer drones might utilize smaller 1/2.3-inch or even smaller sensors.
This difference in surface area directly impacts how much light the sensor can capture and process before noise becomes apparent.
Furthermore, the actual quality and manufacturing process of the sensor play a role. Higher-quality sensors have better low-light performance and dynamic range, meaning they can capture detail in both the bright and dark areas of a scene without sacrificing overall image quality. This is why comparing drone models often involves looking at their camera specifications, not just their flight time or range.
Fixing Noisy Drone Footage: Before and After Filming
So, you've identified that low light or your camera settings are likely contributing to that grainy look. The good news is, you can actively take steps to prevent noise from appearing in the first place and also clean it up if it does. It's about being proactive before you even take off and knowing what tools you have in post-production.
Essential Pre-Flight Checks for Clearer Video
Before you even power up your drone, a few checks can set you up for success. The most impactful step is simple: plan your flight for good light. If you’re aiming for cinematic quality, avoid shooting during the absolute darkest parts of dawn or dusk if possible.
Look for the "golden hour" shortly after sunrise or before sunset, when the light is softer and more angled, creating beautiful shadows and highlights without being too dim.
Also, always ensure your drone's firmware is up-to-date. Manufacturers sometimes release updates that improve image processing algorithms or camera performance in specific conditions. Familiarize yourself with your drone's camera controls.
Is there a "cinematic" or "auto-exposure lock" feature? Knowing these can help you lock in a good exposure before your light changes drastically.
Post-Production Noise Reduction Tips
Even with the best preparation, some noise might creep into your footage, especially in darker shots. This is where video editing software comes in. Almost all professional editing suites offer noise reduction tools.
These algorithms analyze your footage and attempt to smooth out the grain while preserving as much detail as possible.
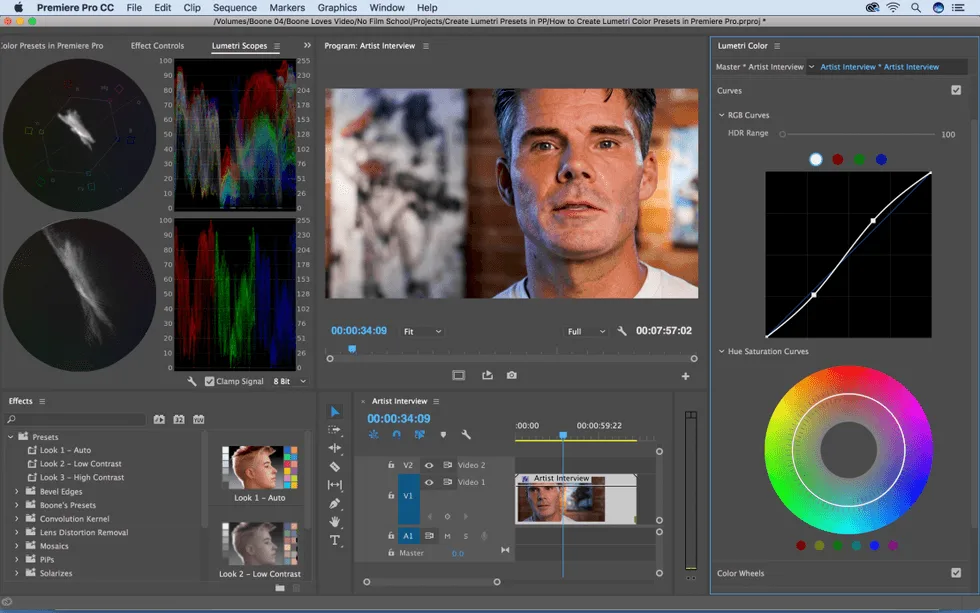
Image source: Bing (Web (fair-use with source credit))
The key is to use these tools judiciously. Applying too much noise reduction can make your footage look unnatural, waxy, or cause details to blend together, creating a "painterly" effect. Start with a low setting and gradually increase it until the noise is acceptably reduced.
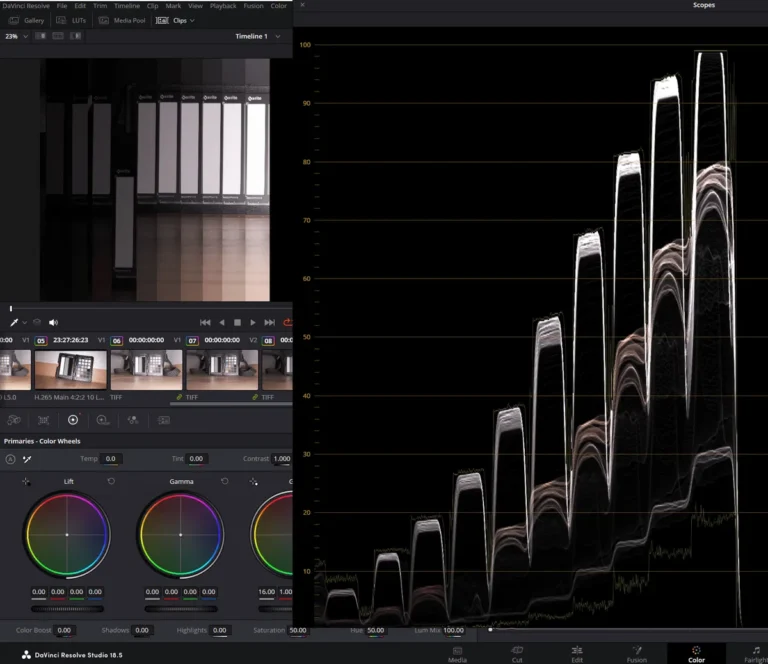
For instance, in DaVinci Resolve, you can often select different types of noise (luminance and chrominance) and apply specific adjustments. A common approach is to aim for a subtle reduction, focusing on the most distracting artifacts, rather than trying to eliminate all grain. Per industry best practices, applying noise reduction before sharpening is generally recommended to avoid amplifying the noise.
Common Scenarios: Troubleshooting Real-World Drone Flying
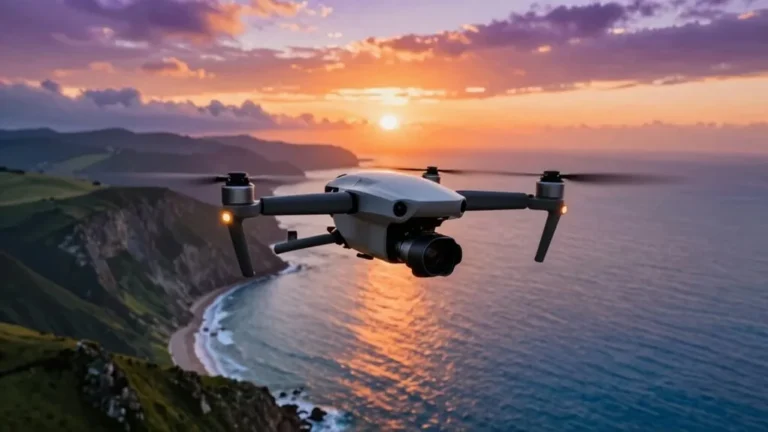
Sometimes, the best way to understand why your drone footage is noisy is to walk through a few typical flying situations. These scenarios often highlight the interplay between light, camera settings, and desired shot quality. For instance, imagine you're trying to capture a sweeping landscape shot just as the sun dips below the horizon.
The sky might be a beautiful gradient of orange and purple, but the foreground could be quite dark.
If your drone is set to auto, it might try to brighten the entire scene by significantly boosting ISO. This could result in a well-exposed sky but a noisy, grainy foreground. To combat this, consider using your drone's manual exposure controls to underexpose the sky slightly and ensure the foreground, which is often the main subject, is captured with a lower ISO.
Alternatively, if your drone supports bracketing, you could take multiple exposures and blend them later in post-production to achieve a balanced, clean image.
Here are a few more scenarios where noise is a common concern:
- Flying in thick forests: Sunlight struggles to penetrate dense tree canopies. This creates a dappled, low-light environment where shadows can become very noisy.
- Shooting at night: Even with bright lights, night shooting is inherently a high-ISO activity. Expect some level of noise, and focus on techniques to manage it in editing.
- Capturing fast action in dim light: If you need a fast shutter speed to freeze motion in low light, the camera has less time to gather light, forcing higher ISO and thus more noise.
Frequently Asked Questions About Drone Footage Noise
Why does my drone footage look grainy in dark areas?
Grain in dark areas is usually digital noise. When the camera's sensor can't gather enough light, it boosts the signal (ISO), which amplifies not only the image information but also electronic interference, appearing as grain.
Can I completely eliminate noise from my drone footage?
While you can significantly reduce noise, completely eliminating it without sacrificing image quality is often impossible, especially in very low-light conditions. The goal is typically to reduce it to an acceptable level.
Does flying higher make drone footage less noisy?
No, altitude itself doesn't directly affect image noise. Noise is primarily a function of light availability and camera settings, not how high the drone is flying.
Is there a specific drone model known for better low-light performance?
Generally, drones with larger camera sensors and more advanced image processing tend to perform better in low light. Models that offer manual control over ISO and shutter speed, and support higher-quality video formats like 10-bit color, often yield cleaner results.
What's the difference between luminance and chrominance noise?
Luminance noise appears as small, bright speckles, affecting the brightness of pixels. Chrominance noise shows up as color blotches or streaks, affecting the color information in pixels. Both can be addressed with noise reduction software.