Why Does My Drone Video Look Washed Out?
Ever look back at your awesome drone footage and think, "Wow, that looks kinda… pale?" You're not alone. It's a super common issue, and thankfully, it's usually pretty fixable. That "washed out" look usually means the colors aren't popping, the contrast is low, and it just doesn't have that vibrant feel you saw with your own eyes.
Let's break down why this happens and how we can get your footage looking its best.
Quick Answer
Drone video looks washed out primarily due to overexposure or incorrect camera settings. Harsh lighting conditions can blow out highlights if the drone's camera isn't configured properly. Shooting in less-than-ideal lighting without adjusting exposure, color profiles, or file formats often leads to faded colors and low contrast in the final footage.
Understanding the "Washed Out" Look: It's All About Light & Settings
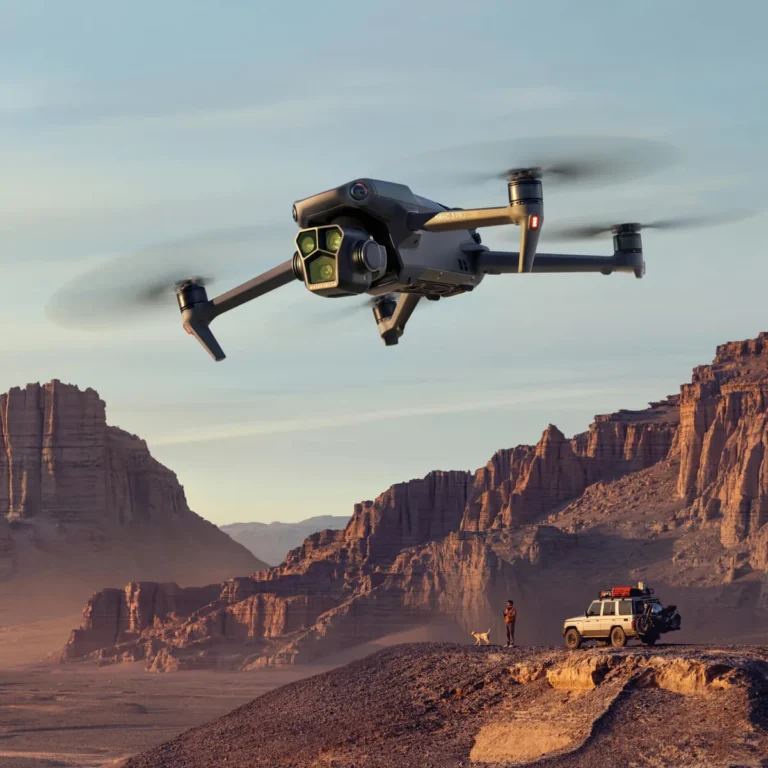
That "washed out" look, where colors appear faded and details seem to melt into a bright haze, is typically a visual symptom of overexposure. When a camera captures too much light, especially in bright scenes, it struggles to retain accurate color information and contrast. This can happen because the camera's sensor is overwhelmed, similar to how your eyes might struggle to see details on a very sunny day.
It’s not just about how bright the sun is; it’s also about how the drone’s camera is set up to handle that light. Manufacturer specifications often detail the dynamic range each camera can capture, and exceeding this range without proper settings is the usual culprit. For instance, a drone with a typical dynamic range might struggle to retain detail in both the bright sky and dark ground simultaneously if exposure isn't carefully managed.
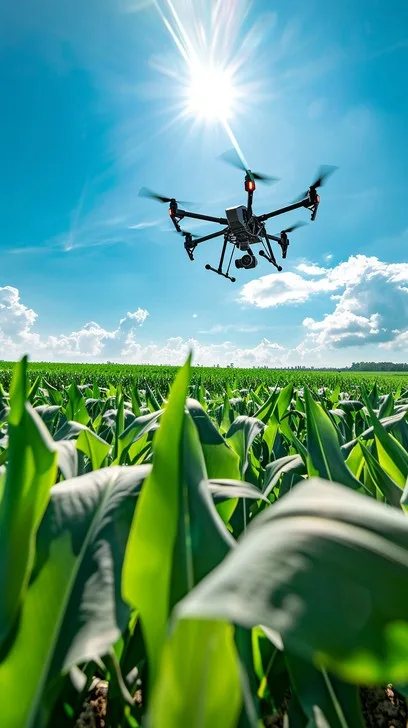
Image source: Bing (Web (fair-use with source credit))
Troubleshooting Your Drone's Exposure: The Biggest Culprit
Exposure is the most frequent reason your drone footage looks washed out. Exposure refers to how much light your camera sensor receives. If too much light hits the sensor, the image becomes overexposed, leading to blown-out highlights and a lack of color saturation.
Think of it like trying to capture a picture of a bright white wall, without careful control, the camera might just render it as a pure white blob.
Manual exposure control is key here. If your drone's camera is set to auto-exposure in bright conditions, it might try to make the whole scene look "balanced" by brightening the darker areas, inadvertently overexposing the already bright parts. This is where understanding and adjusting your drone's camera settings becomes critical for getting good-looking footage.
Adjusting Manual Exposure: Shutter Speed, Aperture, and ND Filters
When manual exposure is your goal, you gain direct control over how much light reaches the sensor. This is crucial for preventing that washed-out look, especially under challenging lighting. You can typically adjust shutter speed and aperture to manage exposure.
- Shutter Speed: This dictates how long the camera's sensor is exposed to light. A faster shutter speed (e.g., 1/4000th of a second) lets in less light, which is great for bright conditions. Conversely, a slower shutter speed allows more light, which can lead to overexposure if not careful.
- Aperture: This controls the size of the lens opening. A wider aperture (lower f-number, like f/1.8) lets in more light, while a narrower aperture (higher f-number, like f/11) restricts light. Many drone cameras have fixed apertures, but if yours is adjustable, narrowing it can help combat overexposure.
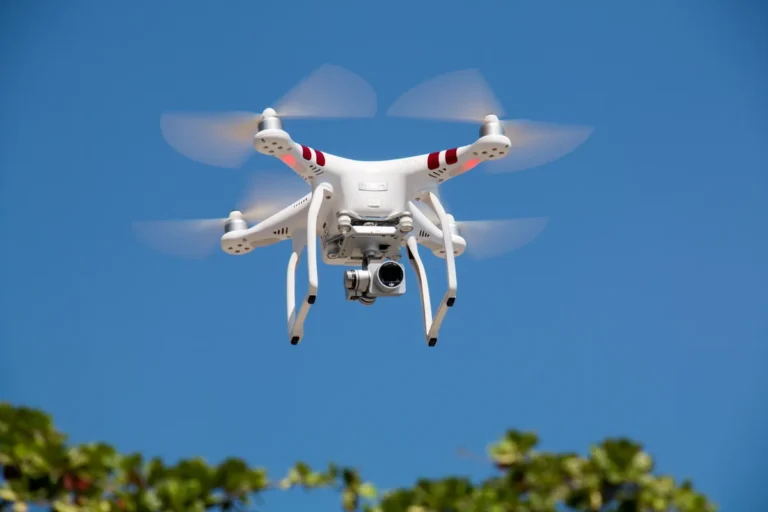
- ND Filters: For consistent video quality, especially when shooting at specific frame rates like 24 or 30 frames per second, Neutral Density (ND) filters are essential. These are like sunglasses for your drone's lens, reducing the overall light entering the camera without affecting color. This allows you to maintain optimal shutter speeds and apertures on bright days, preventing blown-out highlights. Manufacturer documentation typically specifies the recommended filter strengths for various lighting conditions.
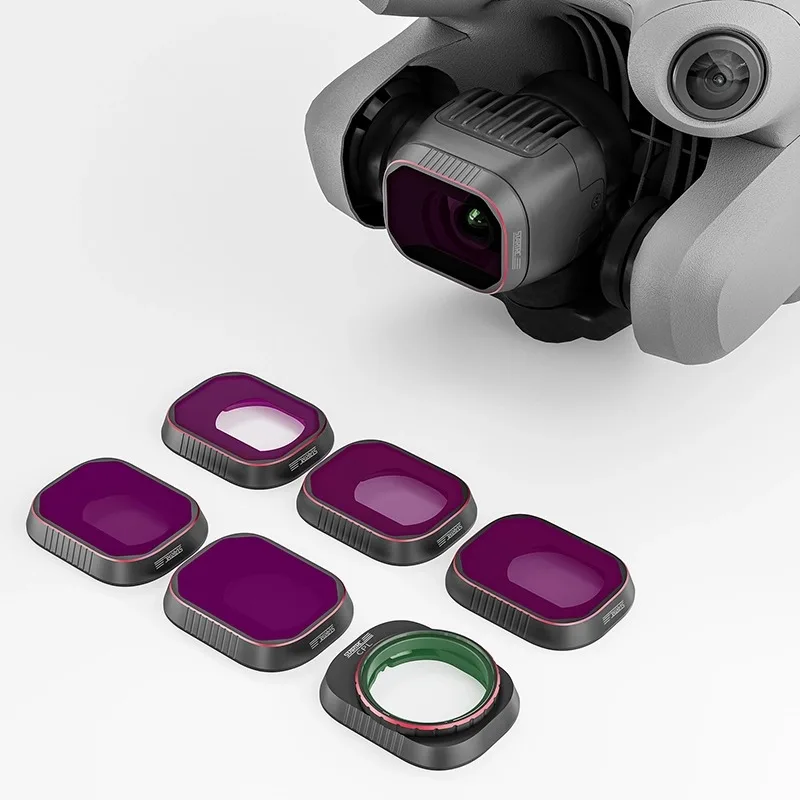
Image source: Bing (Web (fair-use with source credit))
When to Use Auto Exposure and How to Tweak It
While manual exposure offers the most control, auto exposure can be a lifesaver when you need to react quickly or are in unpredictable lighting. If you're using auto exposure and your footage looks washed out, there are often ways to "tweak" its behavior.
Many drones allow you to set an exposure compensation value. This tells the camera to intentionally underexpose or overexpose the scene by a set amount relative to its automatic calculation. If your footage is consistently washed out, setting a negative exposure compensation (e.g., -0.3, -0.7, or -1.0 EV) will tell the camera to use less light, thereby reducing the washed-out effect.
Also, pay attention to how the auto-exposure system behaves. Some drones might prioritize ambient light, while others might try to expose for a specific point in the frame. Understanding your drone's auto-exposure logic, often detailed in its user manual, can help you anticipate and mitigate the washed-out look even when you're not in full manual control.
Picking the Right Color Profile: Flat vs. Standard
Beyond just exposure, how your drone processes color and contrast significantly impacts the final look. Most drones offer different picture styles or color profiles, and choosing the wrong one can contribute to that washed-out appearance.
A "Standard" or "Normal" color profile is designed to give you a visually pleasing image straight out of the camera, with boosted saturation and contrast. However, in bright conditions, this built-in processing can sometimes overdo it, leading to clipped highlights and colors that feel a bit too harsh or, paradoxically, too dull because they're oversaturated and lack depth.
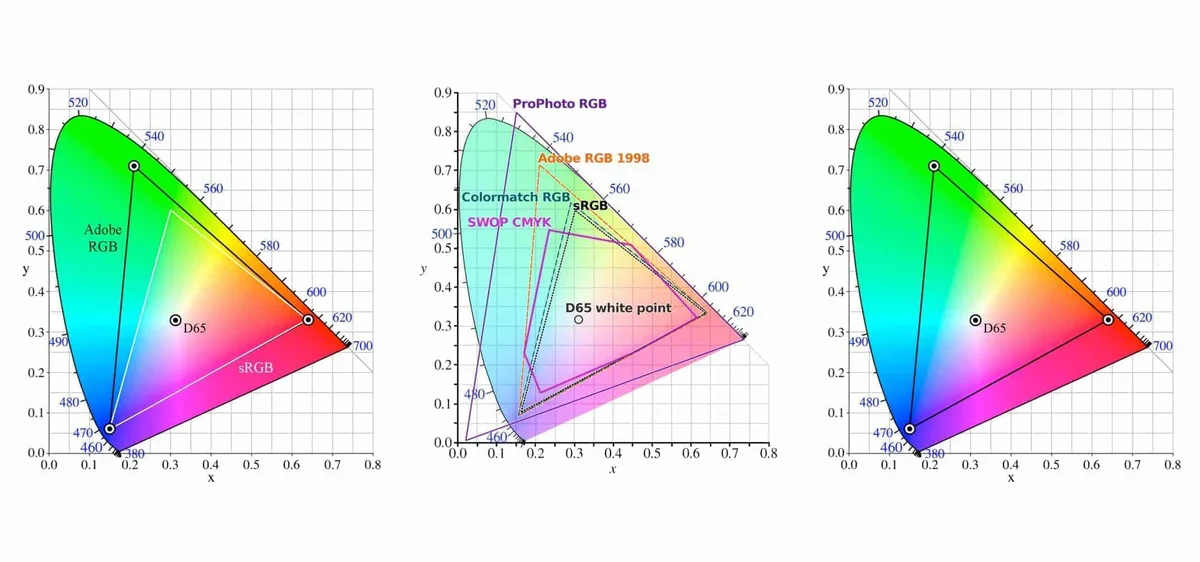
Image source: Bing (Web (fair-use with source credit))
Shooting in RAW/DNG for Maximum Editing Power
If your drone offers the option to record video in RAW or DNG format, this is often your best bet for combating washed-out footage, especially if you plan to edit. Unlike JPEGs, which have much of their color and contrast information baked in by the camera's internal processor, RAW files capture the unprocessed data directly from the sensor. This is similar to a digital negative in photography.
This raw data provides a significantly wider dynamic range and color gamut, giving you much more flexibility in post-production. You can adjust exposure, highlights, shadows, white balance, and color saturation with far less degradation of image quality. While RAW video files will inherently look flatter and less vibrant straight out of the camera, this is precisely what you want.
This "flat" look preserves detail and color information that would otherwise be lost, allowing you to bring it back during editing and avoid that washed-out appearance. As of 2026, many higher-end consumer drones continue to offer this capability, enhancing creative control.
Bringing Your Footage Back to Life: Post-Production Steps
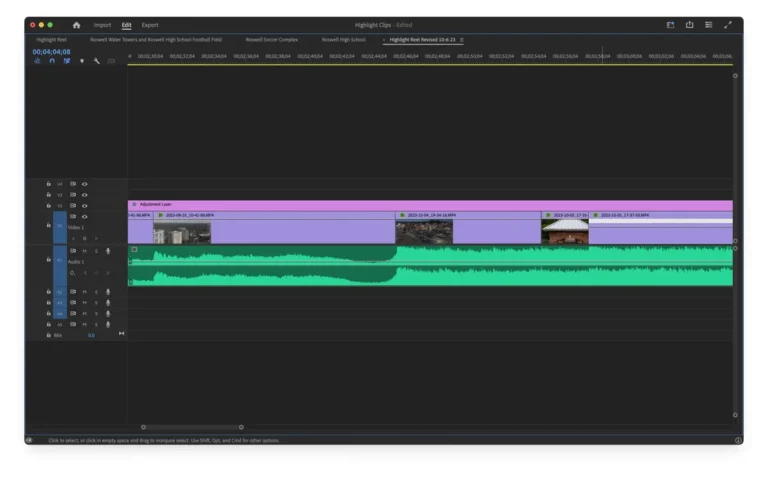
Once you've captured your footage, either in a standard color profile or a flat/log format, the editing suite is where you can truly correct and enhance the image. If your drone video already looks washed out straight from the camera, post-production is your most powerful tool for fixing it. Even if it looks okay initially, editing can elevate it significantly.
The key is to use your editing software to reintroduce contrast and color depth that might have been lacking. This involves making targeted adjustments to specific aspects of the image, rather than just applying a general "sharpen" filter. Understanding how sliders for contrast, saturation, and highlights affect your footage is crucial for transforming a dull, washed-out clip into something visually compelling and professional.
Essential Editing Adjustments: Contrast, Saturation, and Highlights
When your drone video appears washed out, the first adjustments you’ll want to make in your editing software revolve around contrast and color saturation.
- Contrast: This is your primary weapon against a flat, washed-out look. Increasing the contrast slider will deepen the blacks and brighten the whites, making the image appear more dynamic and giving colors more punch. Be careful not to overdo it, as excessive contrast can lead to clipped blacks (losing detail in shadows) or blown-out whites (losing detail in highlights).
- Saturation: This slider controls the intensity of colors. Boosting saturation will make your blues bluer and your greens greener, bringing vibrancy back into your footage. Like contrast, it's possible to over-saturate, making colors look unnatural or garish. Aim for a balanced, natural look.
- Highlights: If your footage is overexposed, the highlights slider is your friend. Pulling this slider down will reduce the brightness of the brightest areas in your image, bringing back detail that might have appeared pure white. This is especially helpful for recovering detail in bright skies or on sunlit surfaces.
- Shadows: While less common for washed-out footage, sometimes lifting the shadows slider can reveal detail in darker areas, balancing out the overall image.
Experimenting with these basic adjustments is often enough to fix a mild washed-out appearance and make your drone footage look significantly better.
Using LUTs for Flat/Log Footage
If you chose to shoot your drone video in a "Flat" or "Logarithmic" color profile, your footage will inherently look very desaturated and low-contrast straight out of the camera. This is intentional and provides maximum flexibility in editing. To transform this flat footage into a more visually appealing image, you'll often use Look-Up Tables (LUTs).
A LUT is essentially a preset color grading that applies a specific color transformation to your footage. For drone Log footage, there are often manufacturer-specific LUTs available. For example, if your drone records in DJI's D-Log, you would look for a LUT designed for D-Log footage.
Applying the correct LUT can quickly bring back a significant amount of color and contrast, giving you a good starting point for further refinement.
Think of applying a LUT like putting on a pair of tinted glasses that instantly change the mood and color balance of your video. However, it’s important to remember that a LUT is a starting point. You'll likely still need to fine-tune the exposure, saturation, and other elements to achieve your desired final look.
Always ensure the LUT you choose is compatible with the specific color profile your drone recorded.
Step-by-Step Process: Fixing Washed-Out Drone Footage Workflow
To effectively fix washed-out drone video, you need a systematic approach. This workflow prioritizes identifying the root cause and applying the appropriate solutions, whether in-flight or during post-production. It’s about making informed decisions based on your footage and settings.
Start by assessing the conditions during your flight. Was it extremely bright, or were there harsh shadows? Then, review your drone’s camera settings.
Were you using auto or manual exposure? What color profile was selected? Understanding these variables helps determine whether the issue lies with your capture settings or requires post-production correction.
Step 1: Assess Flight Conditions and Initial Footage
Before diving into software, take a moment to recall your flight. What was the lighting like? Were there significant variations in brightness across the scene?
Look at the footage on a calibrated monitor if possible. Does the whole clip look pale, or are specific areas blown out?
Step 2: Review Drone Camera Settings
Check your drone's recording settings. Did you use manual or auto exposure? What picture profile was active?
If you shot in RAW or a flat profile, expect the footage to look less vibrant initially; this is normal. If you shot in JPEG with a standard profile, overexposure is the more likely culprit for a washed-out look.
Step 3: Apply Exposure Adjustments (Post-Production)
If overexposure is detected, use your editing software's exposure, highlight, and shadow controls. Lowering the exposure and highlights is the first step. If the image still looks flat, increasing contrast and saturation will help.
Ensure you’re not pushing these adjustments too far, which can introduce artifacts.
Step 4: Color Correction and Grading
For flat or log footage, apply the appropriate LUT or manually adjust color balance, saturation, and vibrance. Aim for natural-looking colors that match what you remember seeing. This step is crucial for transforming the flat image into a polished final product and combating any lingering washed-out appearance.
Mistakes to Avoid: Common Errors That Kill Drone Video Quality
Many aspiring drone pilots make similar mistakes that lead to footage looking less than ideal, often resulting in that dreaded washed-out appearance. Recognizing these common errors is the first step to avoiding them in future flights and editing sessions.
One frequent error is neglecting the power of ND filters. Flying in bright, direct sunlight without these crucial accessories often forces the camera to overexpose, especially if you're trying to maintain a cinematic frame rate. This overexposure then makes colors appear dull and blown out.
Another mistake is not understanding the difference between shooting in a standard color profile versus a flat or log profile. Many users assume the "standard" setting will look best straight out of the camera, but this can be too aggressive in bright light.
FAQs About Washed-Out Drone Footage
What’s the main reason drone video looks washed out?
The primary cause is overexposure, meaning the camera captured too much light. This often happens in bright sunlight when camera settings, like shutter speed or aperture, aren't adjusted properly to compensate.
Can I fix washed-out drone footage in editing?
Yes, absolutely. Editing software allows you to adjust contrast, saturation, and highlights to bring back color and detail. Shooting in RAW or a flat color profile provides the most flexibility for these fixes.
When is it best to use ND filters for my drone?
ND filters are essential for shooting in bright, sunny conditions. They reduce the amount of light entering the lens, allowing you to maintain proper exposure and optimal shutter speeds for video, preventing overexposure and that washed-out look.
Is it better to shoot drone video in JPEG or RAW?
Shooting in RAW (or DNG, if available) is generally better for avoiding washed-out footage. RAW files contain more image data, giving you greater control over color correction and exposure adjustments in post-production without sacrificing quality.