How Do You Do a Drone Top-Down Shot?
Want to capture those striking overhead shots that make everyday scenes look like art? Learning how to do a drone top-down shot opens up a whole new world of creative possibilities. It’s not just about pointing your drone straight down; it's about understanding your perspective, your subject, and the light to create truly compelling images.
Our research indicates that achieving a clean, professional top-down view often comes down to precision flying and careful camera control. Many modern drones feature advanced gimbal stabilization, with some manufacturers specifying stabilization accuracy within ±0.01 degrees, crucial for the steady, vertical view required for these shots.
Quick Answer
To do a drone top-down shot, fly your drone directly overhead your subject. Position the camera so it points straight down, achieving a true nadir view. Ensure your drone maintains a stable hover to avoid tilting, which can distort the perspective.
Proper framing and lighting are key for a visually appealing outcome.
Why the Top-Down View? It's All About Perspective
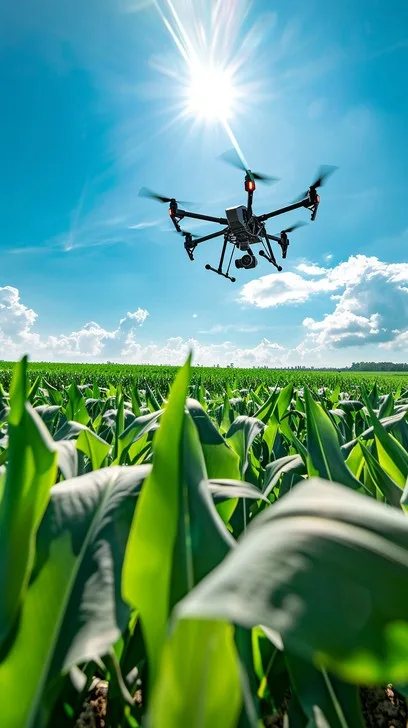
That dramatic, straight-down perspective offers a unique way to see the world. It strips away the usual context and highlights patterns, shapes, and arrangements that we often miss from ground level. Think of a bird's-eye view of a bustling market, a perfectly symmetrical garden, or even the intricate tread on a car tire.
This angle turns ordinary scenes into something visually striking and often, surprisingly beautiful. It's about showing the 'map' of a moment rather than just a snapshot.
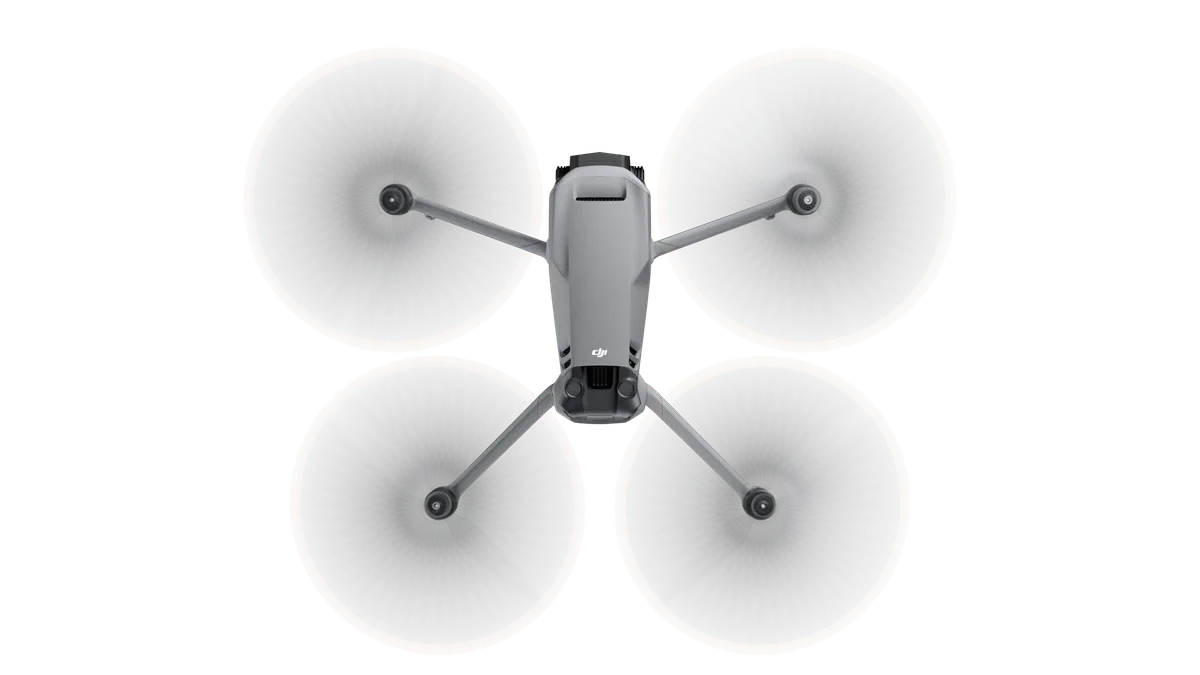
Image source: Bing (Web (fair-use with source credit))
When you look down from a significant height, the world flattens out. This can simplify complex scenes into clear, graphic compositions. It’s a powerful tool for photographers and videographers looking to create something abstract or to emphasize the geometry of a subject.
Essential Gear for Your Overhead Mission
Getting that perfect top-down shot isn't just about flying skills; it's also about having the right equipment and understanding its capabilities. Your drone is the primary tool, but it's the camera and its supporting systems that truly make the magic happen.
Drone Camera Basics
The camera on your drone is your eye in the sky. For top-down shots, the most critical feature is its ability to point directly downwards. While most modern drones have cameras that can tilt, ensuring yours can achieve a full 90-degree downward angle is essential.
This is often referred to as the "nadir view" capability. The resolution and sensor size of the camera will, of course, impact the overall quality and detail of your final image, but for the technique itself, the downward-pointing capability is paramount.
Gimbal & Tilt Functionality
This is where the real precision comes in. Drones use a gimbal, a pivoted support mechanism, to keep the camera stable and level, even when the drone itself is moving or vibrating. For top-down shots, the gimbal's ability to smoothly and accurately tilt the camera from horizontal to a perfect vertical downward position is critical.
Many manufacturer specifications highlight their gimbal's precision, often quoting stabilization accuracy within a fraction of a degree. This smooth, controlled movement ensures your shot is free from jarring shifts and looks professional. Without a reliable gimbal, achieving a steady, straight-down shot would be incredibly difficult, if not impossible.
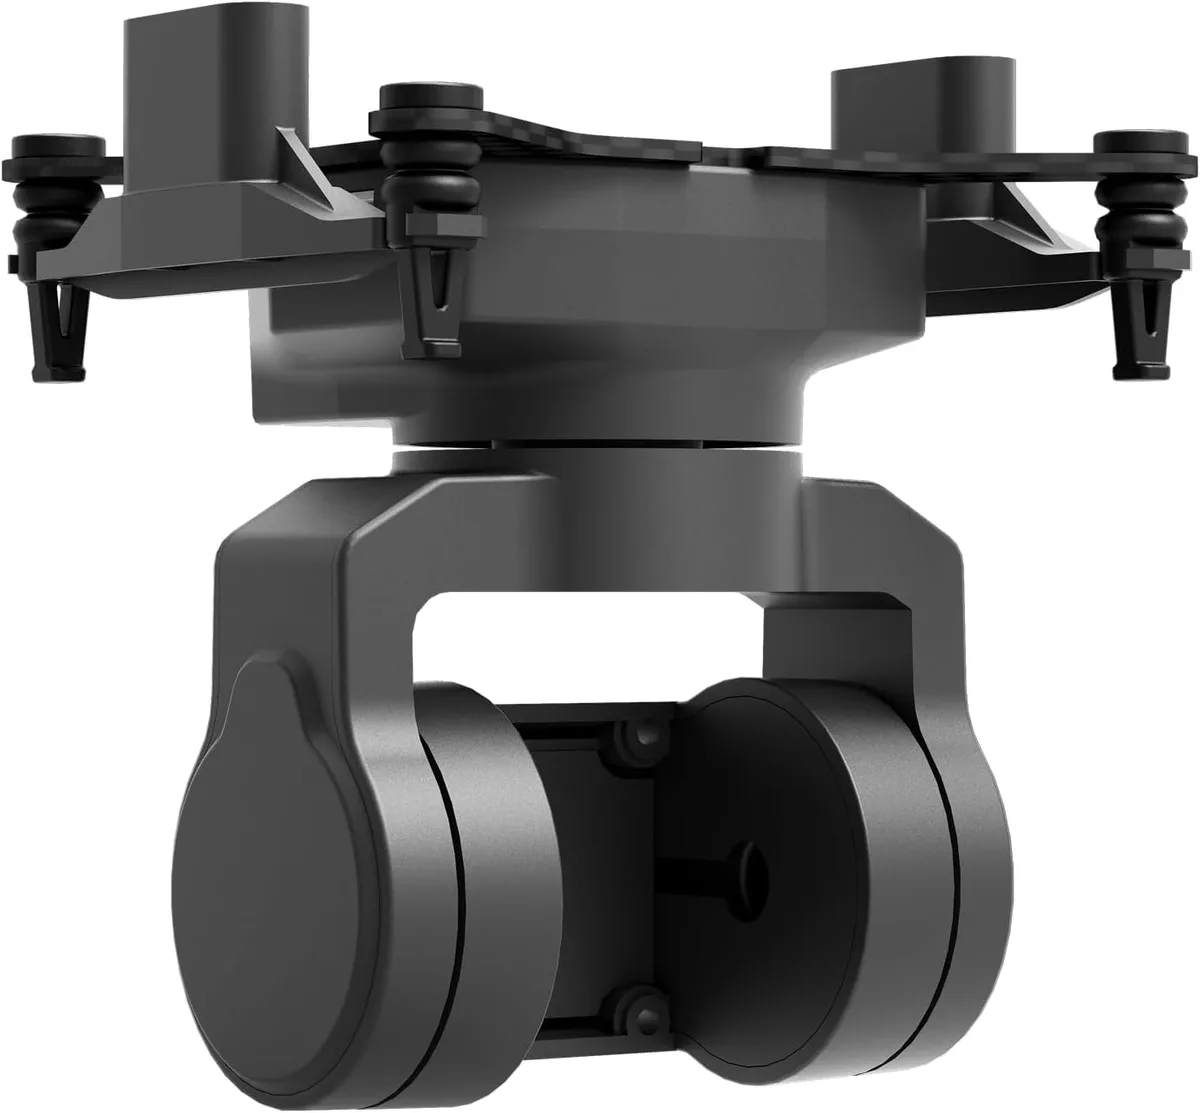
Image source: Bing (Web (fair-use with source credit))
The Core Technique: Flying Straight Down
The absolute foundation of any good drone top-down shot is getting directly overhead and pointing the camera straight down. It sounds simple, but it requires a bit of practice and understanding of your drone's capabilities. This is the moment where technique meets technology to deliver that unique perspective.
Finding Your Vertical Sweet Spot
To capture a true top-down view, you need your drone to be positioned directly above your intended subject. Think of an invisible line extending straight down from the center of the drone to the ground. You want that line to hit the precise center of whatever you're shooting.
This requires careful hovering. Most drones offer precise manual control, and many also have advanced GPS-assisted hovering features that help maintain a fixed position. Practicing smooth, controlled ascent and hovering is key.
If you're even slightly off-center, you'll notice it in the framing and the potential for unwanted background elements creeping in.
Mastering Camera Angle
Once you're directly overhead, the next crucial step is ensuring your camera is pointing perfectly straight down. This is achieved through the camera's tilt functionality, controlled by your remote. For a pure top-down shot, you’re aiming for a 90-degree angle relative to the horizon.
Some drones provide on-screen indicators showing the camera's current tilt angle, which is incredibly helpful. It’s easy to think you’re straight down when you might be a few degrees off. Using these indicators and making tiny, controlled adjustments with your controller will help you nail that perfect vertical orientation.
Elevating Your Top-Down Shots: Pro Composition Tips
Getting the drone directly overhead and the camera pointing down is the technical part. But what truly makes a drone top-down shot stand out is how you compose the image. This involves thinking about how light interacts with your subject and how you arrange elements within the frame.
Light, Shadow, and Golden Hour
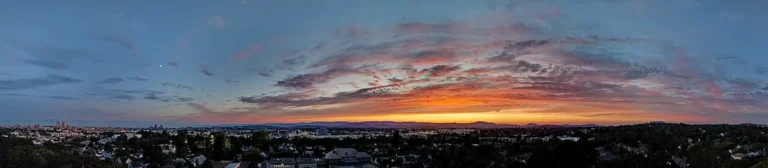
The way light falls on your subject dramatically changes the impact of a top-down shot. Midday sun can create harsh, flat lighting, which is great for showing detail but can lack depth. For more dramatic shots, try shooting during the "golden hour", the period shortly after sunrise or before sunset.
During this time, the sun is lower in the sky, casting long, interesting shadows. These shadows can highlight textures, define shapes, and add a sense of three-dimensionality to what would otherwise be a flat image. Pay attention to how the light carves out your subject from the ground.
Framing and Subject Placement
Composition is everything. When you’re looking straight down, the frame is your canvas. Think about the rule of thirds, but for a top-down view, symmetry and central placement can be incredibly powerful, especially if your subject has natural symmetry.
If your subject is a cluster of objects, how are they arranged? Are they in a line, a circle, a random pattern? Consider the negative space around your subject too.
Sometimes, leaving ample empty space can make your subject pop even more. It's about guiding the viewer's eye intentionally.
Spotting Interesting Ground Patterns
The ground itself often provides the most compelling elements for top-down shots. Look for natural or man-made patterns: cobblestone streets, tiled floors, intricate paving, crop circles in fields, or even the way water pools after rain. The top-down perspective is perfect for emphasizing these geometric or organic designs.
Before you even launch your drone, take a walk around your location and see if there are any intriguing patterns that would look great from above. Sometimes the most mundane surfaces can become extraordinary when viewed from a new angle.
Common Pitfalls and How to Sidestep Them
Even experienced pilots can run into issues when aiming for that perfect overhead shot. Understanding these common errors is the first step to avoiding them and ensuring your footage looks polished. Many mistakes stem from either technical oversights or a lack of compositional awareness.
Image source: Bing (Web (fair-use with source credit))
Did I Fly Too Low?
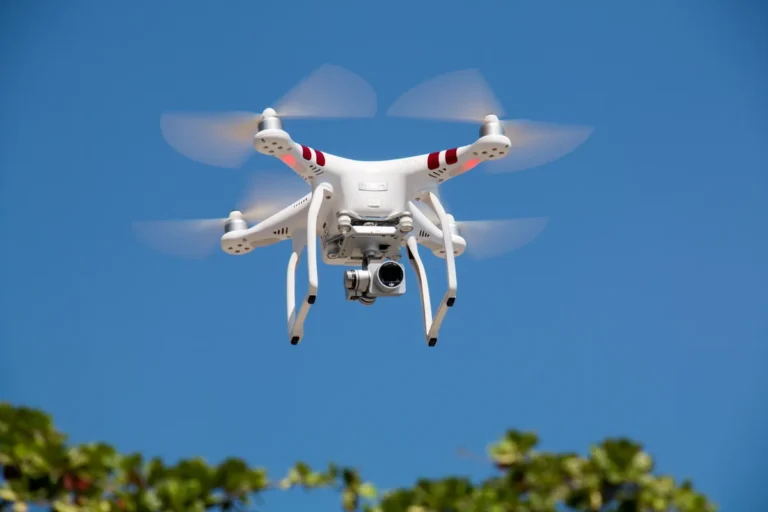
Flying too low can lead to distorted perspectives or, more commonly, the visible presence of your drone's propellers in the shot. If you notice propeller blades in your footage, it means you need to ascend. For a true top-down shot, the drone should be high enough that the propellers are outside the camera's field of view, or at least so far away they appear as minor blurs rather than distinct objects.
This often requires flying at an altitude of 50 feet (approx. 15 meters) or higher, depending on the drone's camera and lens.
Is My Subject Clearly Defined?
Sometimes, the subject can get lost in the background, especially with busy ground textures. If your subject lacks definition, try increasing the contrast in post-processing. Alternatively, use lighting to your advantage; shooting when shadows are long can help create separation.
If it’s a static subject, like a car, consider repositioning it slightly if possible. For moving subjects, such as people, a clear arrangement or a contrasting color scheme will help them stand out.
Drone Specs for Top-Down Shots
When selecting or using a drone for top-down photography, certain specifications are more critical than others. While overall flight time and range are important for any drone operation, for this specific technique, camera capabilities and flight stability are paramount.
| Feature | Importance for Top-Down Shots | Notes |
|---|---|---|
| Camera Tilt | Essential. Must reach a full 90-degree downward angle (nadir view). | Look for drones that specify a wide tilt range, often 0 to -90 degrees. |
| Gimbal Stability | Crucial. A 3-axis gimbal is highly recommended for smooth, vibration-free footage. | High-precision gimbals minimize shake, preventing blur and keeping the horizon level (or the downward view perfectly vertical). Manufacturer specs often cite stabilization accuracy (e.g., ±0.01°). |
| Camera Resolution | High importance. Affects detail and clarity. 4K video and 20MP+ stills are ideal. | Higher resolution allows for cropping and detail observation in post-production. |
| Lens Type | Moderate importance. Wide-angle lenses are common but can cause distortion. | Be mindful of distortion at the edges. Some drones offer lenses with less fisheye effect. |
| Hover Accuracy | High importance. GPS and sensor-based positioning are key for maintaining a fixed overhead spot. | Drones with advanced obstacle avoidance and precise positioning systems make it easier to stay exactly where you want. |
| Flight Time | Moderate importance. Longer flight times allow for more shooting and repositioning. | As of 2026, many consumer drones offer 25-35 minutes of flight time per battery. Longer flights are beneficial for complex shoots or remote locations. |
Safety and Regulations for Drone Operation
Operating a drone, especially for photography, comes with responsibilities. Understanding and adhering to safety guidelines and local regulations is not just about compliance; it's about protecting yourself, others, and your equipment. Always check with your local aviation authority, such as the FAA in the United States, before you fly.
Key considerations include understanding restricted airspace (near airports, sensitive areas), minimum flying distances from people and structures, and requirements for drone registration. Many countries require pilots to register their drones, especially those above a certain weight threshold, and may mandate specific pilot certifications or tests. For instance, the FAA requires registration for drones weighing 0.55 pounds (250 grams) or more.
Always fly within visual line of sight, meaning you can see your drone at all times without aid.