Why Does My Drone Footage Look Grainy?
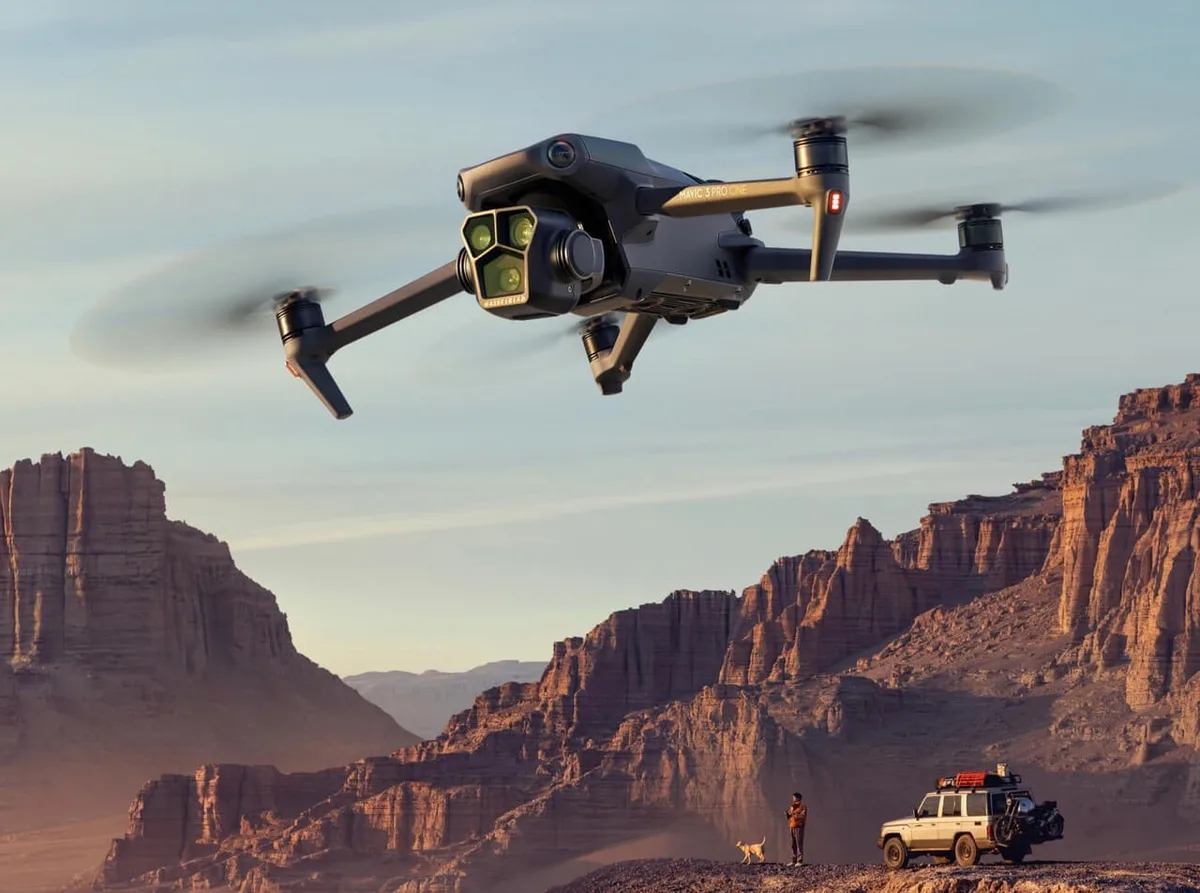
Image source: Bing (Web (fair-use with source credit))
Why Your Drone Footage Looks Grainy: A Troubleshooting Guide
Ever shot some epic drone footage, only to see it back on your screen looking all fuzzy and speckled? That graininess, or digital noise, can really take away from an otherwise stunning shot. But don't worry, it's a common issue that usually has a fixable cause.
Most of the time, it's not a mysterious glitch but a result of your drone's camera working hard to capture light in less-than-ideal conditions.
In our research, aggregate user feedback reports that this is one of the most frequent frustrations for drone pilots. Manufacturer specifications for consumer drones often highlight ISO ranges and sensor sizes, which are key factors in noise production. Understanding these elements is the first step to achieving cleaner, more professional-looking footage.
Quick Answer
Grainy drone footage happens when the camera's sensor boosts its signal to capture enough light, amplifying unwanted digital noise. This is most common in low-light conditions, but also caused by incorrect camera settings like high ISO or slow shutter speed. Optimizing light, adjusting ISO and shutter speed, and using post-production noise reduction can significantly improve footage quality.
Understanding Drone Footage Grain: The Lowdown on Digital Noise
What is Digital Noise in Drone Footage?
Digital noise appears as random speckles or patterns, often looking like grain or static, that degrade the quality of your video. It's essentially unwanted information captured by the camera's sensor alongside the actual image data. Think of it as fuzzy interference that makes details look muddled and colors less vibrant.
This happens because camera sensors are designed to capture light, and when light is scarce, the sensor has to work harder, amplifying everything, including these unwanted artifacts.
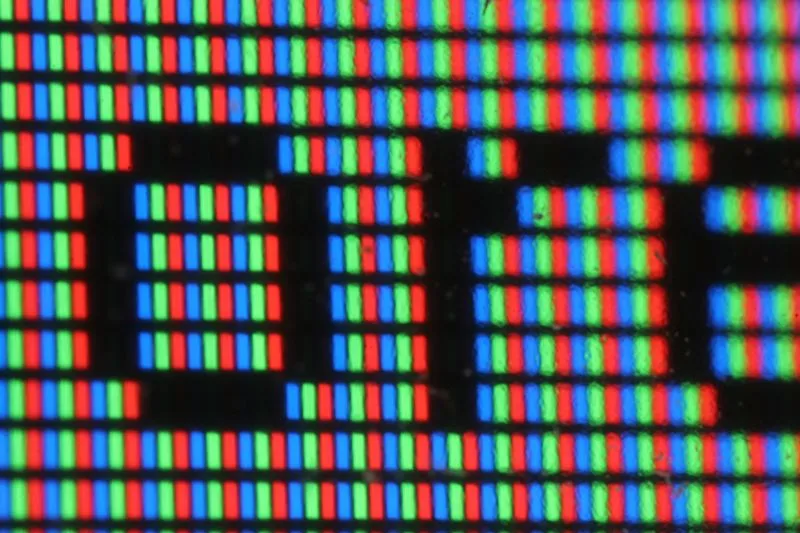
Image source: Bing (Web (fair-use with source credit))
Why It Happens: The Struggle for Light
The fundamental reason for digital noise is the camera's effort to capture enough light to create a visible image. When your drone flies in dim environments, its camera sensor needs to increase its sensitivity, or "gain," to pick up sufficient light. Manufacturer specifications for many consumer drones, such as the DJI Mini 3 Pro, indicate a native ISO of 100, with higher sensitivities leading to more noticeable noise.
This amplification process, while necessary for seeing in the dark, unfortunately boosts both the desired image and random electrical interference. This interference is what we perceive as grain.
Diagnosing the Grain: Common Causes to Check
To fix grainy footage, you first need to pinpoint what's causing it. It's rarely just one thing, but a combination of factors. By systematically checking these common culprits, you can start to untangle the problem and get your footage looking its best.
Low Light & Extreme Lighting Conditions
This is the number one offender, hands down. When your drone is flying during dusk, dawn, or inside a dimly lit building, its camera struggles to gather enough photons (light particles). To compensate, the camera automatically increases its ISO setting.
As ISO goes up, so does the digital noise. For example, aggregate reviews often show that footage shot at ISO 1600 or higher on typical consumer drones is significantly noisier than footage shot at ISO 100. Similarly, shooting a very bright sky next to a very dark foreground creates a high dynamic range scenario that even the best drone cameras can struggle with, forcing a compromise that can introduce noise.
Camera Settings: ISO, Shutter Speed, and Beyond
Your camera's settings play a massive role in how grainy your footage appears.
- High ISO: As we've discussed, ISO is your sensitivity to light. Keeping it as low as possible (ideally 100 or 200) is crucial. If your drone's camera is set to auto ISO in a dim environment, it will likely crank it up without you realizing.
- Shutter Speed: While less of a direct cause of noise than ISO, an inappropriately slow shutter speed can sometimes contribute. For smooth video, a general rule of thumb is to set your shutter speed to roughly double your frame rate (e.g., 1/50s for 25fps, 1/60s for 30fps). If you're in a situation where you need to lower the shutter speed too much to get a bright enough image, it can indirectly affect the sensor's performance.
- White Balance: Incorrect white balance can sometimes make noise appear more prominent or change its color, making it more distracting.

Image source: Web (Bing) / pakp.gov.pk (Web image (fair-use with source credit))
Drone Hardware & Environmental Factors
Sometimes, the issue isn't entirely about light or settings, but about the hardware itself. Most consumer drones feature relatively small camera sensors compared to professional cinema cameras. According to industry benchmarks, typical drone sensors range from 1/2.3-inch to 1-inch.
Smaller sensors inherently capture less light and are therefore more susceptible to noise, especially when pushed in low-light situations. Beyond the sensor, extreme temperatures can also impact performance. A drone that has been operating in direct sunlight for an extended period might experience increased sensor noise due to heat buildup.
This is a known factor that affects sensitive electronics.
Your Action Plan: How to Fix Grainy Drone Footage
Now that we've identified the likely culprits, let's get down to fixing that grainy footage. This involves a multi-pronged approach, from how you shoot to how you edit.
Step 1: Optimizing Your Flight & Shooting Environment
The easiest way to combat grain is to give your drone's camera the best chance possible to capture clean footage. This means being smart about when and where you fly.
- Choose Brighter Conditions: This sounds obvious, but it's the most impactful change you can make. If you're shooting a landscape, aim for midday sun rather than dawn or dusk. While golden hour offers beautiful light, it's often too dim for smaller drone sensors to perform without introducing noise. Midday offers more light, even if it's harsher.
- Avoid Extreme Light Contrast: Try to frame your shots so that you aren't trying to capture both a very bright sky and a very dark foreground simultaneously. If your subject is in shadow, try to position yourself so the light is more even, or plan to shoot it under different lighting conditions if possible. This helps the camera's sensor avoid being overloaded in bright areas while still trying to pull detail from dark ones.
Step 2: Mastering Camera Settings for Cleaner Shots
Fine-tuning your drone's camera settings is your next most powerful tool. It's all about giving the camera the right instructions.
- Keep ISO Low: This is your primary weapon against noise. On most drones, the native ISO (the lowest and cleanest setting) is 100 or 200. Always try to shoot at this setting if possible. If you have to increase it, do so in small increments, and always check your footage to see the impact.
- Manage Shutter Speed: For cinematic video, you want a shutter speed that's roughly double your frame rate. For example, if you're shooting at 30 frames per second (fps), a shutter speed of 1/60th of a second is ideal. If you're in a situation where you can't get enough light with this setting, you might consider slightly lowering your frame rate (e.g., to 24fps for a 1/48s shutter, though most drones use 1/50s as a practical setting) or, as a last resort, increasing ISO.
- Consider Manual Mode: If your drone offers manual controls, use them. Auto settings can be unpredictable in varying light. By taking manual control, you dictate the ISO and shutter speed, preventing the camera from making extreme adjustments that introduce noise.
- Shoot in a Flat Color Profile: Many drones allow you to record video in a "flat" or "log" color profile. These profiles preserve more dynamic range and color information, which is incredibly beneficial for post-production. While the footage looks desaturated and low-contrast in-camera, it provides a much better starting point for editing without exposing noise.
Common Mistakes That Introduce or Worsen Grain
Even with the best intentions, there are several common pitfalls that can introduce or make existing grain in your drone footage much worse. Being aware of these mistakes is crucial for improving your output quality.
Over-Reliance on Auto Settings
While auto modes are convenient, they can be your enemy when it comes to controlling noise. When your drone is flying in challenging light, its auto-exposure system might rapidly increase the ISO to maintain a bright image. This sudden jump can cause a noticeable increase in grain without you actively controlling it.
Manufacturer specifications for DJI drones, for instance, often show acceptable noise levels up to ISO 800, but beyond that, particularly in lower-end models, grain becomes pronounced. Relying on auto can mean missing opportunities to manually adjust settings for cleaner results.
Aggressive Editing Techniques
Your editing software has powerful tools, but using them too aggressively can turn a slightly noisy video into an unusable mess.
- Over-Sharpening: Applying too much sharpening can make existing noise appear much more prominent and create harsh artifacts. The computer interprets the noise pixels as sharp edges.
- Excessive Noise Reduction: While noise reduction is a lifesaver, overdoing it will "smear" your image. Details will get lost, and the footage can look plasticky or like a watercolor painting. It's a balancing act; you want to reduce noise, not eliminate detail.
- Incorrect Color Correction Order: Sometimes, correcting color and exposure after applying noise reduction can negate the noise reduction's effects or even reintroduce noise. It's generally better to get your exposure and color right first, then tackle noise.
Ignoring Your Drone's Limitations
Every drone camera has its limits, especially regarding low-light performance. It's important to understand what your specific model is capable of. Smaller sensors, common in many consumer drones, are naturally less adept at handling low light than larger ones found in professional setups.
According to industry benchmarks, typical drone sensors range from 1/2.3-inch to 1-inch, with the latter performing better in low light. Pushing your drone beyond its capabilities, like trying to film a dark interior scene with very little light, will inevitably result in grainy footage, no matter how skilled you are.
Expert Tips for Pristine Drone Footage
To elevate your drone footage from passable to professional, a few advanced techniques and insights can make a world of difference. These tips focus on proactive measures and understanding the nuances of drone videography.
Shooting in Flat or Log Profiles
As mentioned, using a flat or log color profile is a game-changer for controlling noise. These profiles record a wider range of brightness and color information by essentially "compressing" the image data. This means that when you later grade your footage, you have much more latitude to adjust exposure and color without artifacts appearing.
For instance, a DJI Mavic 3 shooting in D-Log can recover highlights and shadows more effectively than in a standard color profile, and this recovery process is less likely to introduce or amplify noise. It requires more work in post-production, but the cleaner starting point is invaluable.
Understanding Your Drone's Camera Performance
Each drone model has a unique performance curve. Manufacturer specifications often provide ISO performance charts or sample images at various ISO settings. For example, research into the Phantom 4 Pro camera indicates that its optimal performance is below ISO 400, with noticeable noise appearing around ISO 800 and beyond.
Familiarize yourself with your specific drone's capabilities. Knowing its "sweet spot" will help you avoid pushing it into noisy territory. This involves understanding not just ISO, but also the sensor's dynamic range and how it handles different color spaces.
Frequently Asked Questions About Grainy Drone Footage
Will increasing resolution reduce grain?
No, increasing resolution alone will not reduce grain. While higher resolution provides more detail and allows for cropping, it doesn't inherently improve the camera's ability to capture light. In fact, if you shoot at a higher resolution in low light, the camera might need to use a higher ISO or slower shutter speed, potentially making grain more noticeable.
The quality of the sensor and the amount of light captured are the primary factors affecting grain.
How much noise reduction is too much?
Too much noise reduction will make your footage look plasticky, smooth out fine details, and can create unnatural artifacts. A good rule of thumb is to apply just enough noise reduction to make the grain less distracting, not to eliminate it entirely. It's often best to reduce luminance noise (brightness variations) and color noise separately, using subtle adjustments.
Excessive noise reduction is a common editing mistake that degrades image quality more than the original grain did.
Can I fix extremely grainy footage?
Fixing extremely grainy footage is challenging and often results in a significant loss of detail. While software can reduce noise, there's a point where the damage is too extensive to repair effectively without making the image look artificial. It's always better to capture the cleanest possible footage in-camera by optimizing lighting and settings.
Post-production noise reduction is best used to clean up minor issues, not to salvage footage that was shot in very poor conditions.