How Long Does It Take to Edit Drone Footage?
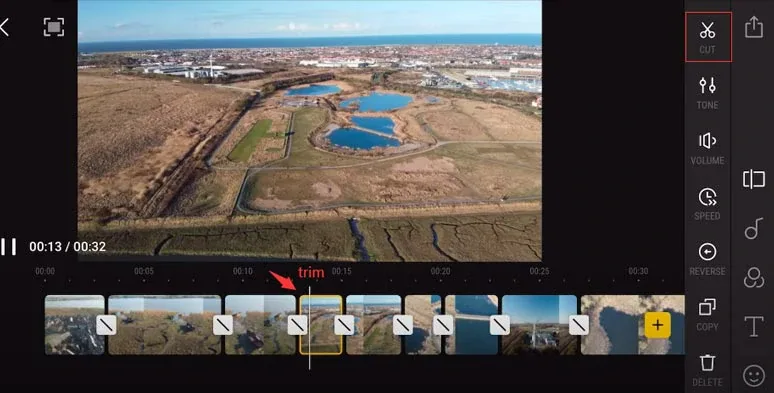
Image source: Bing (Web (fair-use with source credit))
How Long Does Drone Footage Editing Take?
Ever look at stunning drone footage and wonder about the time investment behind those smooth, cinematic shots? The truth is, the question of "how long does it take to edit drone footage?" doesn't have a simple, one-size-fits-all answer. It’s a dynamic process that depends heavily on several factors, much like estimating the time for a complex design project.
Our research indicates that for standard projects, you might spend anywhere from a few hours to well over twenty hours per finished minute of high-quality video, depending on complexity and desired output. This range highlights why setting clear expectations upfront is crucial for any videographer or client.
Quick Answer
Editing drone footage typically takes between 1 to 20+ hours per finished minute of video, highly dependent on raw footage length and edit complexity. A simple social media clip might take just a few hours, while a polished promotional video could require a full day or more of focused work per minute of final output.
What Really Drives Editing Time?
The biggest variables that stretch or shrink your editing timeline boil down to a few core elements. Understanding these will help you forecast your own projects much more accurately.
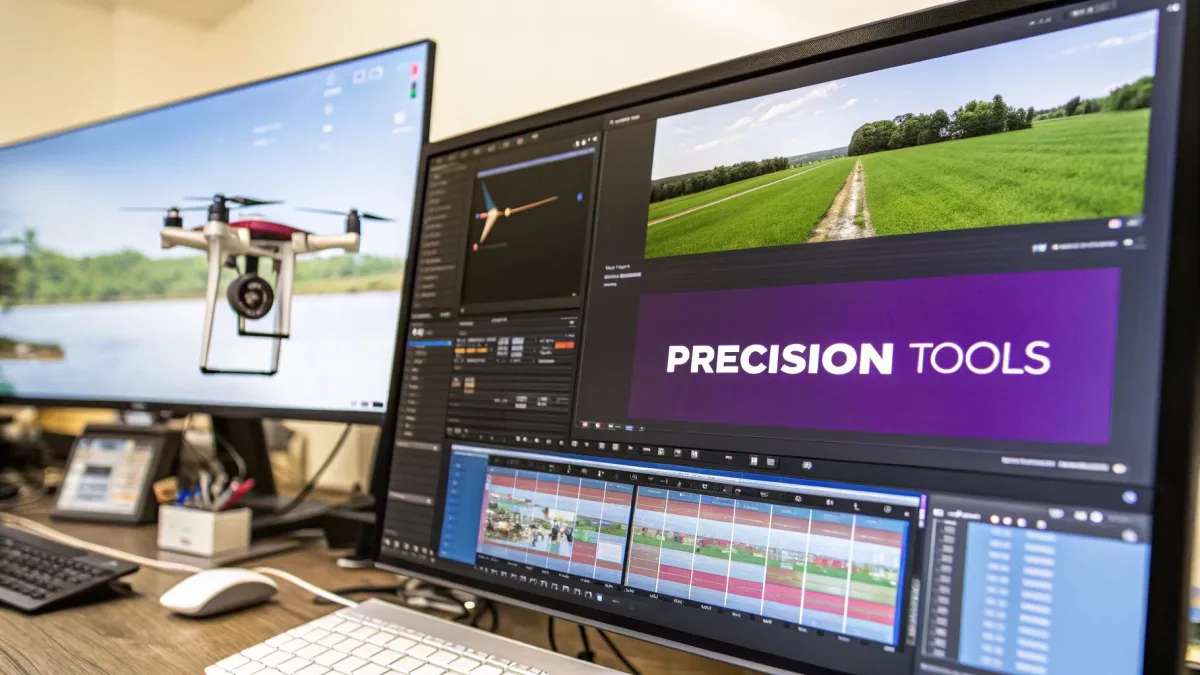
Image source: Bing (Web (fair-use with source credit))
Amount of Raw Footage
This is often the most significant time sink. If you shoot an hour of footage to get just five minutes of usable material, you'll spend considerable time reviewing and selecting the best takes. A common recommendation from video editing professionals is to budget at least 3-5 times the amount of raw footage for the review and selection phase alone.
For example, if your final video is 2 minutes long, but you shot 30 minutes of raw footage, you’re looking at at least an hour or two just to identify the best clips to use.
Complexity of Your Vision
Are you aiming for a quick, attention-grabbing social media post with a few dynamic shots and background music? Or are you crafting a detailed real estate tour with smooth pans, fly-throughs, and clear narration? The latter requires more meticulous attention to detail, including precise cuts, seamless transitions, and careful audio mixing.
A more complex vision often means more layers in your editing software, more effects to apply, and a longer overall post-production timeline.
Desired Final Output Quality
The final resolution and polish you’re aiming for directly impact editing time. Rendering a 1080p video is significantly faster than exporting a 4K or even 8K project. Beyond resolution, the level of polish matters.
Do you need cinematic color grading to match a specific mood, intricate motion graphics, or sophisticated sound design? Each of these adds substantial time. Manufacturer specifications for professional video editing software, like Adobe Premiere Pro, often highlight that higher resolution exports require more processing power and time.
Real-World Editing Timelines: What to Expect
To give you a clearer picture, let's break down typical editing times based on common project types. These are estimates, of course, but they reflect real-world scenarios faced by content creators and videographers.
Quick Social Media Clips
For a short, punchy social media clip, think Instagram Reels, TikToks, or Facebook stories, the editing process is generally streamlined. You're typically selecting a handful of the most dynamic or visually appealing shots, perhaps trimming them slightly, adding a trending audio track, and maybe a simple text overlay. The goal here is speed and immediate impact.
- Raw Footage: 5-15 minutes.
- Editing Time: 1 to 3 hours.
- Focus: Quick cuts, catchy music, basic color correction to make shots pop.
The key is efficiency. If you have your shots well-organized, you can often assemble and export one of these clips in under three hours.
Short Promotional Videos
Moving up the ladder, a short promotional video (around 1-2 minutes) for a business or product requires a bit more narrative structure and polish. This involves not just selecting the best shots but also sequencing them logically to tell a story or convey a message. Color grading becomes more important to establish a specific mood or brand consistency, and sound design might include subtle sound effects or a professional voiceover.
- Raw Footage: 15-30 minutes.
- Editing Time: 3 to 8 hours.
- Focus: Storytelling, consistent branding, improved color and audio, possibly simple graphics.
This type of project demands more time for creative decisions and refinement. The difference between a rushed edit and a compelling one often lies in this extra attention to detail.
Detailed Projects (Vlogs, Docs)
For more involved projects like travel vlogs, short documentaries, or complex event coverage, the editing timeline can expand significantly. These projects often involve hours of raw footage that need careful sifting through to extract the most engaging moments. You might be blending multiple camera angles, incorporating interviews, adding detailed graphics, and layering multiple audio tracks.
- Raw Footage: 30 minutes to 3+ hours.
- Editing Time: 10 to 20+ hours.
- Focus: Narrative depth, multiple audio sources, advanced color grading, graphics, and potentially client feedback loops.
These projects are where the "it depends" truly comes into play, as the sheer volume of material and the depth of storytelling require extensive post-production time.
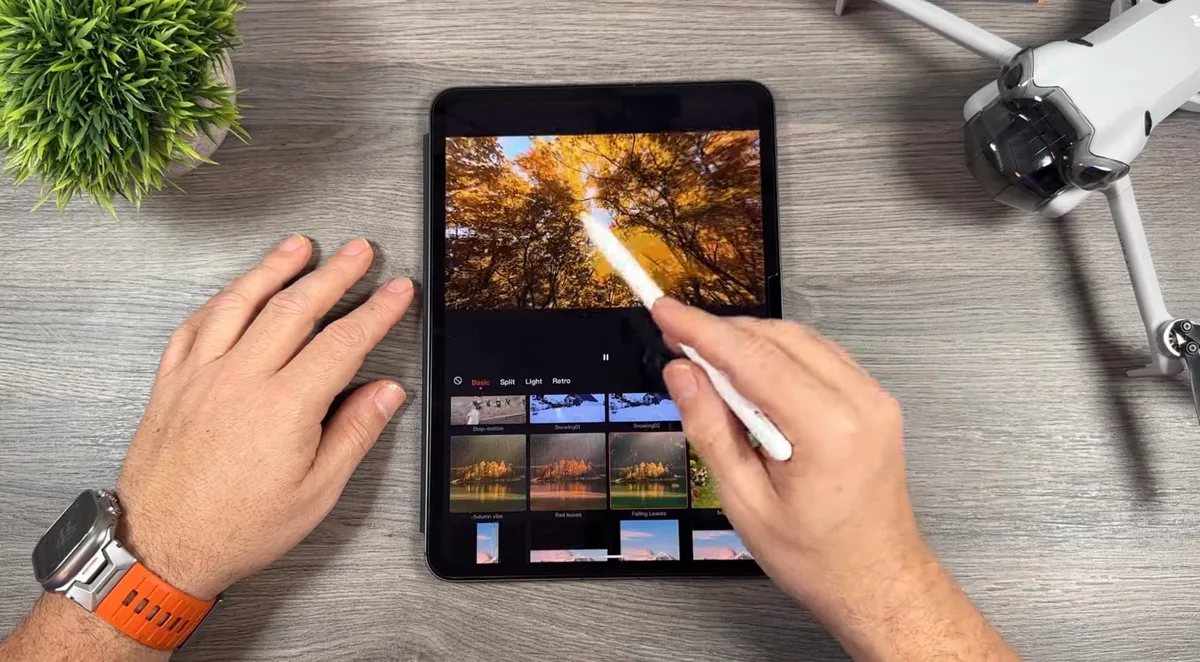
Image source: Bing (Web (fair-use with source credit))
Key Steps in the Drone Footage Editing Process
Understanding the individual steps involved can demystify the overall time commitment. Each stage requires focus and can impact the final output, and therefore, the total time spent.
Selecting Your Best Shots
This is where the real work begins after you’ve captured your footage. You'll watch through all the clips, looking for the most visually appealing, impactful, or story-relevant moments. Drone footage can sometimes include a lot of transitional flying or redundant shots.
Identifying the "hero" shots that will make your final video stand out is crucial. Many editors use a binning system within their editing software to mark good clips, problematic clips, and clips that are keepers.
This phase is also where you’ll discard unusable footage, shots that are too shaky, out of focus, or simply don't add value to your narrative. A thorough review is essential for a tight, engaging final product.
Assembling and Sequencing
Once you've identified your best shots, the next step is to arrange them in a logical order. This is about building the narrative flow of your video. For a real estate video, this might mean a logical path through a property.
For a travel vlog, it could be a chronological or thematic arrangement of experiences. This stage involves making the initial cuts and placing clips on your timeline.
Consider this like laying the foundation for a house; the structure you build here dictates how everything else will fit together. It’s about pacing and ensuring the viewer remains engaged from start to finish.
Color Correction and Grading
Drone footage often comes out of the camera looking a bit flat, especially if shot in a flat color profile for maximum editing flexibility. Color correction is the process of fixing basic exposure and white balance issues to make the footage look natural and consistent. Color grading, on the other hand, is about applying a specific aesthetic or mood to your footage.
This could involve making skies bluer, greens richer, or giving your video a particular cinematic look.
Manufacturer specifications for professional cameras often detail their color profiles, and understanding these is key to effective grading. As of 2026, many drones offer advanced color profiles, but achieving a polished look still requires dedicated time in post-production. This step can easily add several hours to a project, especially when aiming for a specific visual style.
Adding Music and Sound Design
The audio component is just as critical as the visuals. Choosing the right background music can set the tone and enhance the emotional impact of your drone footage. Sound effects can add realism and depth, such as the subtle whir of the drone, wind noise (if appropriate for the scene), or other environmental sounds that immerse the viewer.
For projects with narration or interviews, ensuring clear audio and proper mixing is paramount.
This stage involves finding and licensing appropriate music, syncing sound effects to specific actions on screen, and balancing all audio elements so no single track overpowers another. A well-designed soundscape can elevate an average video to a professional level.
Common Pitfalls in Drone Video Editing
Even with the best intentions, there are common traps that can lead to wasted time or a less-than-ideal final product. Being aware of these can help you avoid them and streamline your editing workflow.
Getting Lost in the Raw Footage
This is perhaps the most frequent complaint among drone videographers. You might have hours of breathtaking aerial footage, but sifting through it all to find the perfect shots can feel like searching for a needle in a haystack. Without a clear plan or an organized system for reviewing clips, editors can spend far more time than necessary just trying to locate the material they need.
Some find it helpful to create a simple spreadsheet or use markers within their editing software to tag promising clips as they review.
Over-Editing or Under-Editing
It's easy to fall into one of two extremes. Over-editing means adding too many flashy transitions, effects, or visual elements that distract from the drone footage itself. This can make a video feel amateurish and overwhelming.
On the other hand, under-editing means simply stringing clips together with minimal effort, resulting in a video that lacks polish, pacing, or a compelling narrative. Finding that balance where the editing enhances, rather than detracts from, the aerial visuals is key.
Ignoring Stabilization Needs
While modern drones often have excellent built-in stabilization, there are still times when footage can be a bit shaky, especially during rapid movements or in windy conditions. Many editing software programs offer powerful stabilization tools that can smooth out these jitters. However, relying too heavily on software stabilization can sometimes lead to unnatural warping or a "jello" effect.
It’s often better to capture the steadiest footage possible in-camera and then use post-production stabilization as a corrective tool, rather than a primary solution.
Expert Tips for Faster, Better Edits
To make your editing process more efficient and yield professional results, consider these tried-and-true methods. These aren't just theoretical; they're practices that have been refined through countless hours of editing.
Organize Like a Pro
Before you even import your footage into your editing software, take the time to organize your files. Create clear folder structures on your computer or external hard drive, perhaps by project name, date, or even by shot type (e.g., "establishing shots," "detail shots," "movement shots"). Naming your clips descriptively can also save you a lot of time later.
A well-organized project makes it easier to find what you need quickly, reducing frustration and speeding up your workflow.
Master Your Software
The video editing software you use is your primary tool. Whether it's DaVinci Resolve, Adobe Premiere Pro, Final Cut Pro, or something else, investing time in learning its features and shortcuts will pay dividends. Most professional software has extensive online tutorials and documentation.
For instance, manufacturer websites often provide detailed guides on optimizing workflows within their specific programs. As of 2026, many advanced features are available, but knowing how to access and use them efficiently is crucial.
Know When to Stop
It’s tempting to keep tweaking and refining, but there's a point where further edits might not significantly improve the video and could even detract from it. This is especially true for client projects where endless revisions can drain your time and budget. Developing an eye for when a cut is "good enough" or when a color grade achieves the desired effect is a skill that comes with experience.
Aim for clarity and impact, rather than perfection that might be imperceptible to the average viewer.
Frequently Asked Questions About Editing Drone Footage
How much raw footage should I aim to shoot for a 1-minute video?
For a 1-minute final video, it's generally recommended to shoot between 5 to 15 minutes of raw footage. This provides enough material to select the best shots and allows for flexibility in editing without being overwhelmingly excessive.
Can editing software fix really shaky drone footage?
Yes, most professional editing software includes stabilization tools that can significantly improve shaky footage. However, heavily stabilized footage can sometimes look unnatural, so it's always best to capture the steadiest shots possible in-camera.
What's the difference between color correction and color grading?
Color correction is about fixing fundamental issues like exposure and white balance to make footage look natural. Color grading is about applying a stylistic look or mood to the footage, often to create a specific aesthetic.
How long does it take to learn drone video editing software?
Learning the basics of most popular editing software can take anywhere from a few days to a couple of weeks of dedicated practice. Mastering advanced features and developing an efficient workflow, however, can take months or even years of consistent use.
Are There Specific Editing Software Recommendations?
When it comes to editing drone footage, the software you choose can significantly impact both the quality of your final product and the time it takes to achieve it. While there are many options available, certain programs are industry standards for a reason. It’s not about having the "best" software, but rather the software that best fits your workflow and budget.
Popular choices like Adobe Premiere Pro, Final Cut Pro, and DaVinci Resolve all offer robust toolsets for handling high-resolution footage, advanced color grading, and sophisticated audio mixing. Manufacturer specifications often detail the system requirements for these programs, emphasizing the need for powerful processors and ample RAM, especially when working with 4K or higher resolution drone footage. Choosing software you can learn and work with efficiently is more important than selecting the most feature-rich option if you can't leverage its capabilities.
When to Consider Professional Editing Services
While many drone operators are capable of basic editing, complex projects or tight deadlines often make outsourcing a wise decision. If you find yourself consistently spending more time editing than flying, or if your clients demand a level of polish that’s beyond your current skillset, it might be time to bring in a professional. These services typically charge by the hour or by the project, and their expertise can save you significant time and deliver a superior result.
This is particularly true for businesses that rely on high-quality video content for marketing. Investing in professional post-production ensures that your brand is represented at its best. Consider the total cost not just in terms of hours spent, but also in the potential revenue gained from a more polished and effective final video.
For instance, a real estate agent might find that a professionally edited property tour, even costing several hundred dollars, leads to faster sales and better client acquisition.