How Do You Film Landscapes With a Drone?
So, you're wondering, how do you film landscapes with a drone? It's about more than just flying. It’s about transforming a scenic view into a captivating visual story.
Think of your drone as a paintbrush, and the sky your canvas, ready to capture the world's beauty from a perspective few can reach.
Our research indicates that achieving stunning aerial landscape shots requires a blend of technical know-how and artistic vision. Manufacturer specifications confirm that modern drones, like those from DJI, can capture footage at resolutions up to 8K and offer advanced color profiles, but mastering them takes understanding. Let's break down how to harness that power.
Quick Answer
To film landscapes with a drone, focus on lighting, composition, and smooth flight. Fly during golden hours for warm light. Use principles like the rule of thirds.
Shoot in flat color profiles, like D-Log, at 24-30fps, and use ND filters. Plan your shots, practice smooth gimbal and drone movements, and learn basic color grading.
Understanding Your Drone's Visual Toolkit
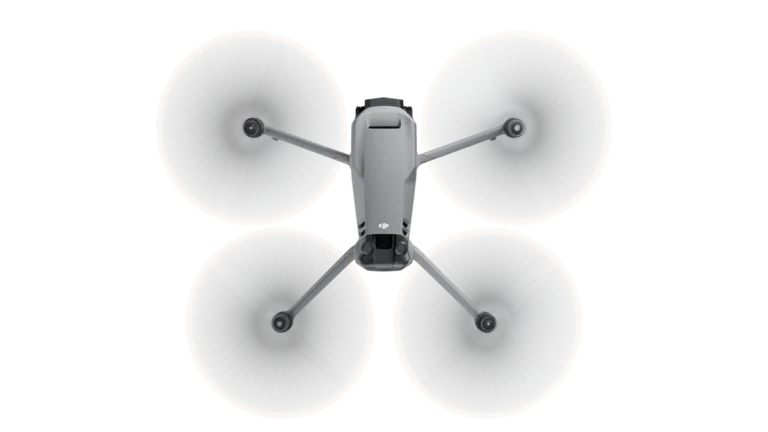
Your drone is more than just a flying camera; it’s an integrated system designed to capture visual information. Understanding its core components and how they interact is the first step to creating compelling landscape footage. Manufacturer specifications confirm that these systems work together to provide high-quality aerial imagery.
Camera & Gimbal: Your Eyes in the Sky
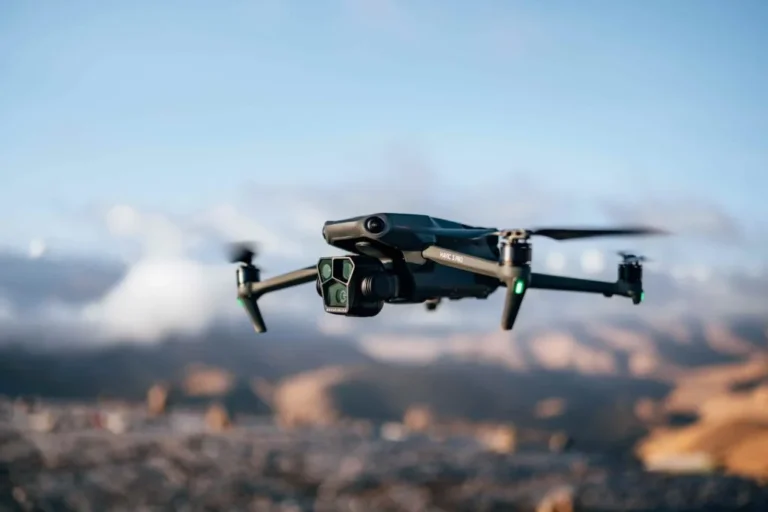
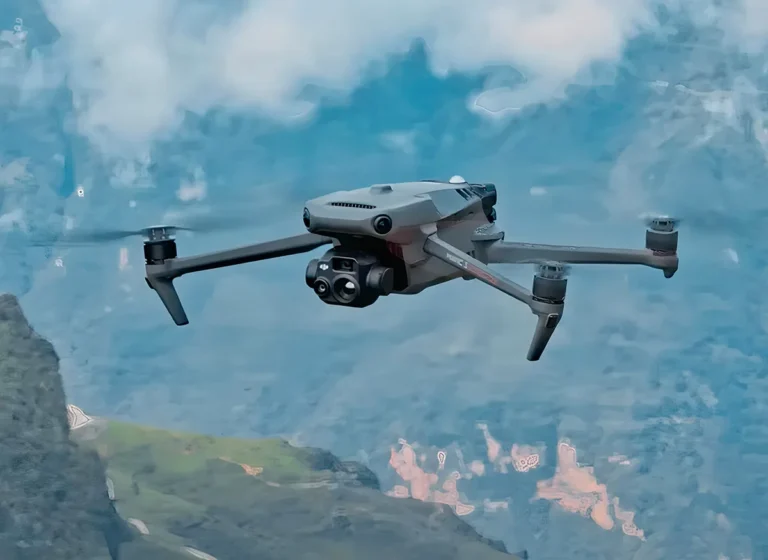
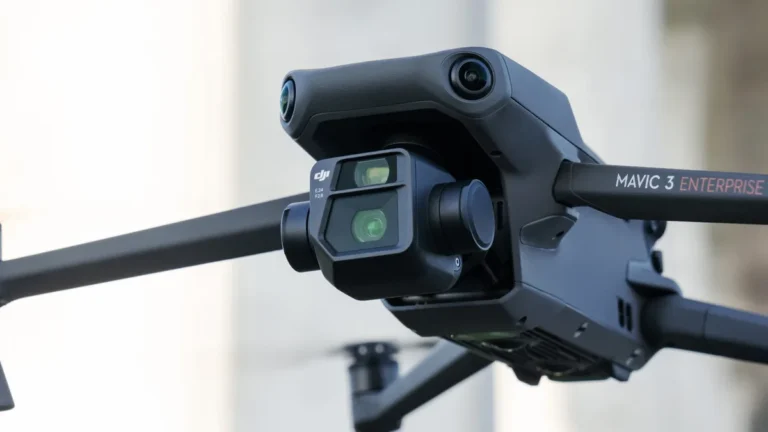
The heart of your drone's visual capabilities lies in its camera and gimbal. The camera is what captures the light and color, while the gimbal's job is to stabilize it.
- Camera Sensor: This component determines the overall image quality, detail, and low-light performance. Larger sensors generally perform better, especially in challenging light.
- Lens: The lens affects the field of view and sharpness. Most landscape drones come with a fixed wide-angle lens, perfect for capturing expansive scenes.
- Gimbal: This is the mount that holds the camera and uses motors to counteract the drone's movements, keeping your footage smooth. A robust three-axis gimbal is crucial for eliminating shake and wobble, especially in windy conditions.
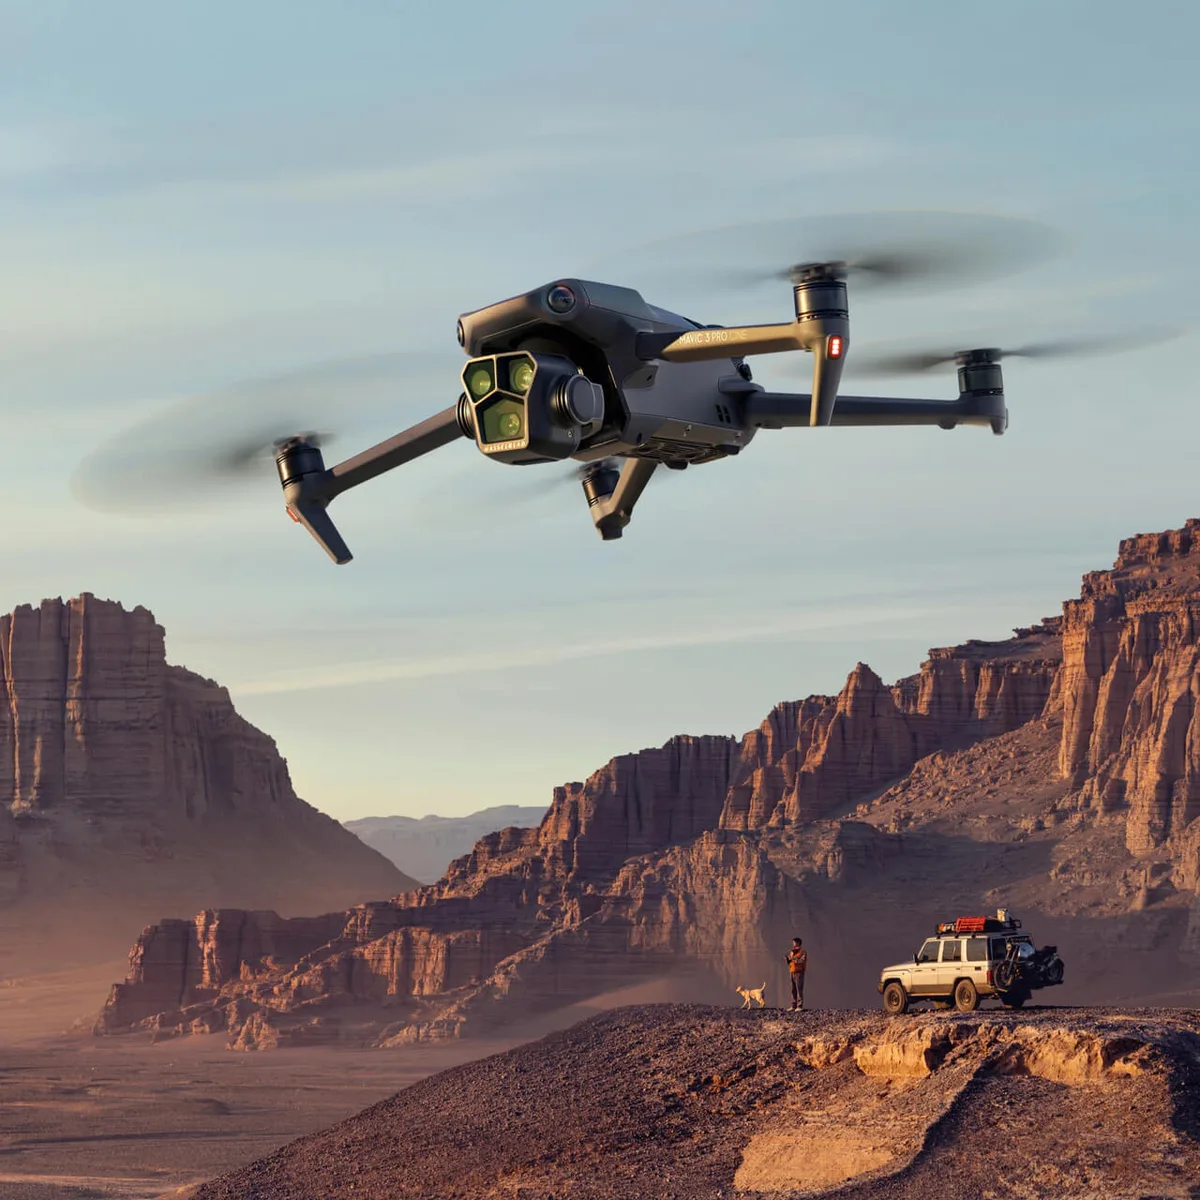
Image source: Bing (Web (fair-use with source credit))
Color Profiles & Filters: Unlocking Dynamic Range
To get the most out of your landscape footage, especially if you plan to edit it, understanding color profiles and filters is essential. Manufacturer documentation often details these features.
- Flat Color Profiles: Options like D-Log, Cine-D, or N-Log are designed to retain the maximum amount of detail in both the brightest highlights and the darkest shadows. This "flat" image looks washed out straight out of the camera, but it provides much more flexibility for color grading in post-production. This is a key feature for professional-looking results.
- ND Filters: Neutral Density (ND) filters are like sunglasses for your drone's camera. They reduce the amount of light entering the lens. For cinematic video, especially during bright daylight, ND filters allow you to maintain a slower shutter speed (around double your frame rate, per the 180-degree rule) to achieve natural motion blur. Without them, footage can look overly sharp and jittery.
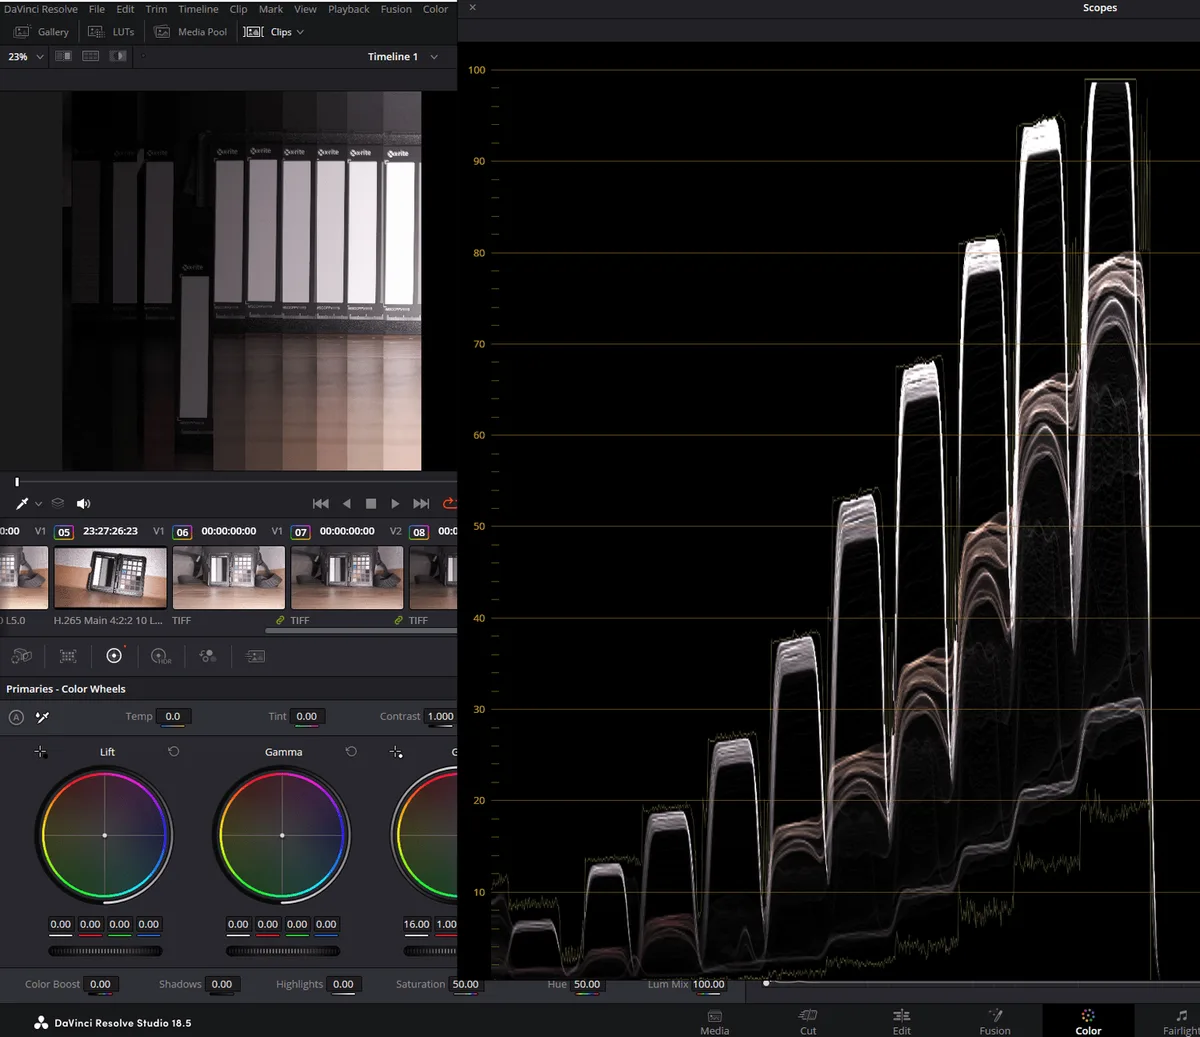
Image source: Bing (Web (fair-use with source credit))
Mastering the Light: The Art of Golden Hours
Light is arguably the most critical element in landscape photography and videography. For drone landscape filming, timing your shoot around specific lighting conditions can transform an ordinary scene into something extraordinary.
Sunrise & Sunset: The Magic Window
The periods just after sunrise and just before sunset are universally known as the "golden hours." During these times, the sun is low on the horizon, casting a warm, soft, and directional light.
- Warm Tones: The sunlight takes on a golden or reddish hue, which can make landscapes look incredibly inviting and visually appealing.
- Long Shadows: Low-angle light creates long, dramatic shadows that add depth, texture, and a sense of scale to the landscape.
- Reduced Contrast: Harsh midday sun creates high contrast, often blowing out highlights or crushing shadows. Golden hour light is much softer, resulting in a more balanced image with detail visible throughout the frame.
Beyond Golden Hour: Other Lighting Opportunities
While golden hours are ideal, other lighting conditions can also be compelling for drone landscape filming.
- Blue Hour: The period just before sunrise or after sunset, when the sky takes on a deep blue hue. This light is cooler and can create a serene, mystical mood, especially for scenes with water or city lights.
- Overcast Days: While often considered poor for photography, an overcast sky can act as a giant softbox, diffusing light evenly. This can be excellent for capturing detailed textures in forests or rocky terrains without harsh shadows. You can achieve excellent results by focusing on color and form rather than dramatic light and shadow.
Crafting Your Aerial Vision: Composition Secrets
Just as a painter carefully arranges elements on a canvas, a drone pilot must consider composition to create visually engaging landscape footage. This involves understanding how to guide the viewer's eye and create a sense of depth and interest.
Rule of Thirds & Leading Lines
These are foundational principles of visual composition that translate directly to aerial videography.
- Rule of Thirds: Imagine dividing your screen into nine equal parts with two horizontal and two vertical lines. Placing key elements of your landscape (like a mountain peak, a winding river, or a prominent tree) along these lines or at their intersections generally results in a more balanced and aesthetically pleasing shot than centering everything.
- Leading Lines: Natural or man-made lines within the landscape can draw the viewer's eye into the frame and towards your main subject. This could be a road, a fence line, a riverbank, or even a pattern of shadows.
Framing, Scale, and Depth
Using the drone's perspective, you can create shots that feel immersive and grand.
- Framing: Look for foreground elements, such as trees, rock formations, or even architectural features, that can act as natural frames for your subject. This technique adds layers to your shot and makes it feel more three-dimensional.
- Scale: To convey the vastness of a landscape, you need to show scale. Including a small, recognizable object, like a distant building, a vehicle, or even a single tree against a massive mountain range, helps the viewer understand the sheer size of the scene.
Using Drone Movement for Impact
The unique ability of a drone to move smoothly through three-dimensional space offers powerful compositional tools.
- Reveal Shots: Starting close to an object or at a low altitude and slowly ascending and pulling back can dramatically reveal a vast landscape, creating a sense of awe.
- Orbit Shots: Circle a point of interest smoothly. This highlights the subject's form and its relationship with the surrounding environment, offering a dynamic 360-degree view.
Essential Drone Settings for Cinematic Footage
Getting the right camera settings dialed in before you launch is critical for capturing footage that is both visually stunning and easy to edit. Manufacturer specifications provide the baseline, but understanding how to use them for cinematic purposes is key.
Resolution, Frame Rate, and Shutter Speed
These settings directly impact the clarity and motion characteristics of your video.
- Resolution: Shoot in the highest resolution your drone supports, typically 4K (3840×2160 pixels) or higher. This provides more detail and flexibility for cropping in post-production.
- Frame Rate: For a natural, cinematic look, shooting at 24 frames per second (fps) or 30 fps is standard. This mimics the frame rates used in traditional filmmaking.
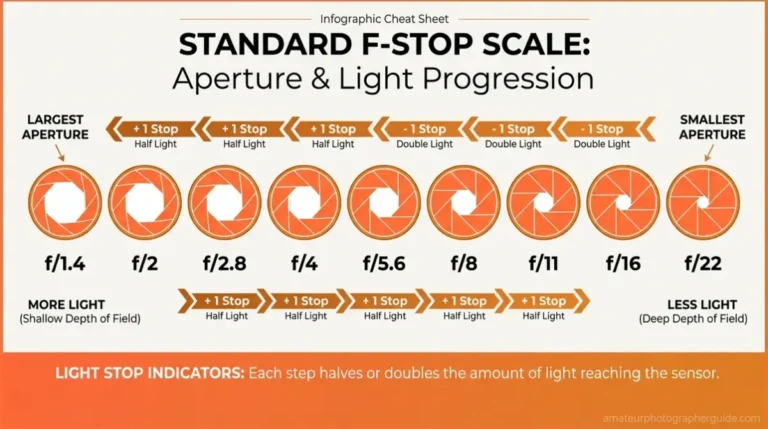
- Shutter Speed: To achieve natural motion blur and avoid a "stuttery" look, follow the 180-degree rule. This means your shutter speed should be approximately double your frame rate. So, for 30 fps footage, aim for a shutter speed of 1/60th of a second.
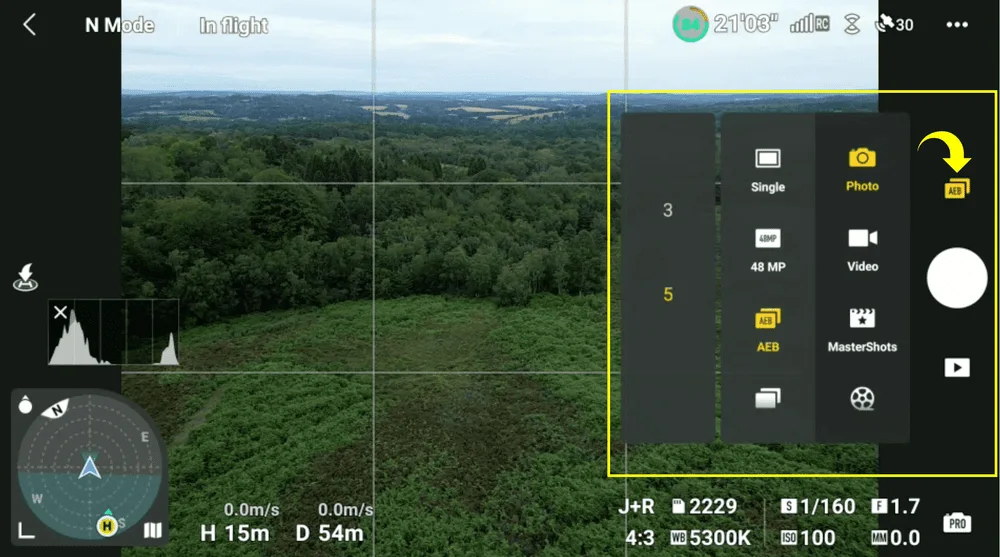
Image source: Bing (Web (fair-use with source credit))
ISO and When to Adjust It
ISO controls the camera's sensitivity to light. While useful, increasing it too much can degrade image quality.
- Keep ISO Low: For landscape filming, especially in good light, keep your ISO as low as possible (often 100) to ensure the cleanest possible image with minimal digital noise or grain.
- Increase Only When Necessary: If you're shooting in low-light conditions (like dusk or dawn) and can't achieve the desired exposure with aperture or shutter speed adjustments, you may need to increase the ISO. However, be aware that higher ISO values introduce more noise.
The Importance of ND Filters
Neutral Density (ND) filters are crucial for achieving professional-looking video, especially in bright daylight.
- Controlling Light: In bright conditions, you might be forced to use a very high shutter speed to avoid overexposing your image, which results in unnatural, choppy motion. ND filters reduce the amount of light entering the lens, allowing you to maintain your desired shutter speed (around 1/60s for 30fps).
- Achieving Motion Blur: The right ND filter allows you to get that pleasing, subtle motion blur that makes footage look smooth and cinematic, rather than jagged and digital. Think of them as essential eyewear for your drone's camera when the sun is strong.
Planning Your Epic Drone Shoot
Don't just show up and hope for the best; careful planning is crucial for capturing those stunning landscape shots. Think of it as setting the stage before the main performance. Understanding your environment and your drone's limitations upfront saves time, reduces frustration, and dramatically increases your chances of getting the footage you envision.
Scouting Locations and Weather Checks
Before you even charge your batteries, scout your location. Use tools like Google Earth or detailed mapping apps to identify interesting terrain features, potential flight paths, and vantage points. Check weather forecasts meticulously.
Wind, rain, fog, and even cloud cover can significantly impact your flight and the final footage quality. As of 2026, advanced weather prediction services offer hyper-local forecasts, which can be invaluable.
Pre-Viz Your Shots and Flight Paths
Visualize the shots you want to capture before you launch. What story do you want to tell? What emotions do you want to evoke?
Mentally rehearse your flight paths and camera movements. This pre-visualization helps you make the most of your limited flight time, especially when dealing with battery life.
Battery Life and Safety Considerations
Always factor in your drone's battery life and the time needed for a safe return to home (RTH). Don't push your drone to its absolute limit; it's better to have a bit of buffer. Familiarize yourself with all local aviation regulations, including no-fly zones and any required certifications, such as a Remote Pilot Certificate from the FAA.
Always fly responsibly and maintain Visual Line of Sight (VLOS) with your drone.
Elevating Your Footage: Smooth Flight Techniques
The magic of drone landscape filming often comes down to how smoothly you can move the camera and the drone. Jerky movements can instantly make your footage look amateur. The goal is to create a flowing, immersive experience for the viewer.
Slow, Deliberate Movements
Resist the urge to fly fast or make sudden changes in direction. Cinematic movements are almost always slow and deliberate. Pan, tilt, and move the drone forward or backward at a consistent, unhurried pace.
Practice controlling these movements until they feel natural and seamless.
Cinematic Flight Paths (Flyaways, Orbits)
Specific flight paths can create compelling visual narratives.
- Flyaway Shots: Start close to a subject or feature, then slowly ascend and move backward. This technique dramatically reveals the scale of the landscape, pulling the viewer into the scene.
- Orbit Shots: Circle a point of interest smoothly. This highlights the subject's form and its relationship with the surrounding environment, offering a dynamic 360-degree view.
Gimbal Control for Smoothness
The gimbal is your primary tool for camera stability, but mastering its control is key. Practice tilting the camera up and down smoothly while the drone is also in motion. Coordinating subtle gimbal adjustments with your drone’s flight path is how you achieve truly professional, polished aerial sequences that capture the essence of the landscape.
Bringing It Together: Post-Production Power
Capturing the footage is only half the battle; the real artistry often happens in post-production. This is where you refine your vision, enhance the visuals, and craft the final story. Even with the best drone footage, editing can elevate it from good to breathtaking.
Color Grading Your Landscape Footage
If you shot in a flat color profile (like D-Log), color grading is where you’ll bring your footage to life. This process involves adjusting colors, contrast, and saturation to create a consistent and appealing look. It allows you to enhance the natural beauty of the landscape, emphasizing warm golden hour tones or the deep blues of twilight.
Pacing, Music, and Sound Design
The editing pace you choose can significantly affect the mood of your video. Slow, sweeping shots often work best for majestic landscapes, allowing the viewer to absorb the scene. Carefully selected music can amplify emotions, while ambient natural sounds can add a layer of realism and immersion, making the viewer feel like they are actually there.
Frequently Asked Questions About Drone Landscape Filming
What are the best times of day to film landscapes with a drone?
The best times are during the "golden hours," which are the periods shortly after sunrise and just before sunset. The low angle of the sun creates warm, soft light and long shadows, adding depth and visual interest to landscapes.
How can I make my drone footage look more cinematic?
To achieve cinematic footage, focus on slow, smooth camera movements, deliberate flight paths, and proper composition. Shooting in a flat color profile, using ND filters, and maintaining the 180-degree rule for shutter speed are also crucial.
What resolution and frame rate should I use for drone landscape filming?
It's generally recommended to shoot in the highest resolution your drone offers, typically 4K. For a cinematic look, use a frame rate of 24 or 30 frames per second (fps). If you plan to use slow-motion, consider shooting at 60 fps or higher.
Are there specific drone features that are more important for landscape filming?
Key features include a high-quality camera with good dynamic range, a stable three-axis gimbal for smooth footage, and intelligent flight modes that can assist with cinematic movements. Good battery life is also essential for capturing extended scenes.
What legal considerations should I be aware of when flying a drone for landscape filming?
You must comply with all local aviation regulations, which vary by country and region. This includes understanding no-fly zones, altitude restrictions, and potentially requiring a pilot's license or registration. Always fly responsibly and maintain visual line of sight.